computer built
I built my computer. It turns on. I invite you to read the tale of how this came to be. Be warned, however, as these pictures are 2 megs each, and can be full screened by Viewing them.
The parts I used can be found here.
First thing I did was unbox everything and check for damage. Newegg ships quicker across the country from CA to WI, than it can from CA to CA. I have ordered things that have gotten here even quicker than the ETA; something unheard of in this business. After everything warmed up to room temp, I cut open the boxes.
Packing Peanuts. Thousands of them. You don’t see these too often anymore. Perhaps because they cost more and require more material (rather than air). Perhaps because as soon as you begin to move anything, peanuts fall all over the floor. It was fun searching for that tiny, independent tube of Arctic Silver 5.
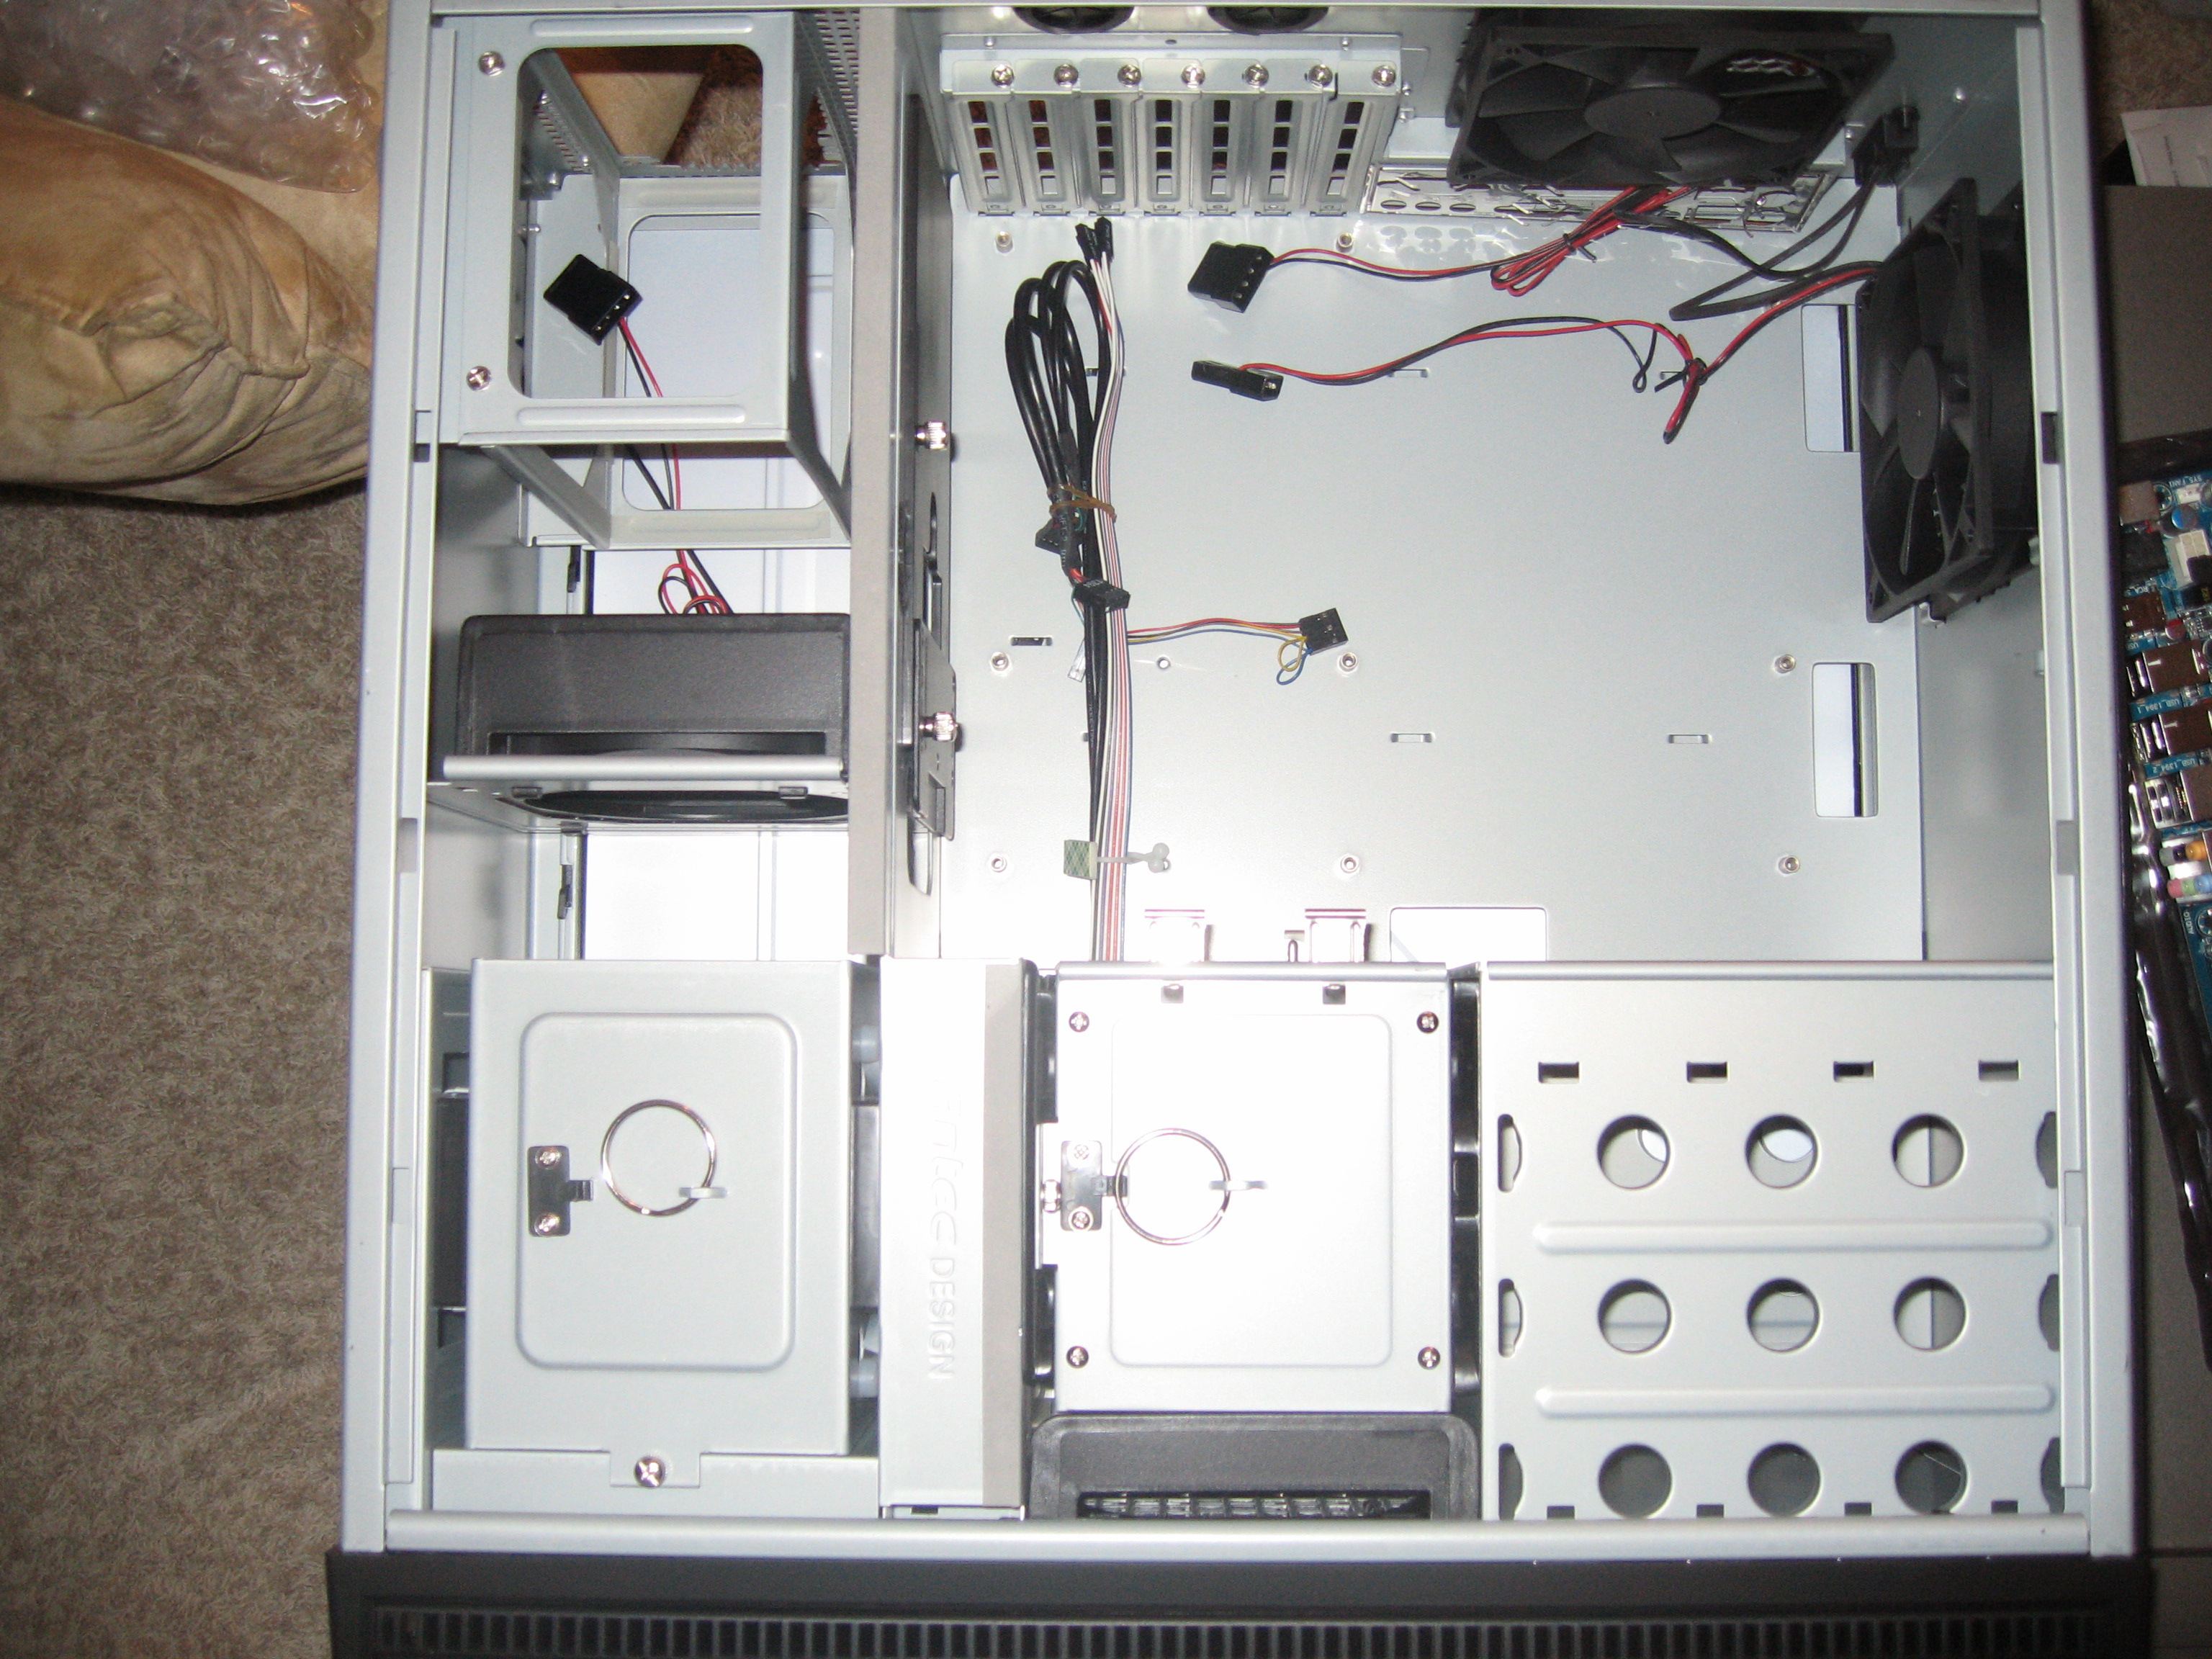
The case had box damage from shipping, but the inside looked fine. No noticeable dents or scratches. Everything on the inside looks in order as well. I like that you can remove the harddrive boxes sideways (that’s what those key rings are for).
After that was in order, the next step was to start putting stuff together. Some people had complained connecting the heatsink required removing the motherboard. Well, if a random guy on the internet bitches, I should pay attention. Let’s put the heatsink on before attaching the mobo. Ted and Mo were over at this point. Ted was on technical support, with his massive amount of experience in building (and destroying) PC’s. Mo was on photography and to see how it was put together, if he was to build the same box later.
Static bags the parts came in over the cushions the parts were packed in were good to lay the parts out on. It’d be nice to have more space, but all I have is this empty TV stand.
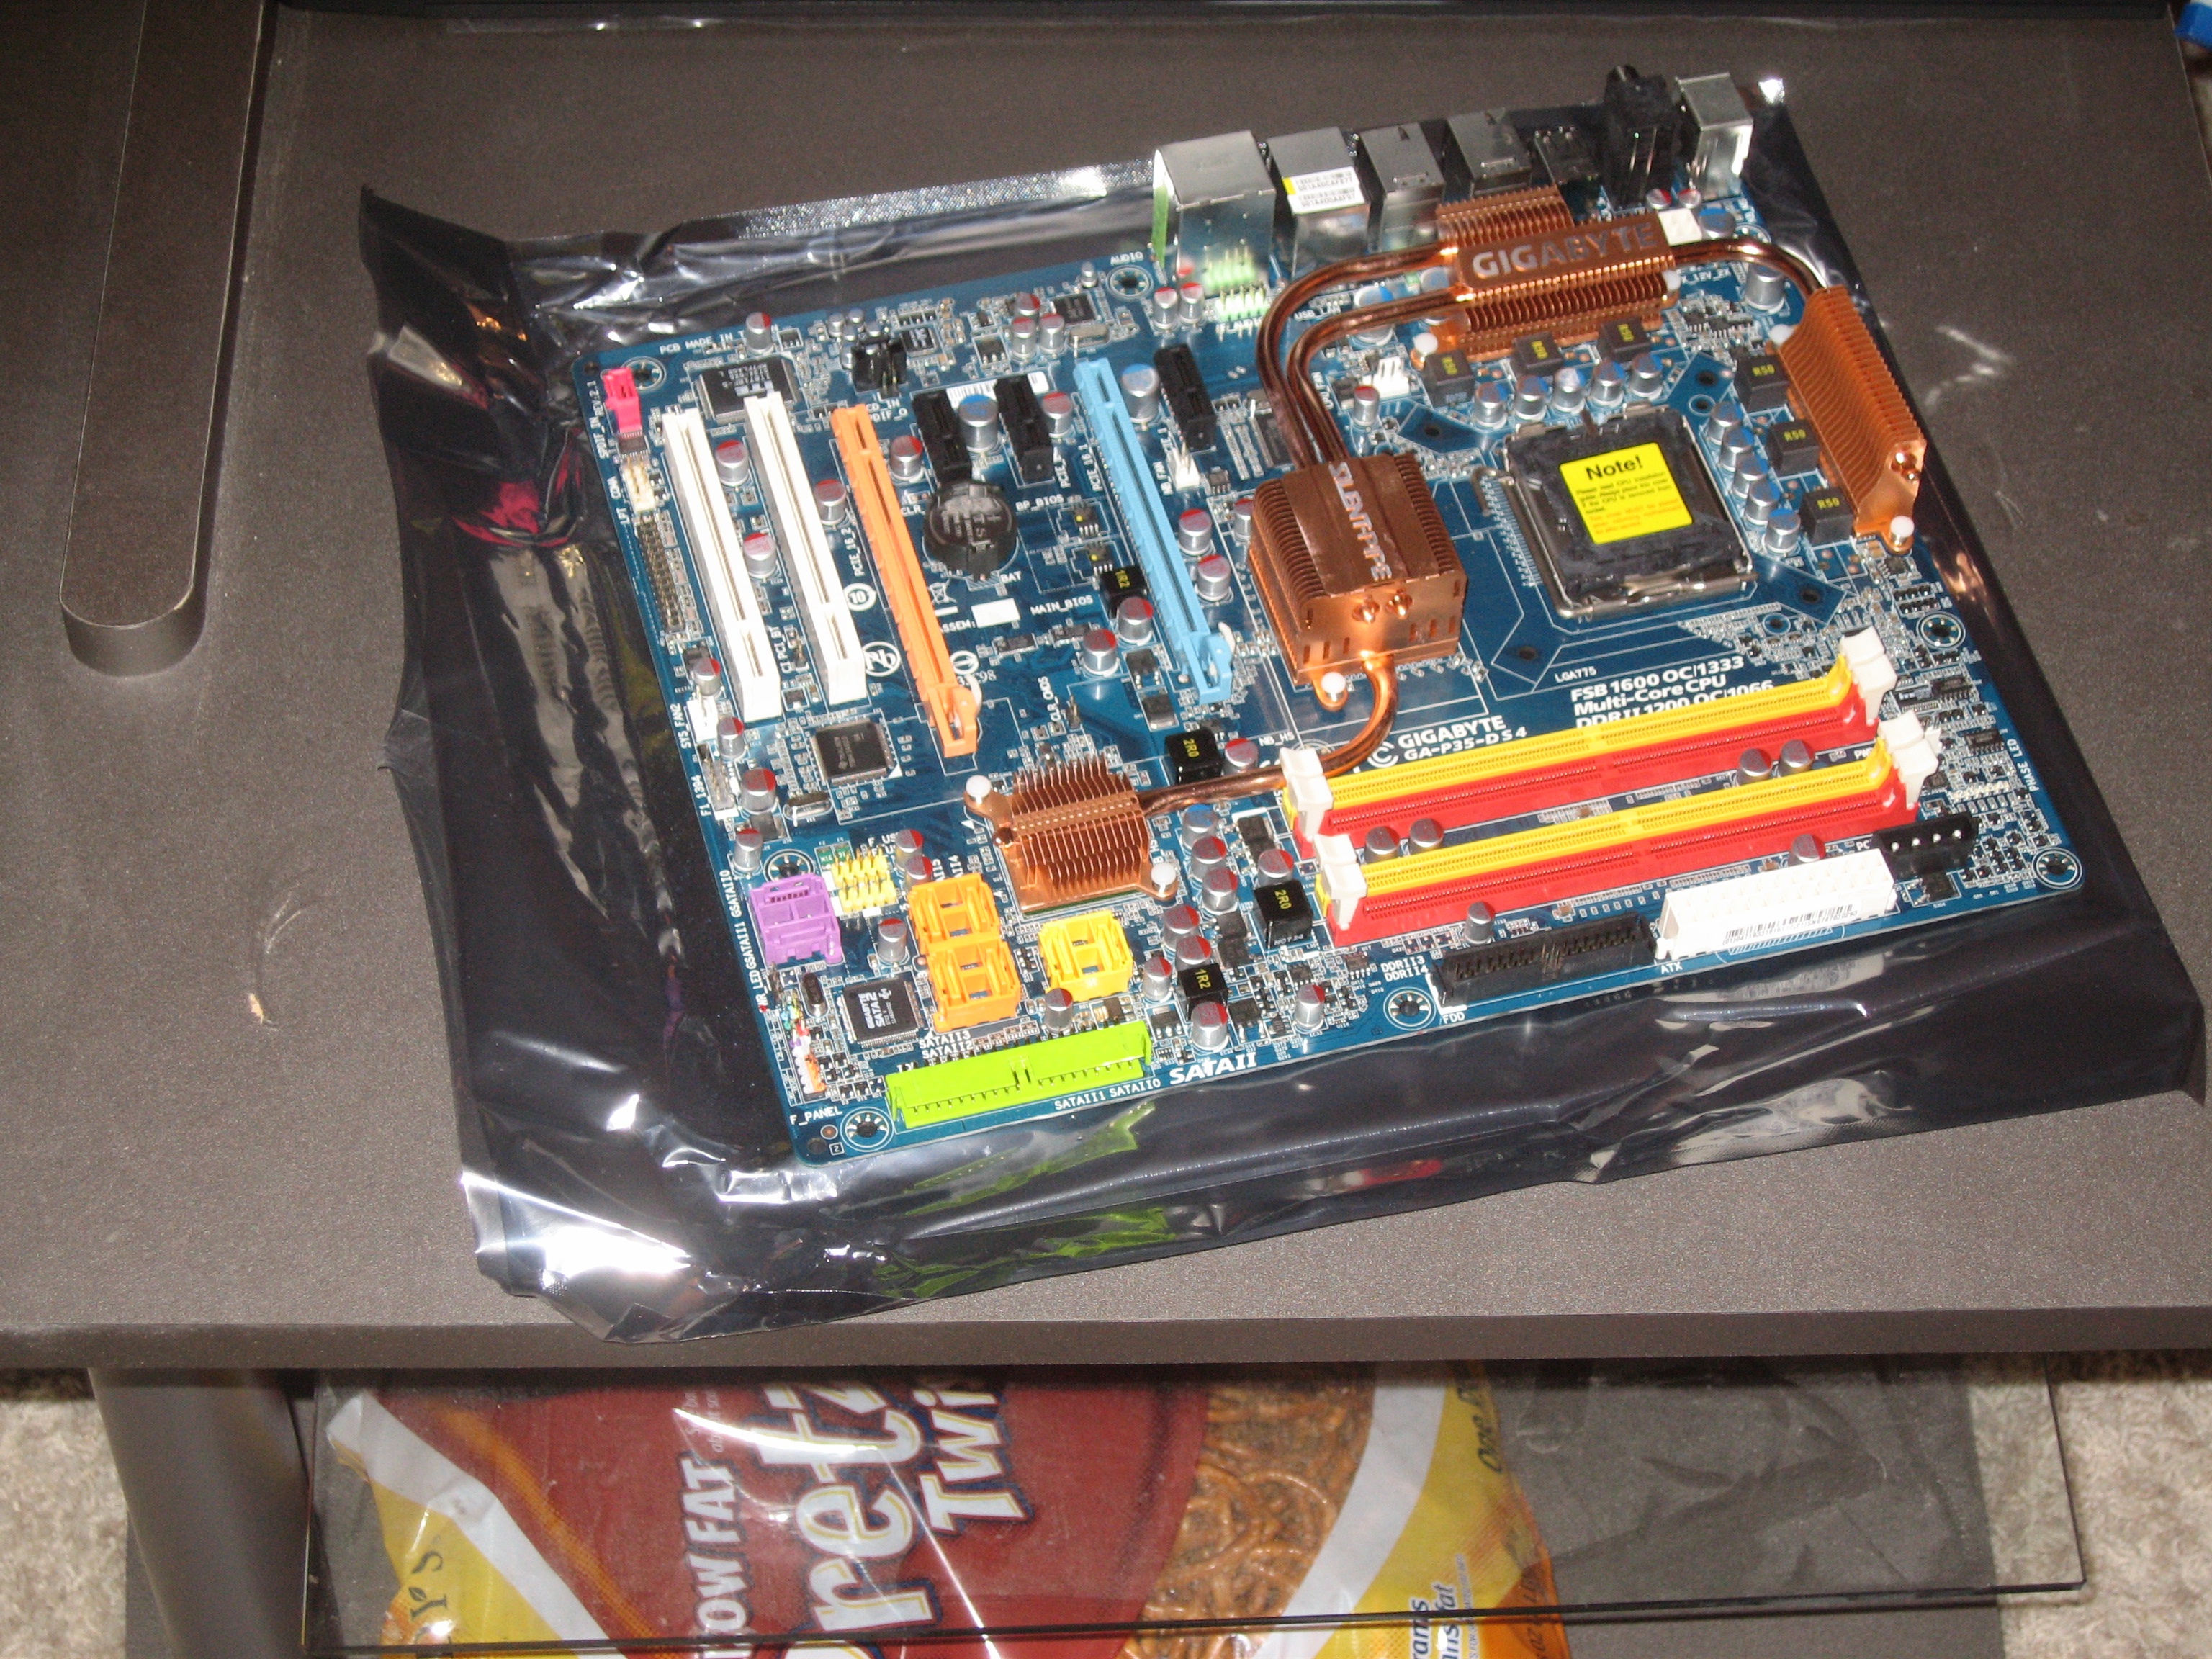
So. Now it is time to bust open the processor and put it on. This is often the most delicate part of the procedure. One bent pin and it’s all over. It is also the part I have the least experience with. All the computers I’ve repaired, or exchanged parts over the years, I have not had to install a processor from scratch. Only observed it. But that’s OK. I’m good. I can handle this.
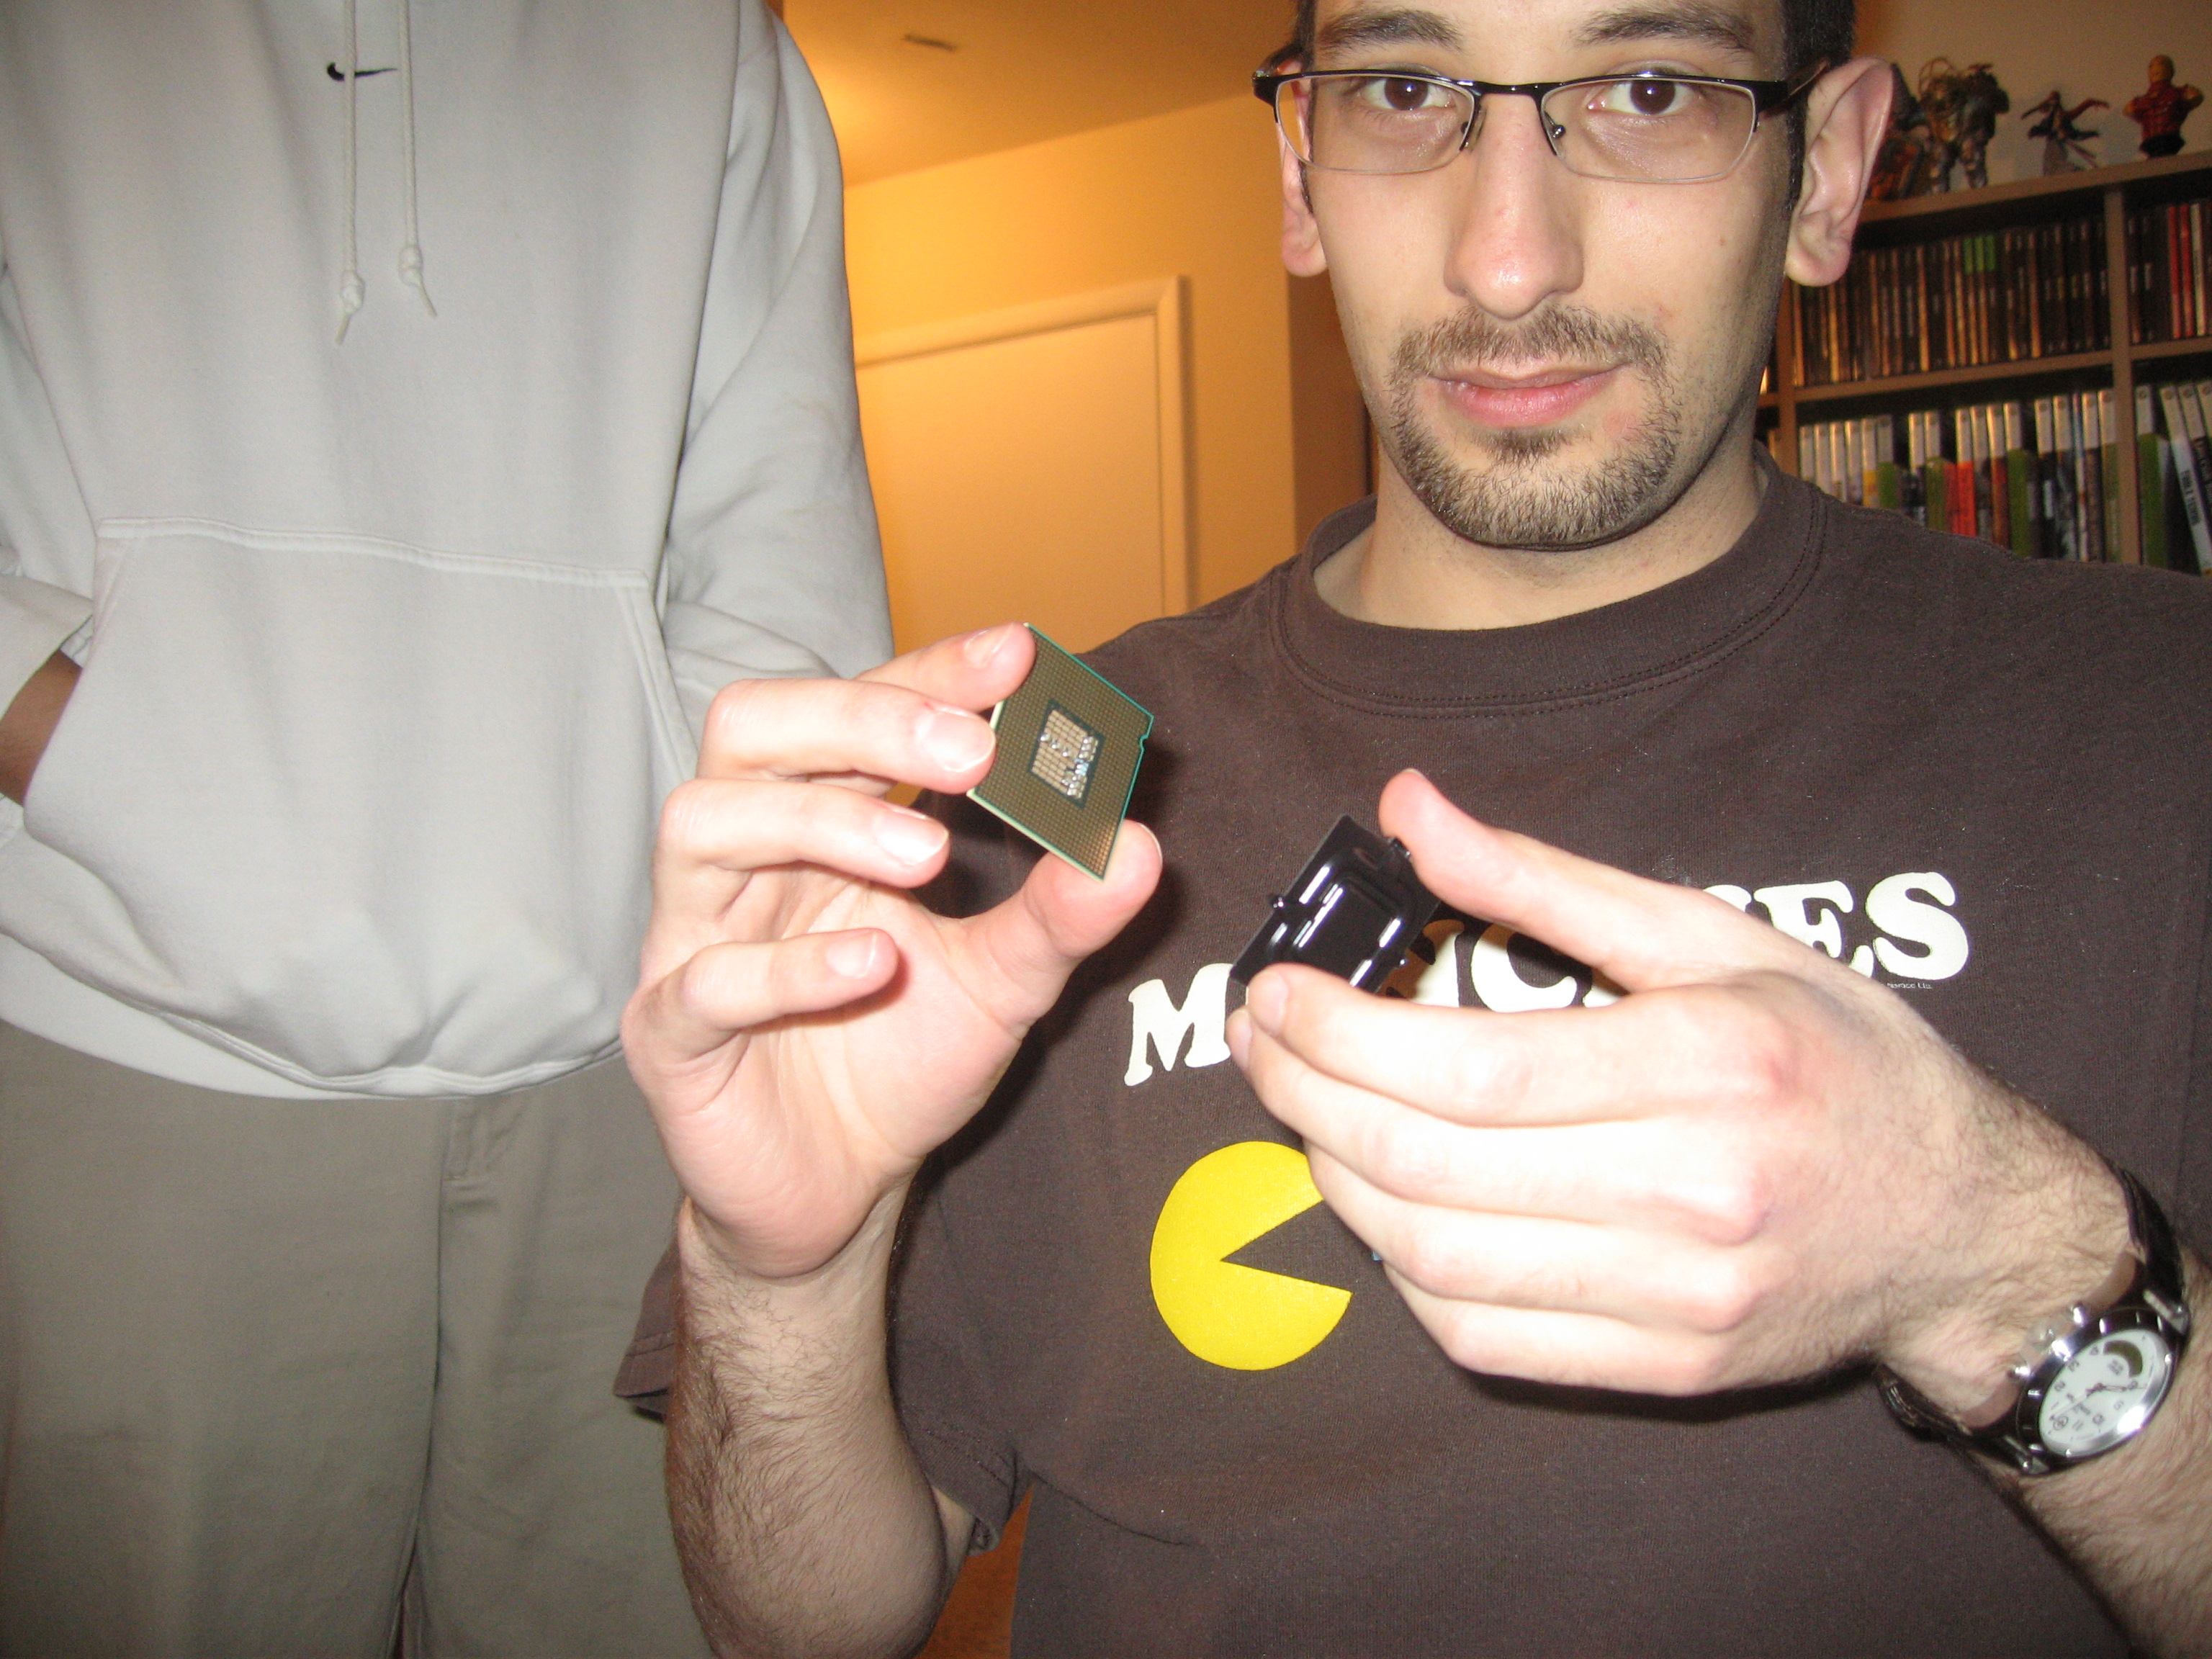
What. The. Hell?
…
There are no pins on this processor. In the years since I purchased my last computer (2003) and this one, processors lost their pins. How did I not hear of this? I’m supposed to know this kind of stuff.
**You have lost: -1 Tech Credit**
Oh well.
Carefully place the processor on the motherboard. By carefully dropping it, you should not need to press down at all. Zero pressure. Of course, it is hard to tell if it is all the way down. But Ted and Mo say it is, so, I’ll just believe them. It looks down. Really.
The leaver required some effort to push it into place, but the processor didn’t move, so it was all the way down already.
Next up, the heatsink for the processor. Now I see the why the mobo needs to be out of case. There is a back bracket that is put on behind the mobo, which a front bracket connects to. The back bracket is mobo specific. 755, in this case. The instructions say “put it on” but that is ridiculous. It needs to seed into screw holes. The question: How do you line that up?
Well, we put the screws through the holes from the front, were going to screw them in the backplate, and lead it into proper place. Of course, nothing quite goes as planed. The screws don’t go in.
“But that is the backplate, right?”
“Yea.”
“And these are the screws that go in it, right?”
“Yea.”
“But it’s not going in. Are you sure this is the backplate?”
“Yea.”
“And these are the screws that go in?”
Anyway. Mo figured out. The metal wasn’t cut quite right. We screwed them in the other way, which was easier and cleared it out, then screwed them all in the proper way to clear it out more.
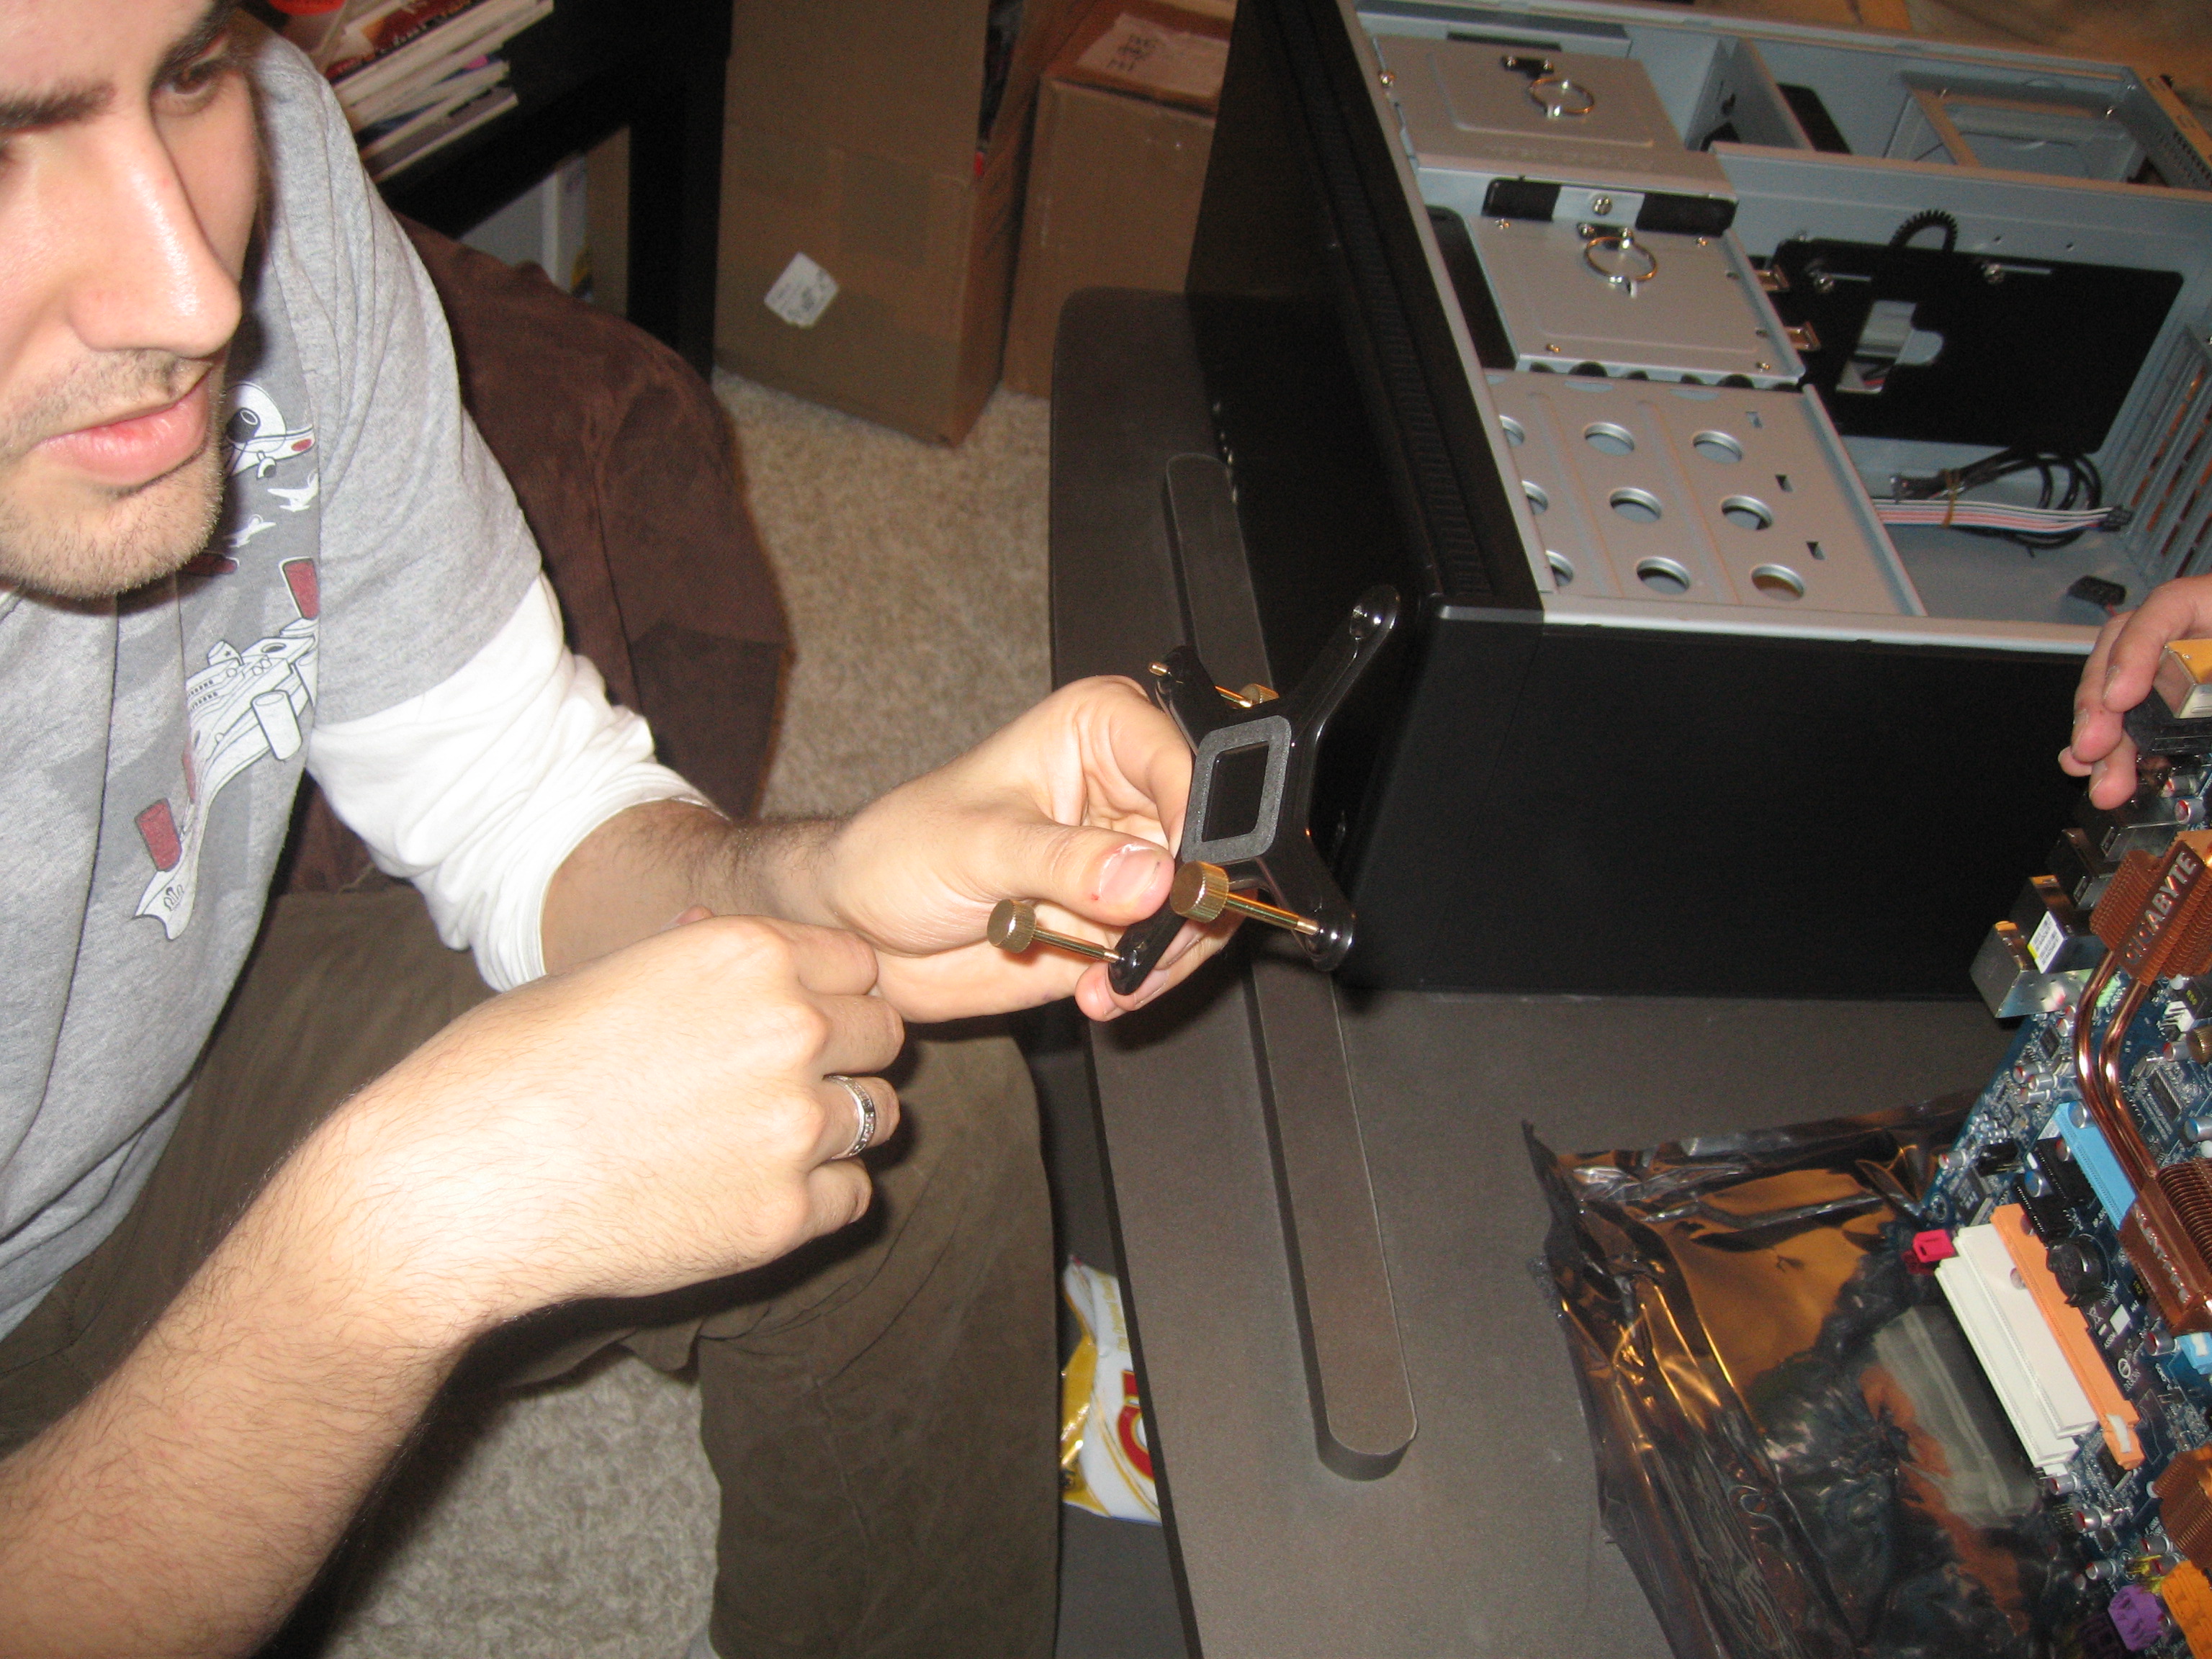
So, then we put the screws in the ‘wrong’ way, and used them to line up with the holes. There were two sets of holes, so having someone on the other side of the mobo helped know if I was seeding it in correctly. Remove the screws and you are left with one perfectly aligned backplate with no guesswork.
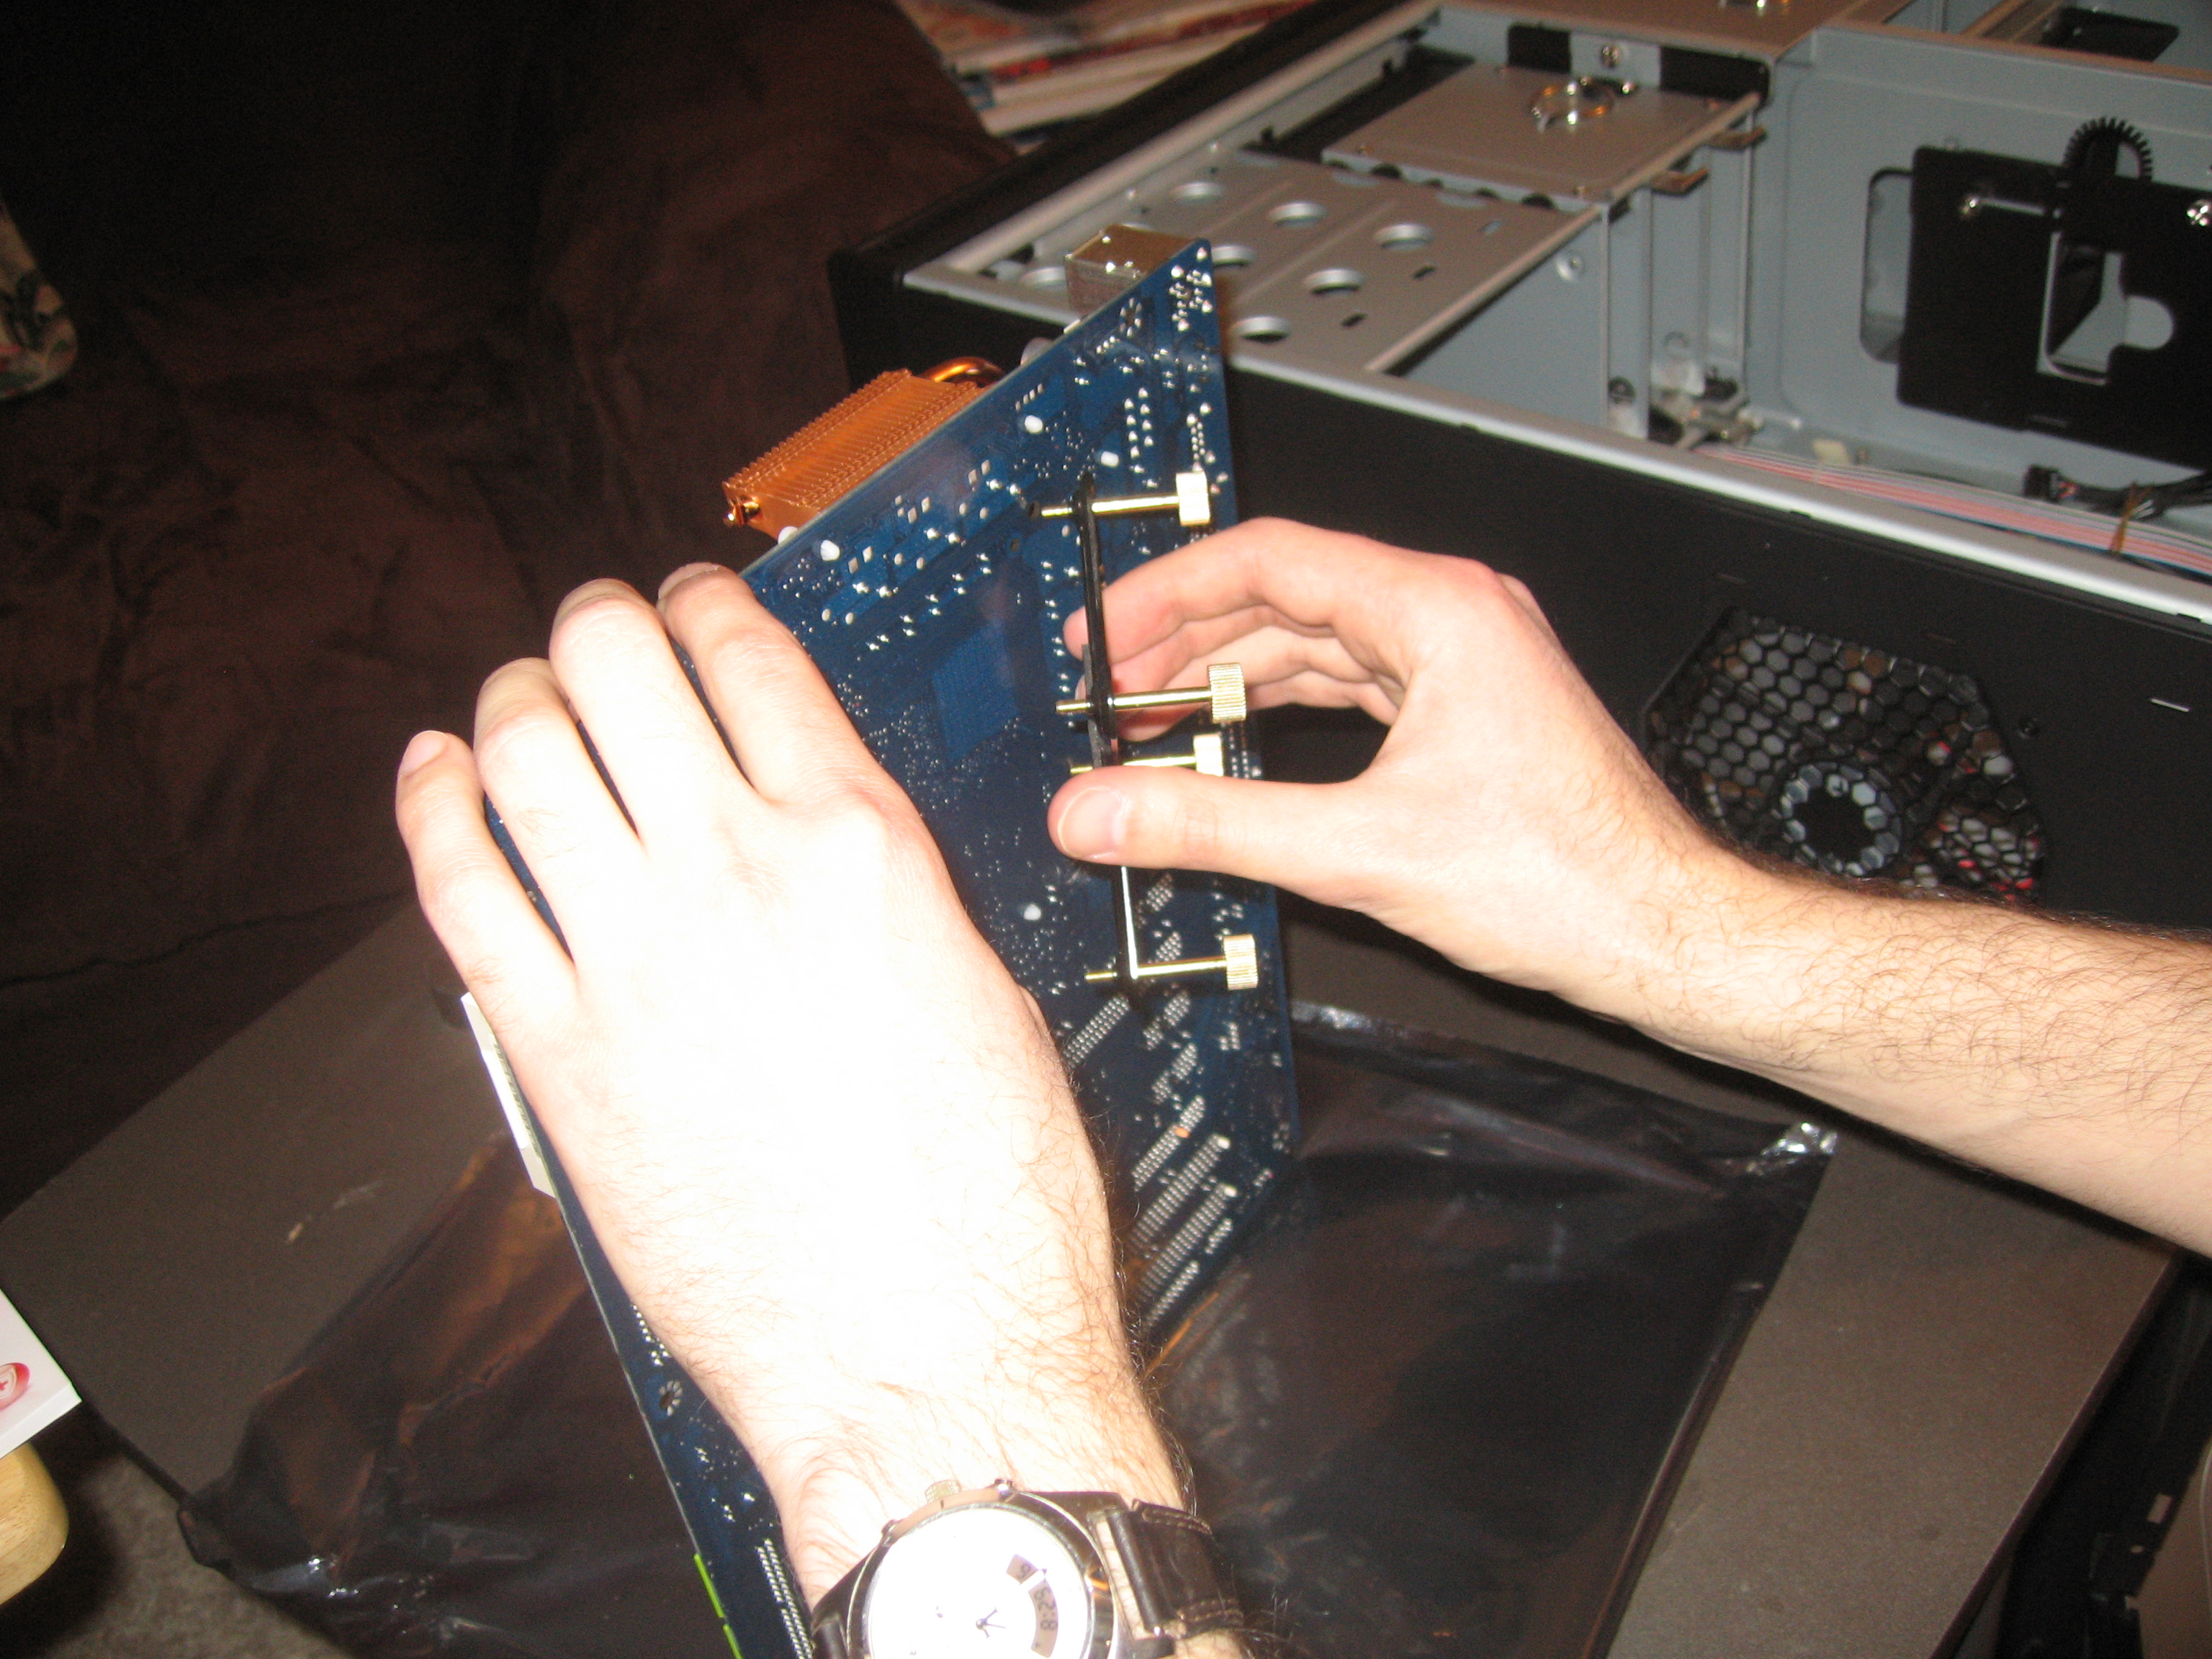
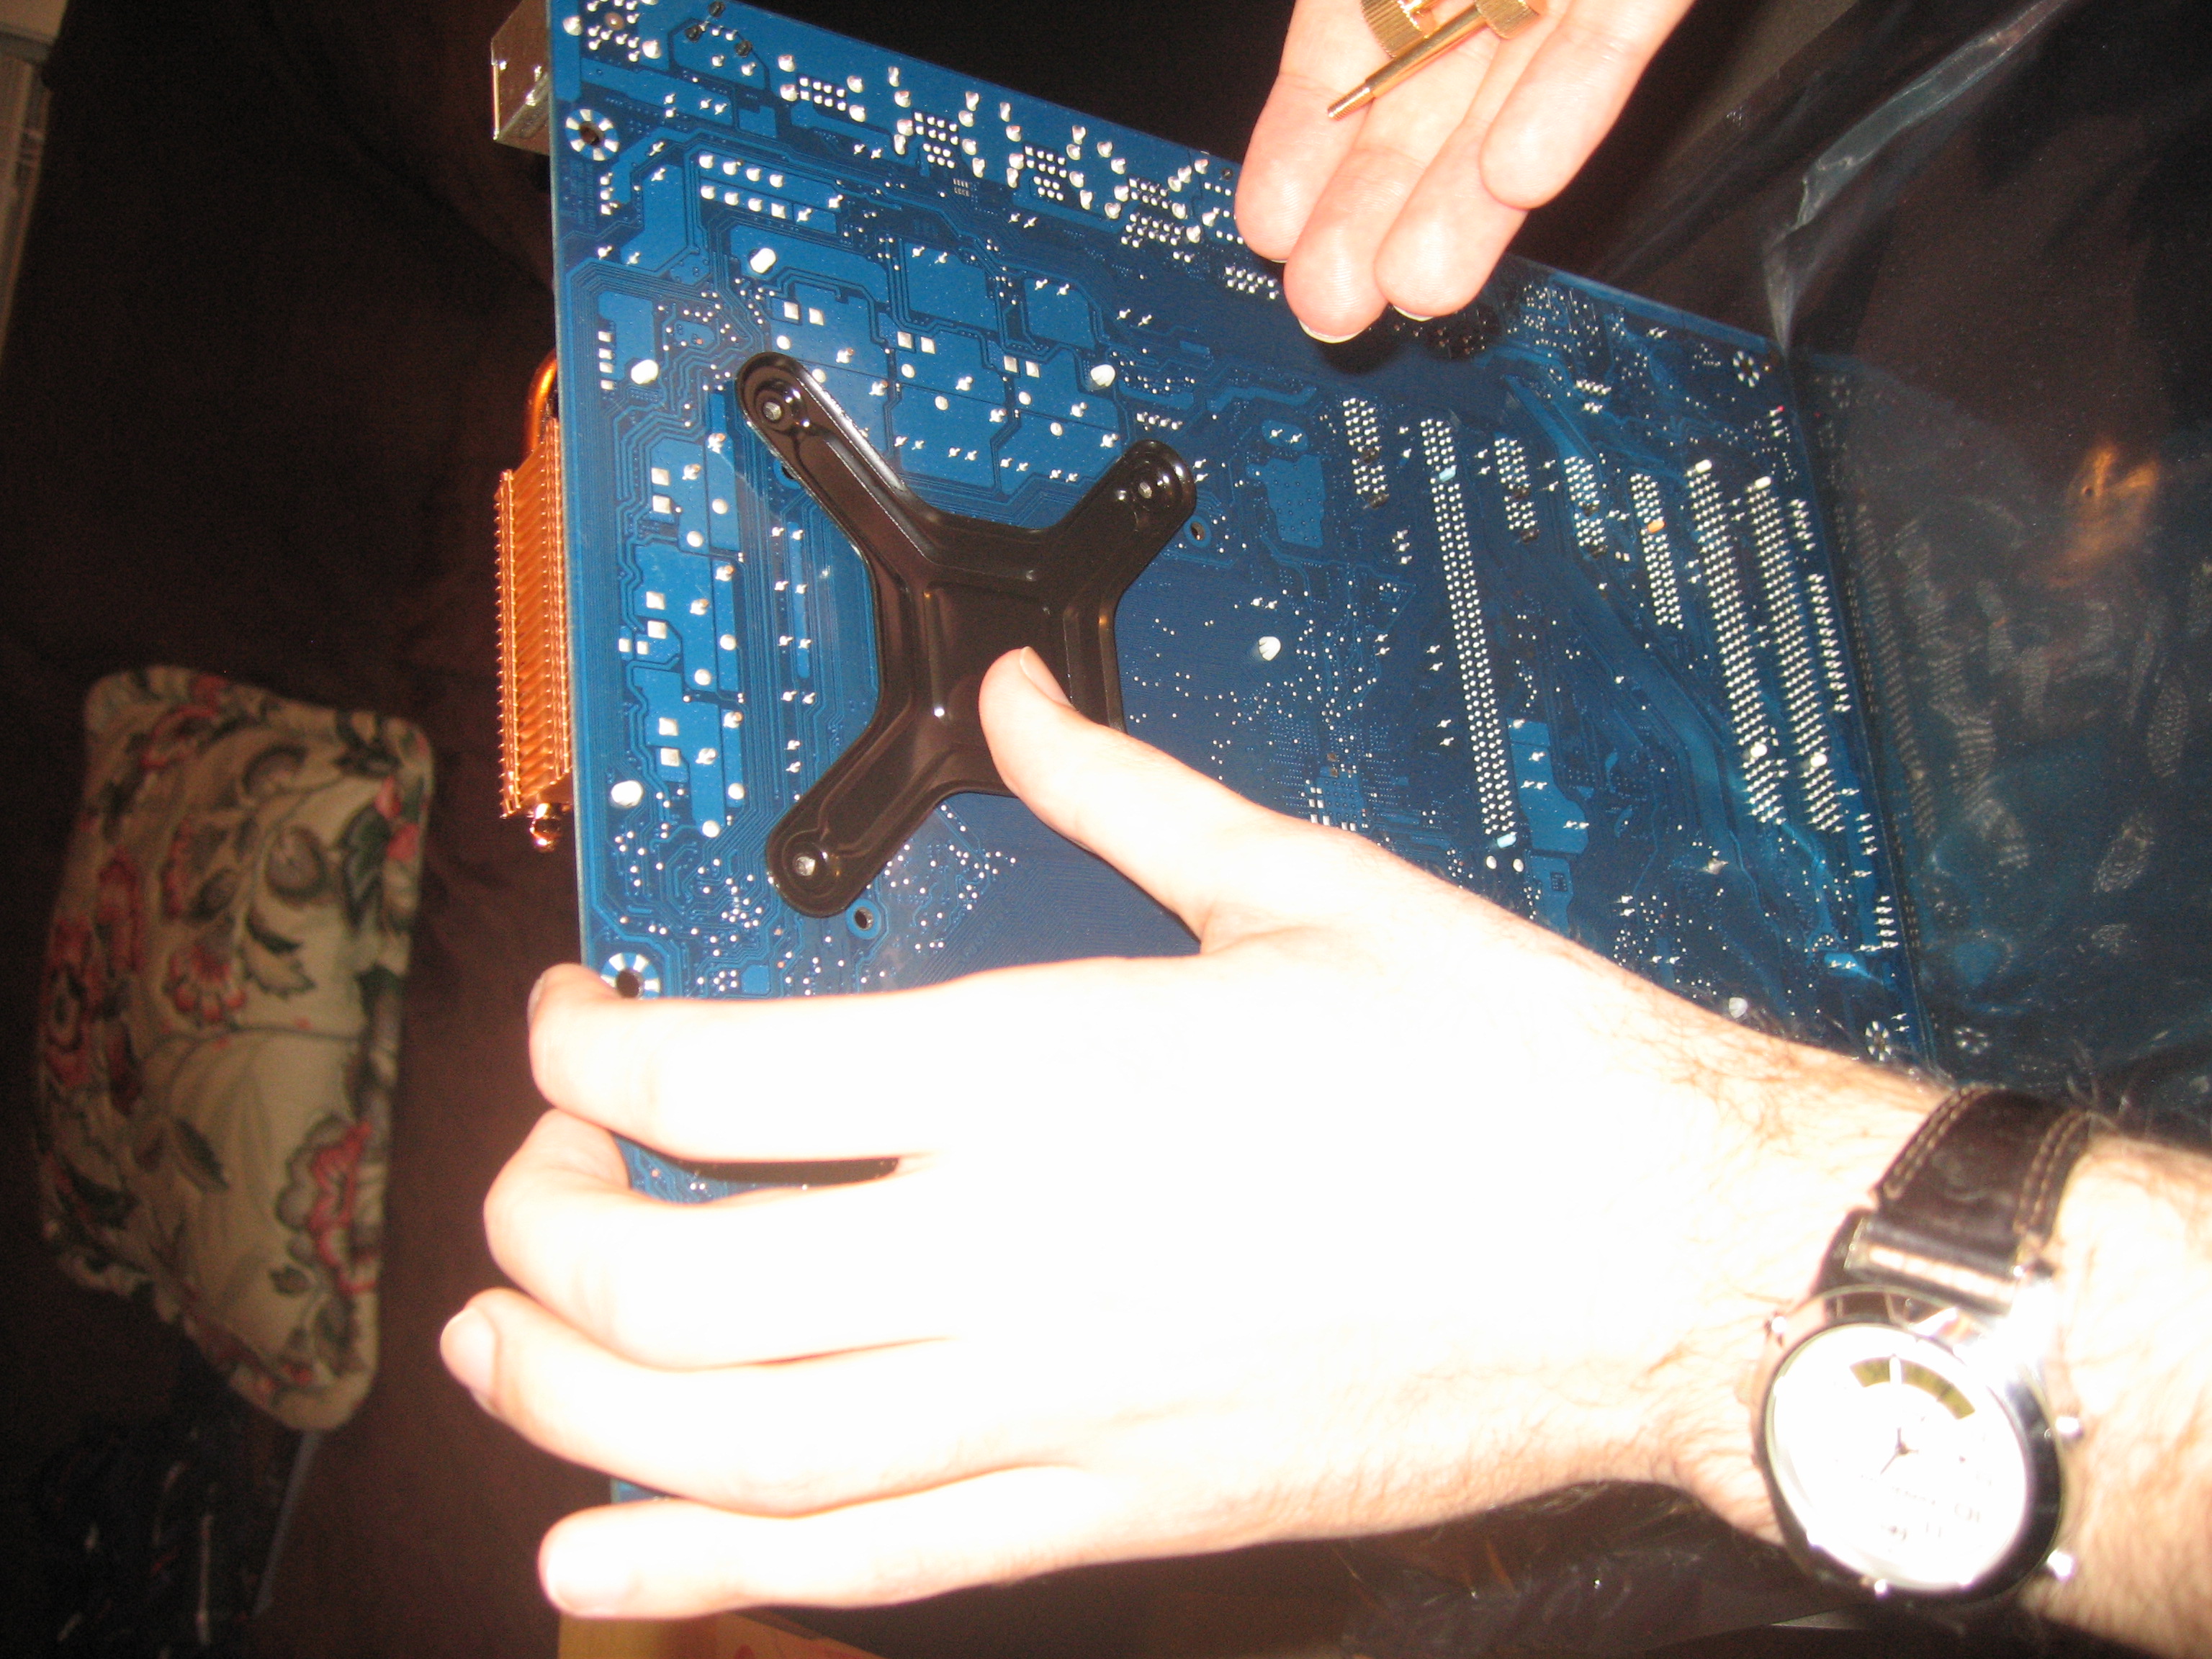

Now that the backplate is in, it is time to put on the main heatsink. But before that, we need to spread on some thermal paste. This is one aspect of the process I have never done. Shouldn’t be too bad. I just want a thin and even layer of paste. Then you use a straight edge to spread and thin it out. You don’t want to scratch your processor, so use a flexible straight edge. I used a piece of plastic the processor had come shipped in. Also got a little on one of the transistors near the chip, so be careful. You have to do it in single swipes, so the edge you use has to be at least as wide as the processor. When you are done, it should be as thin as possible. It is meant to fill in microscopic cracks. It is better to have metal on metal contact with the processor to heatsink, than metal on paste.
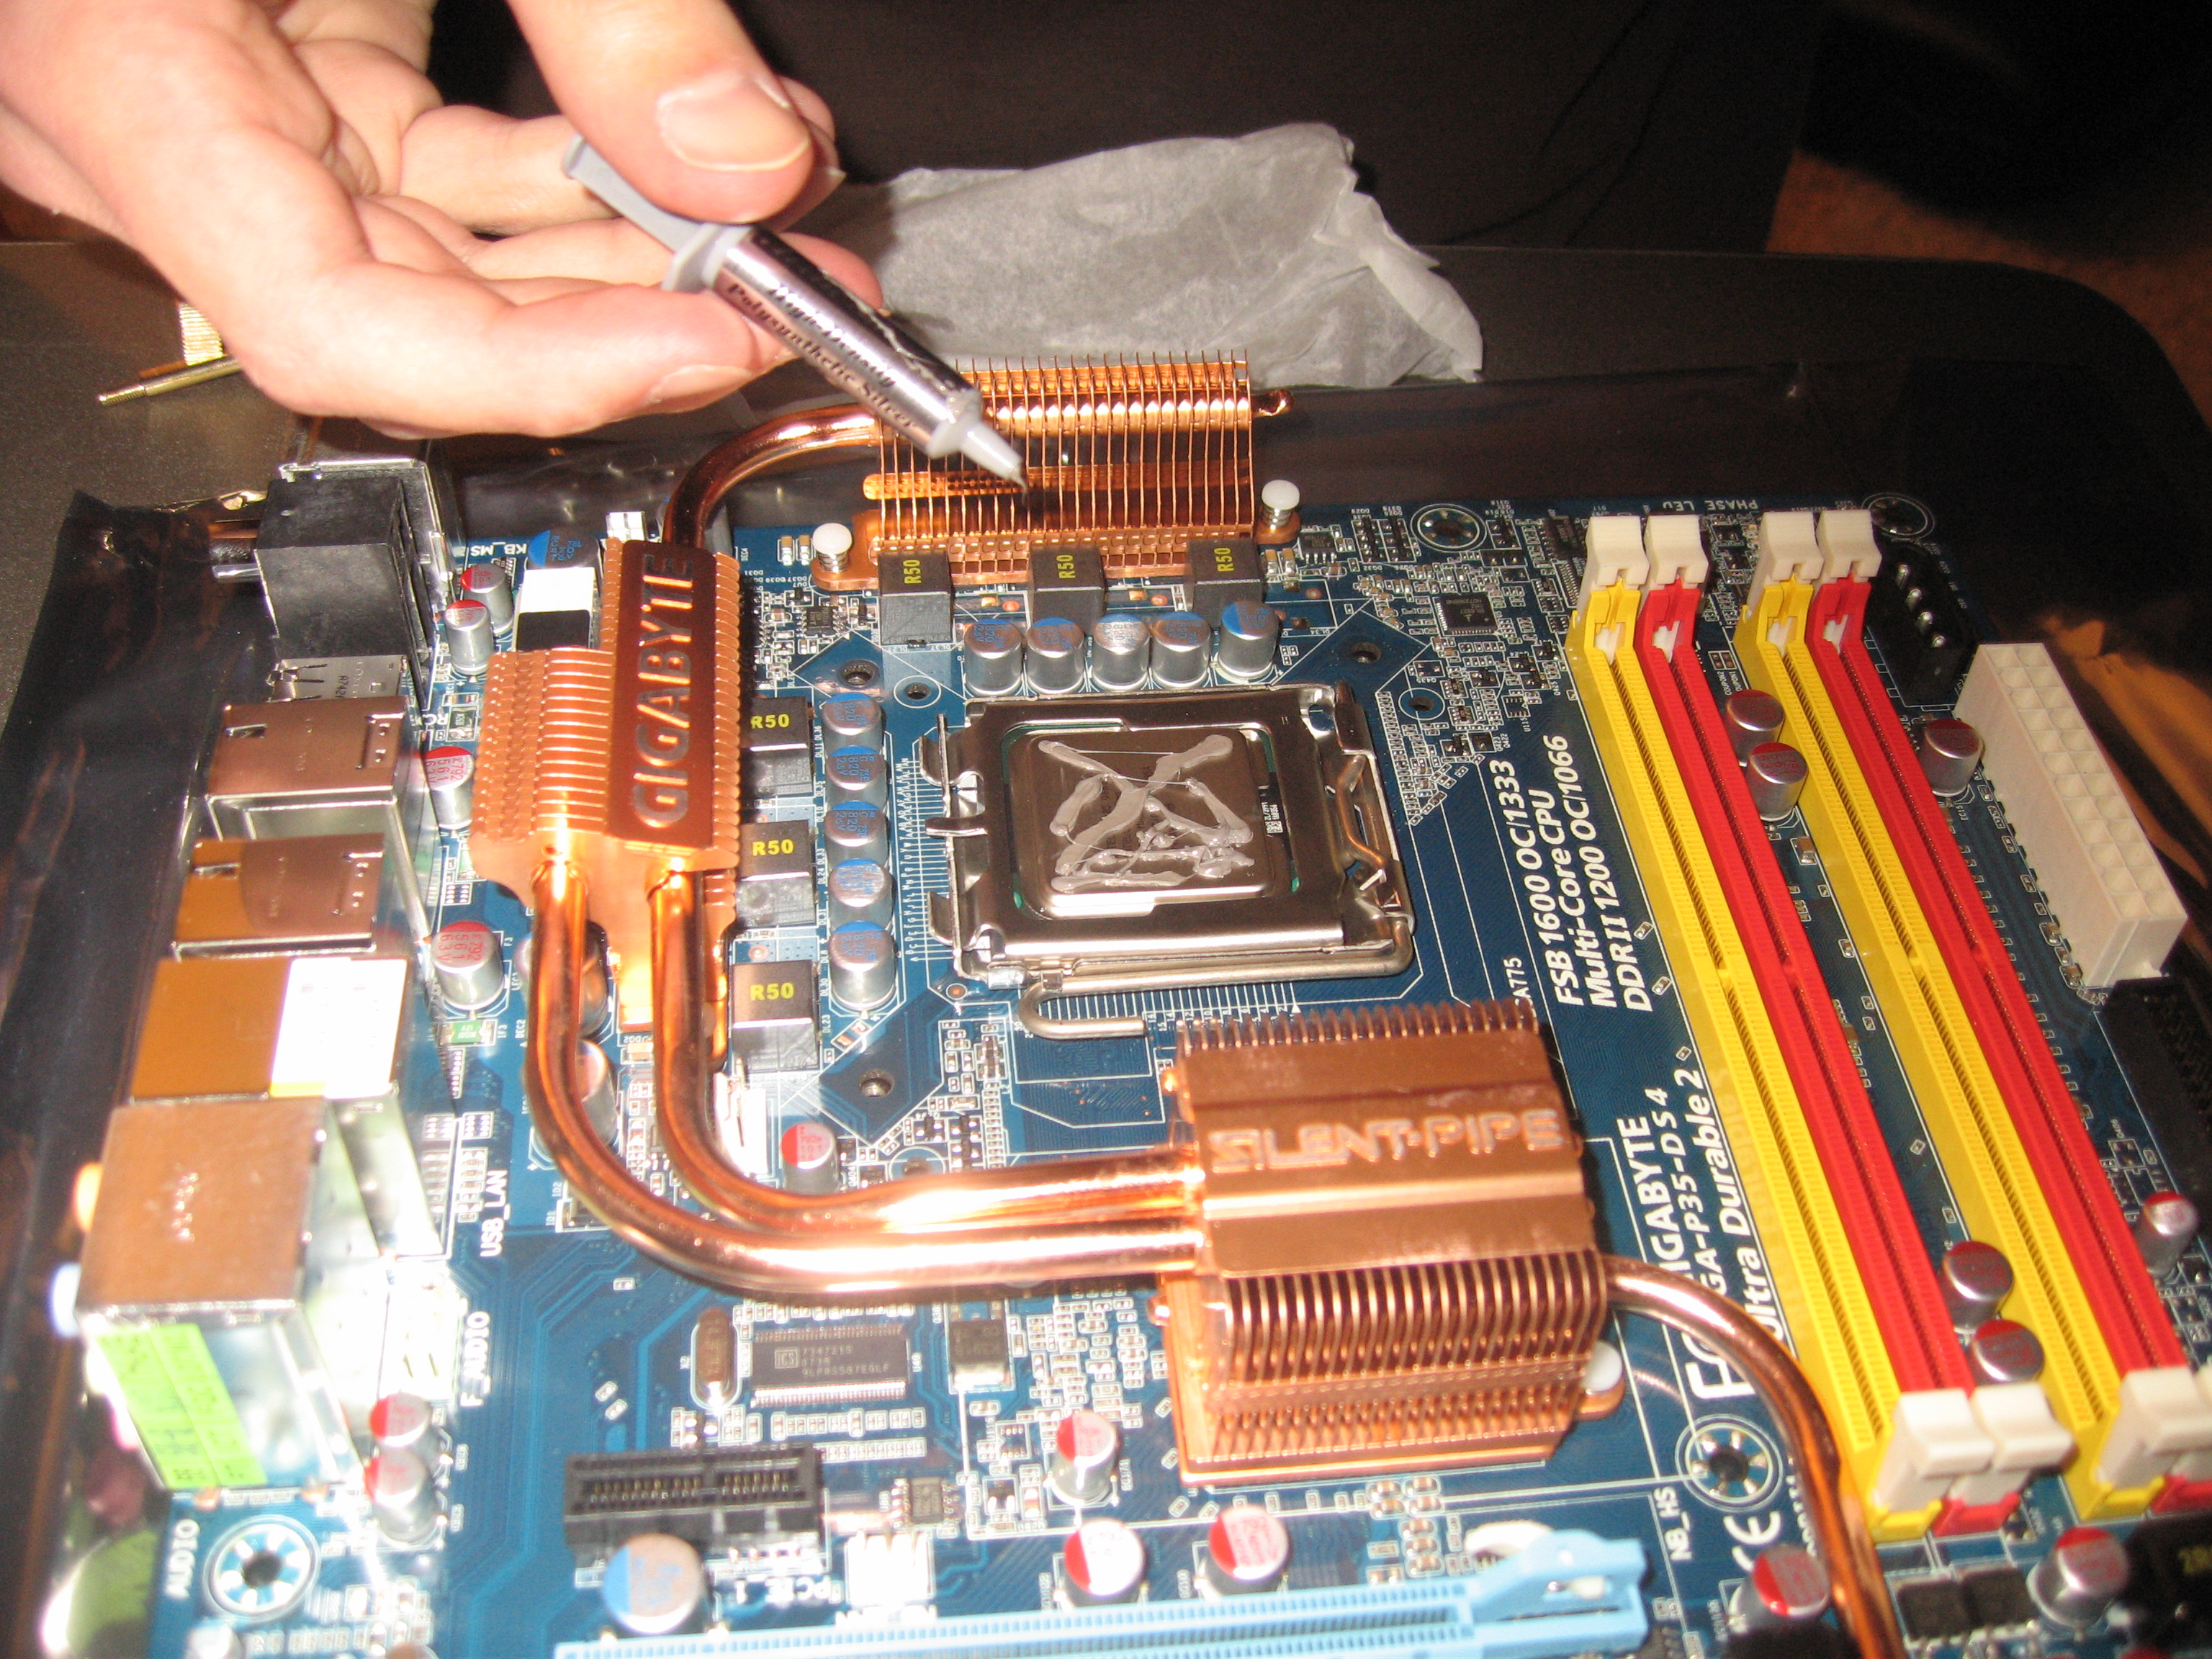
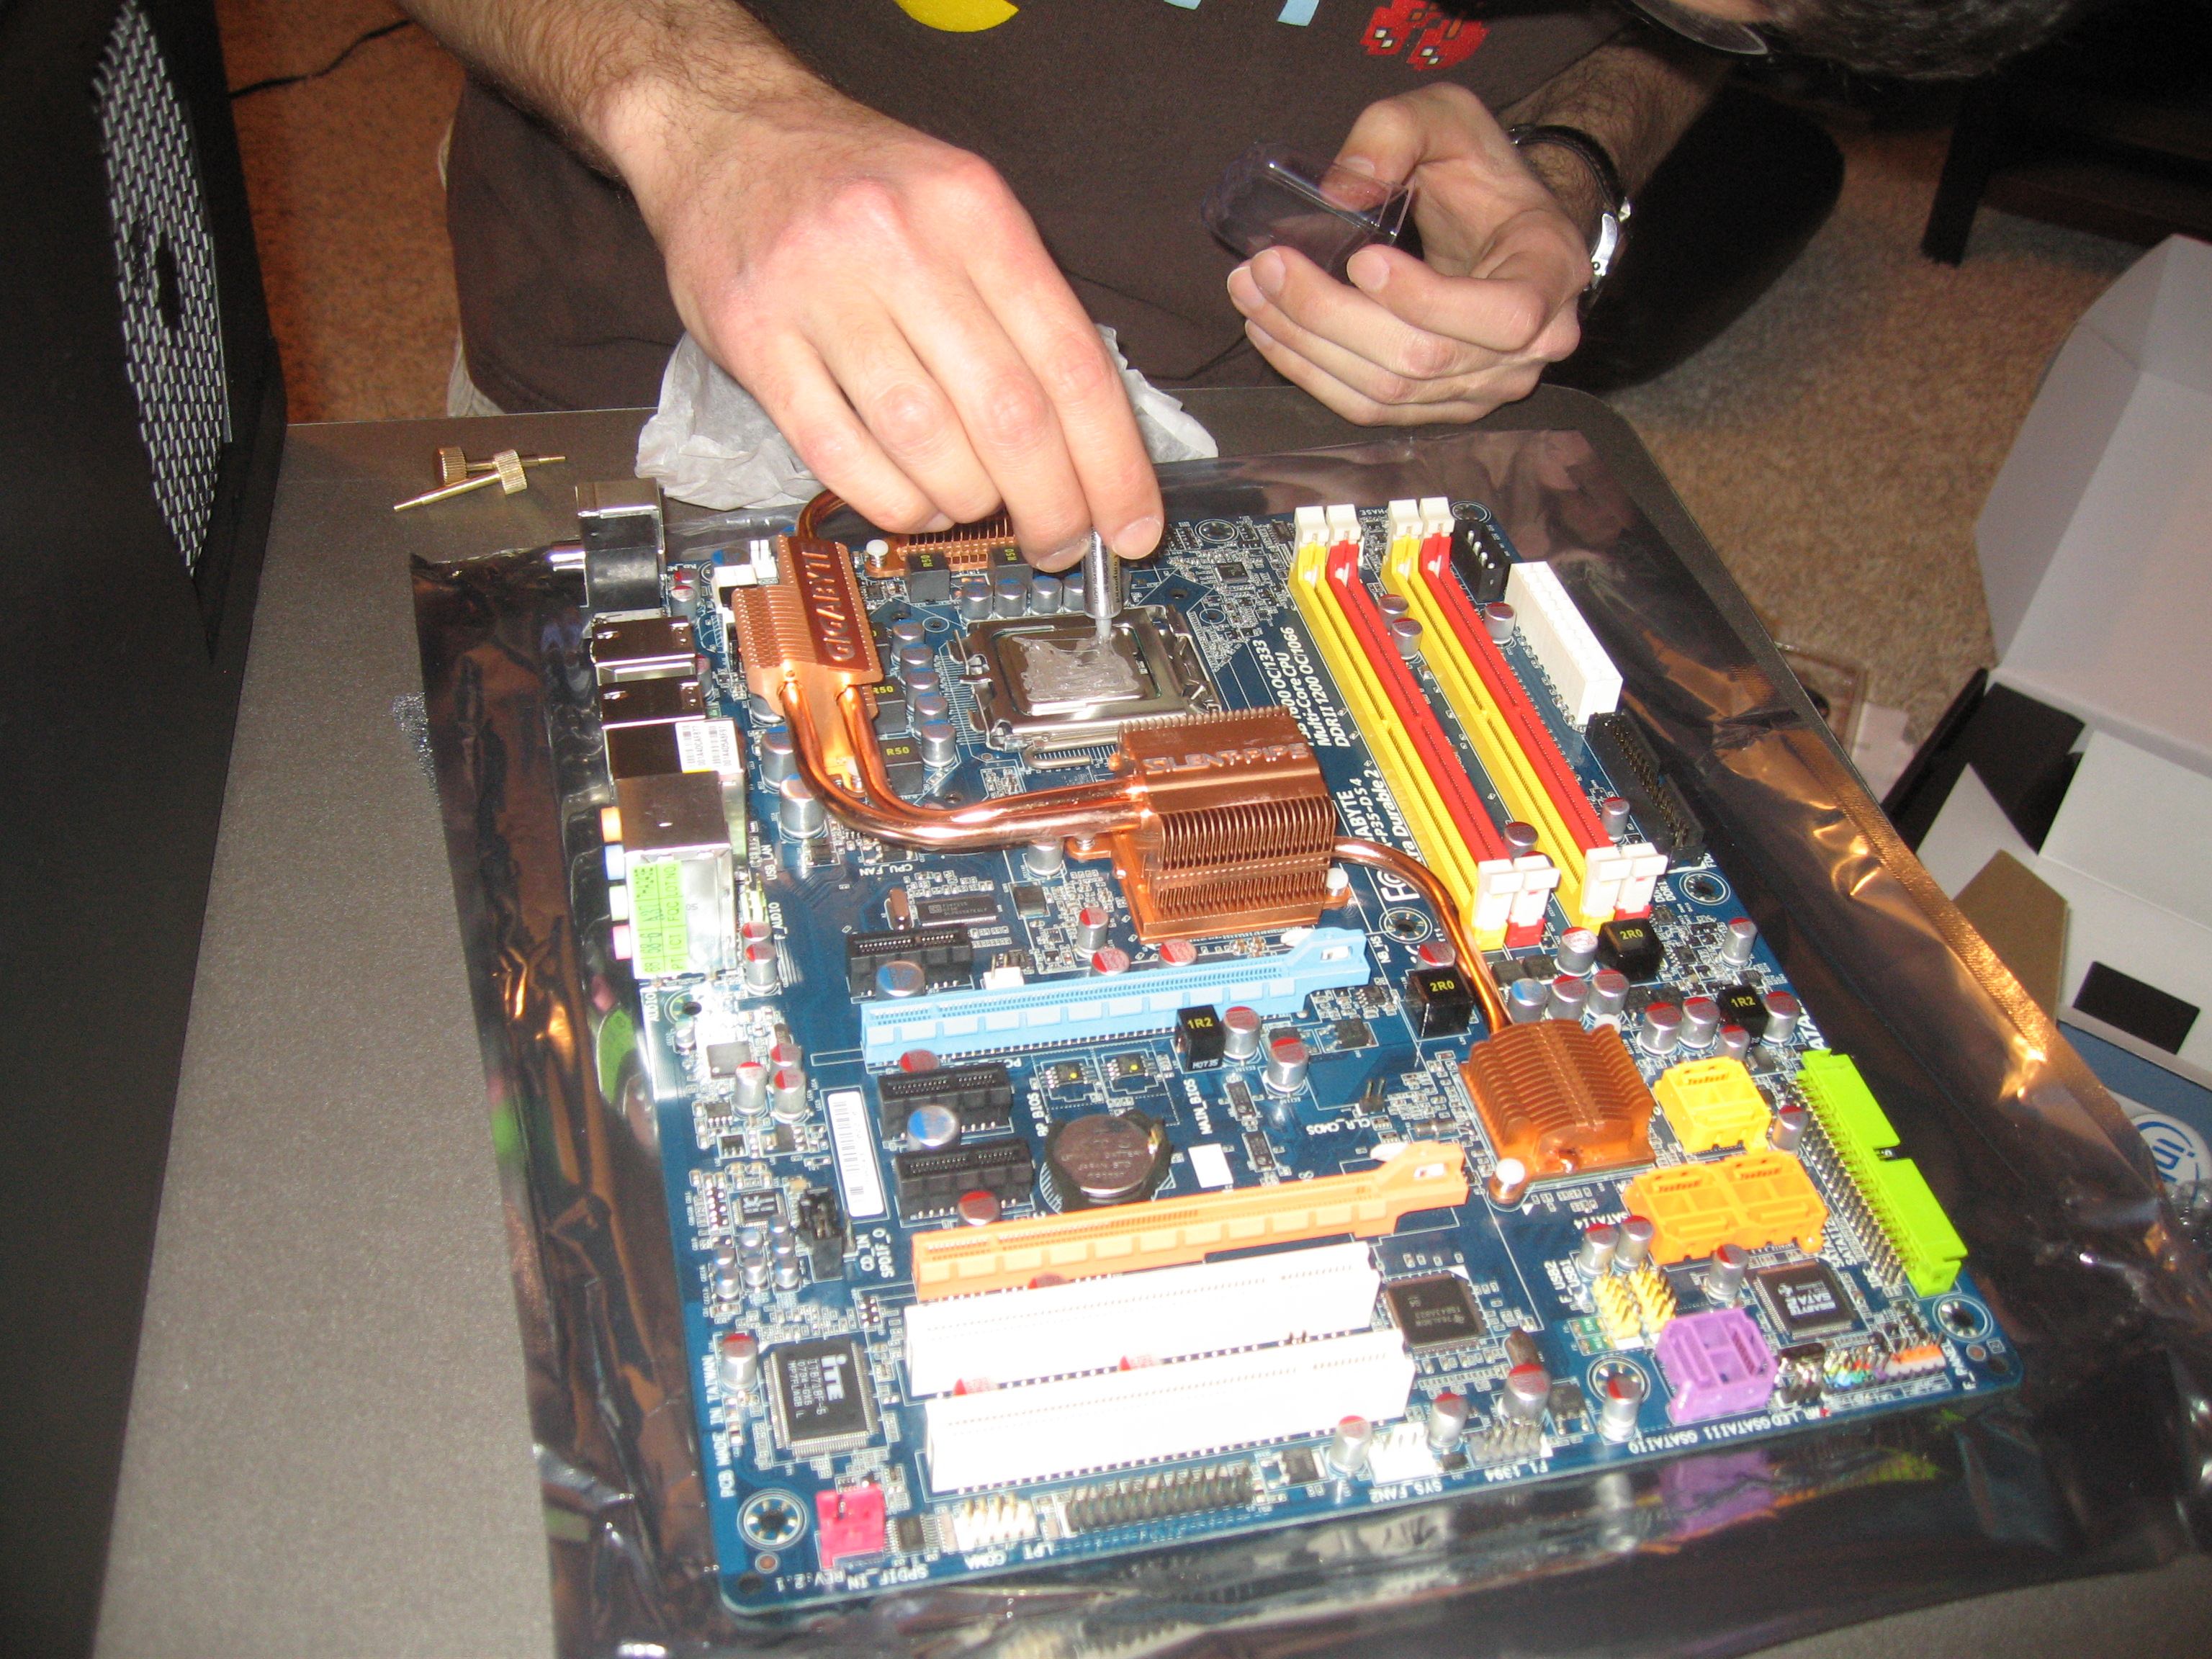
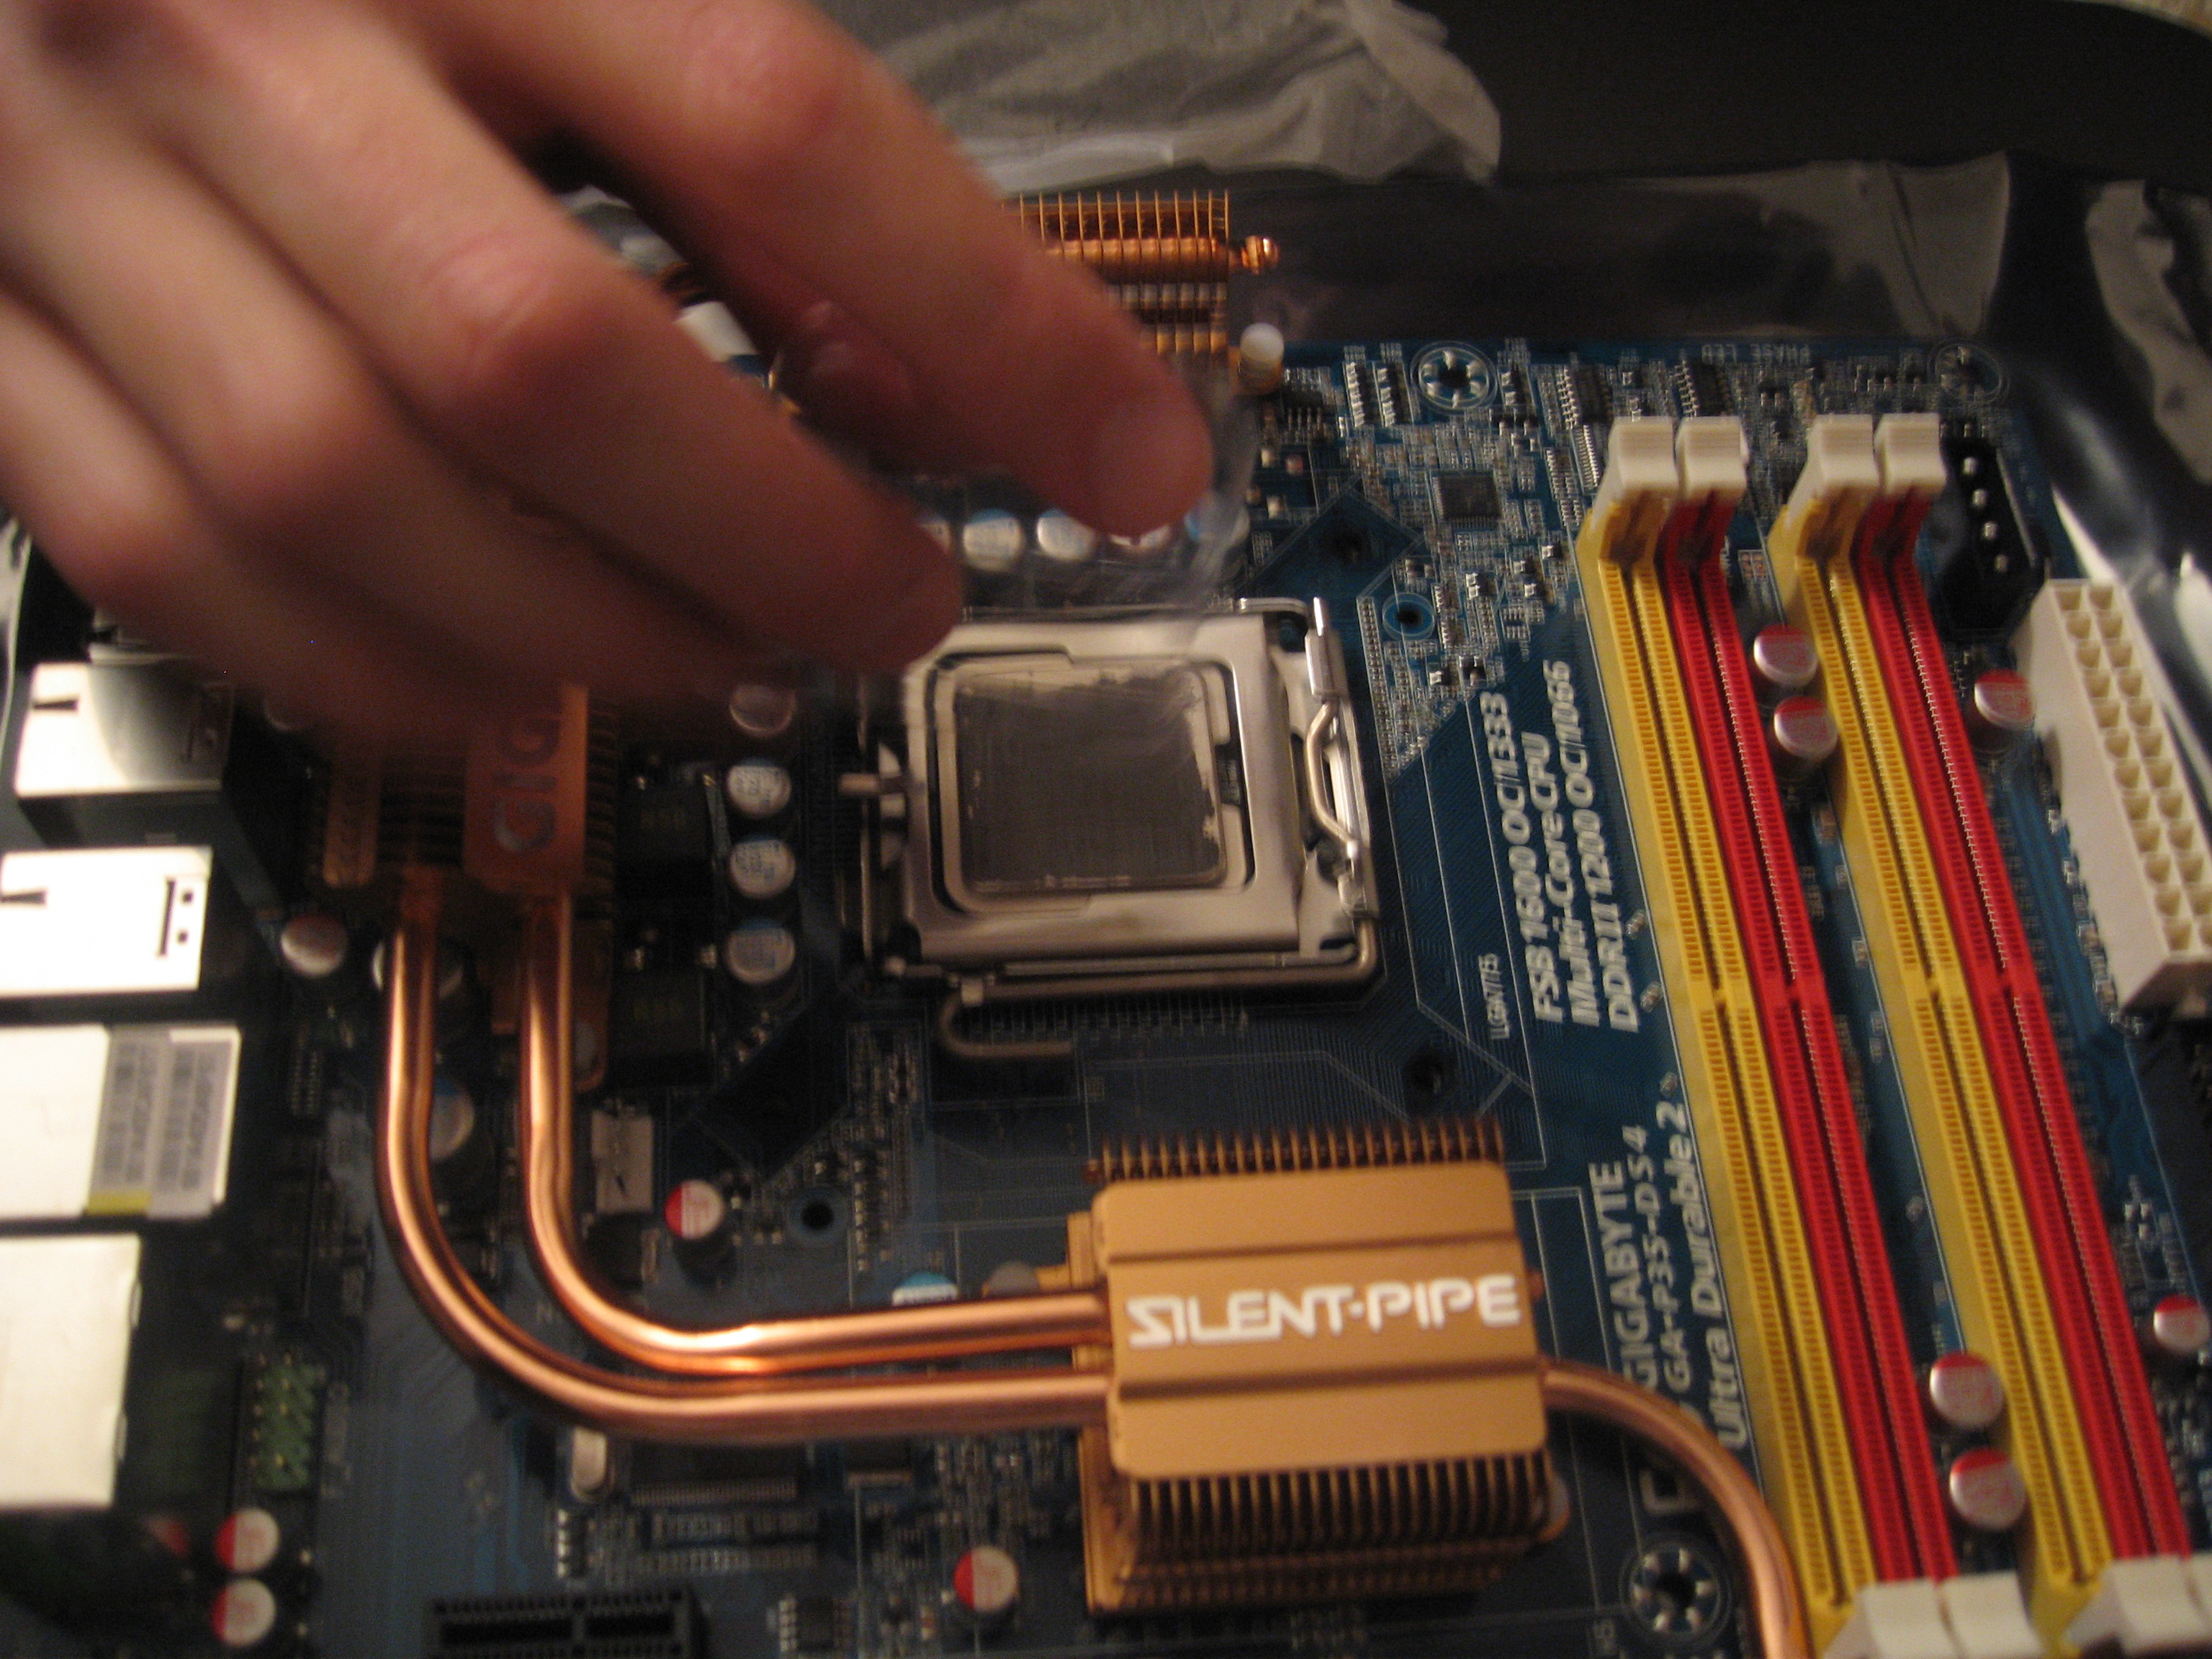
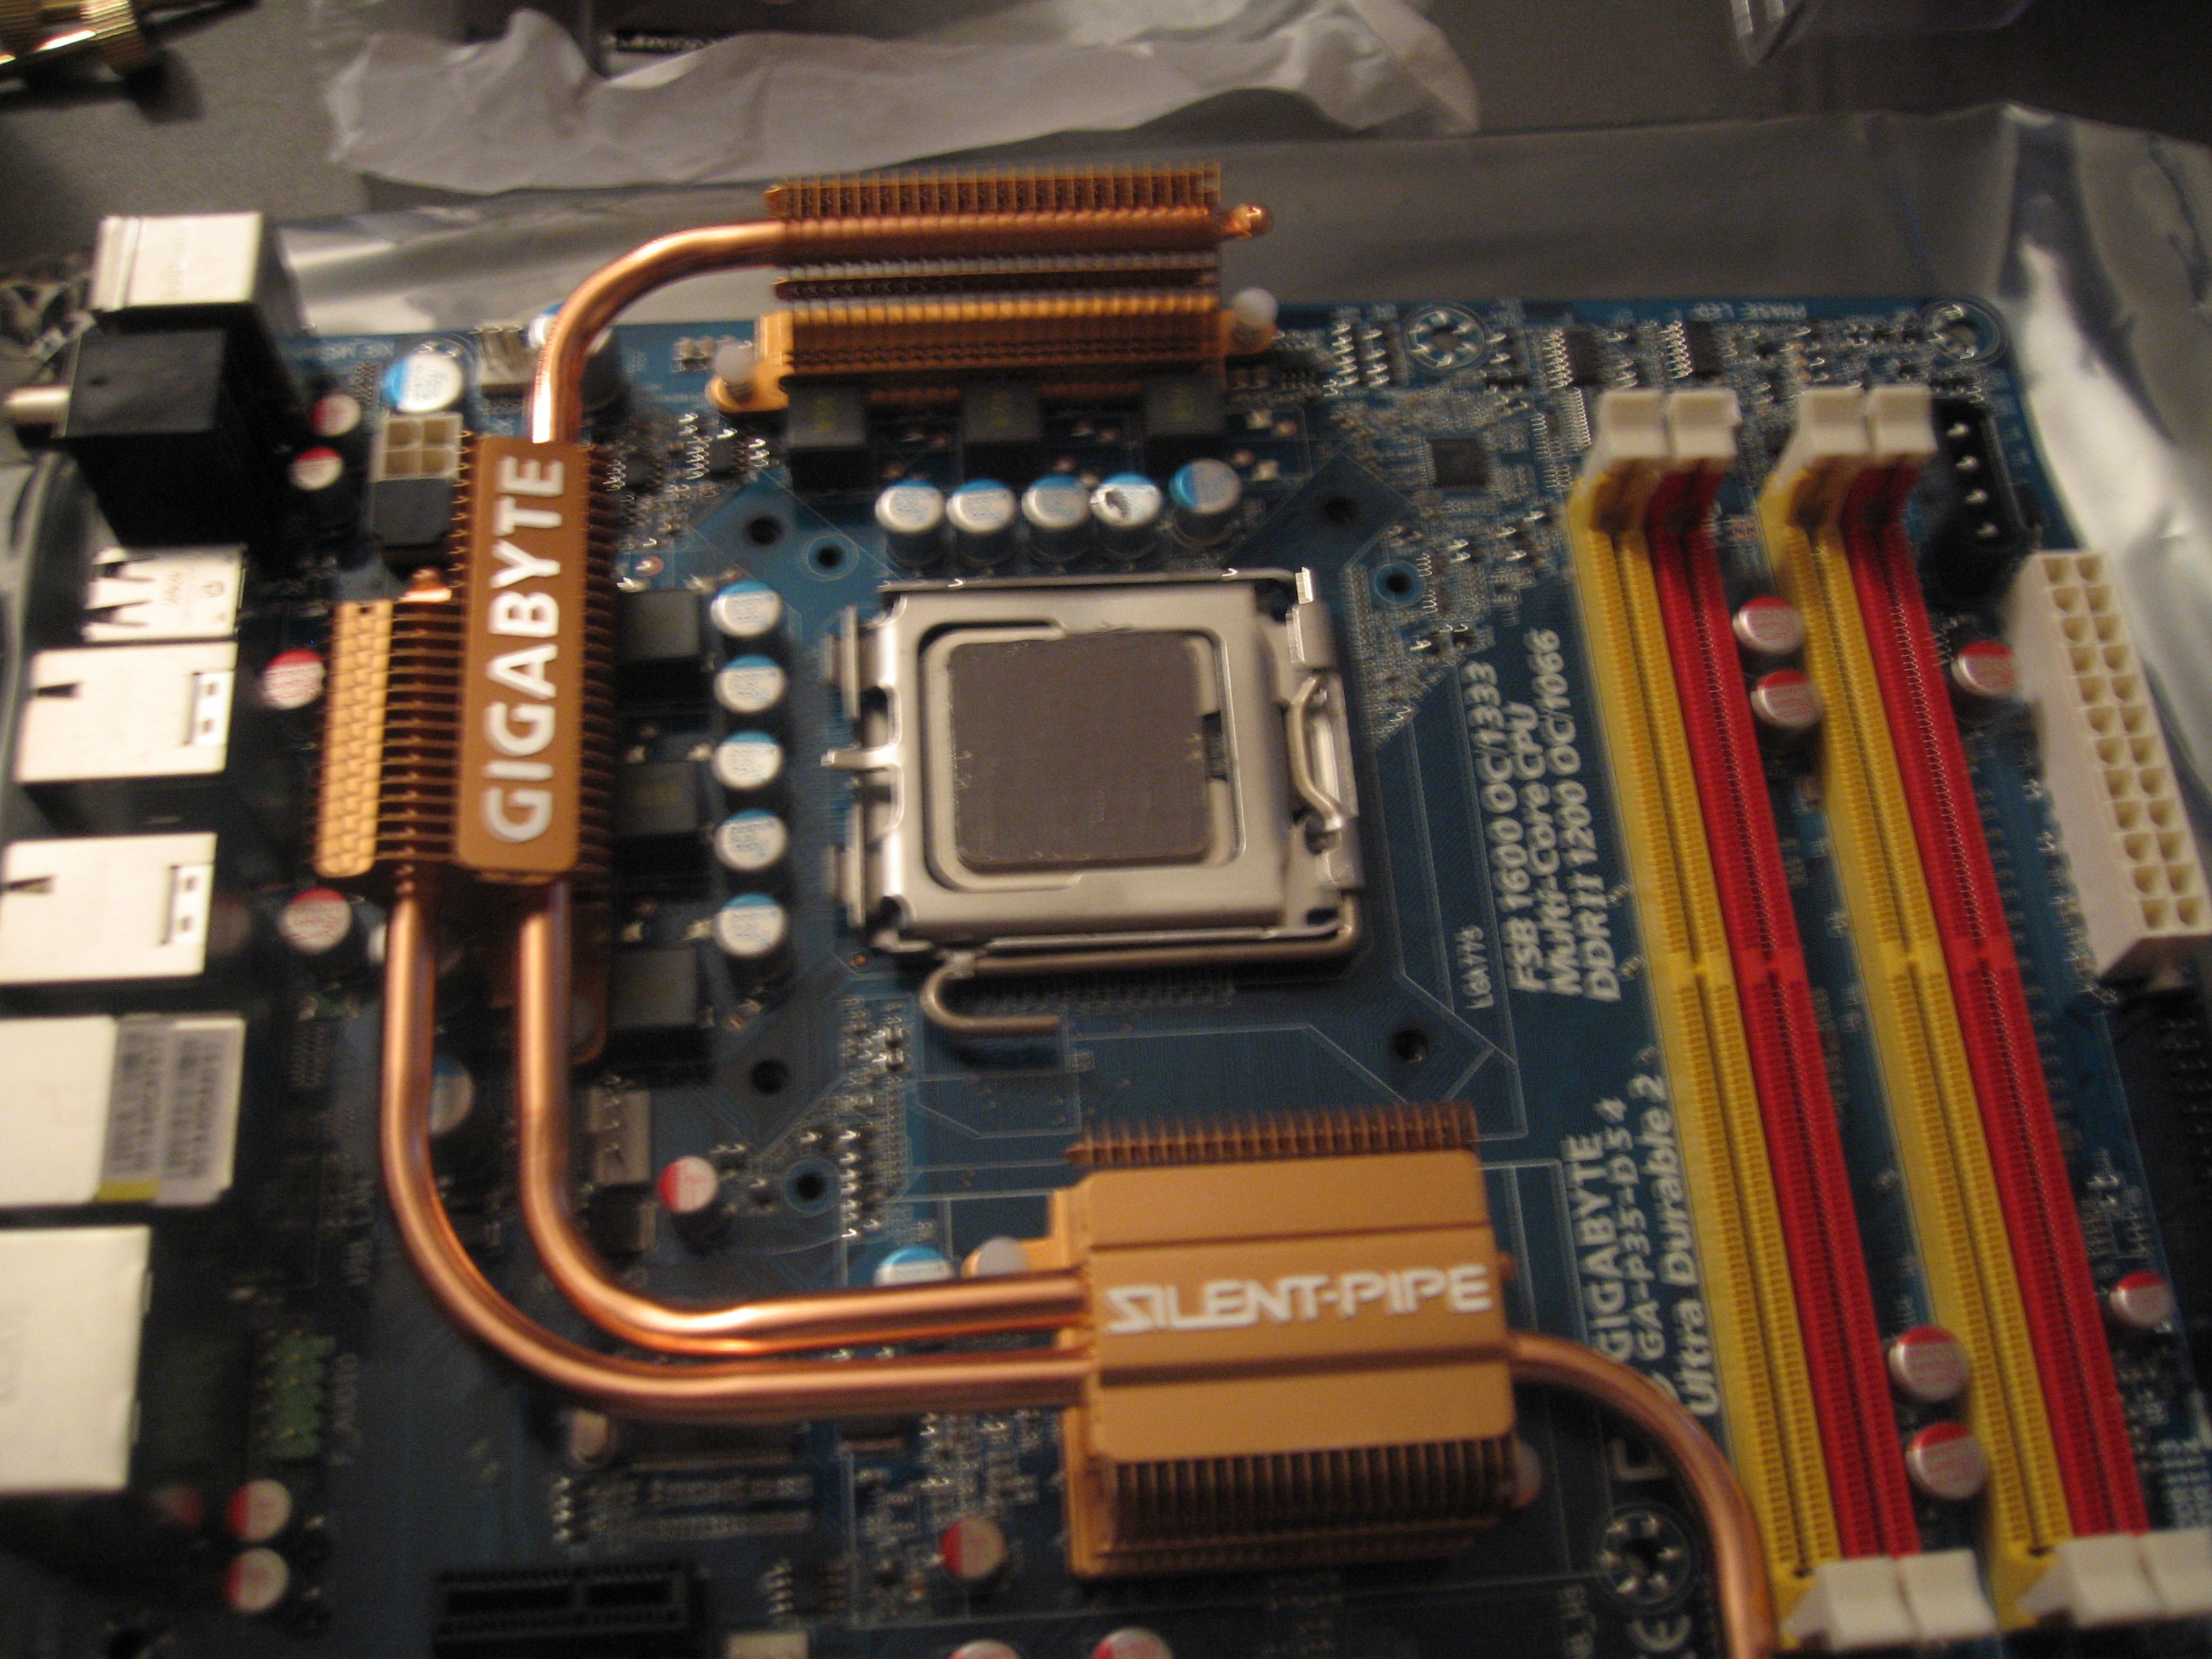
<At this point, do something I did not. Make sure that the white cable that is connected to the processor’s heatsink fan is seeding to point DOWN from the processor. This way, it can connect to the back fan panel control. Also, pull off the black tab on the 6pin power supply. It will be a pain to do later.>
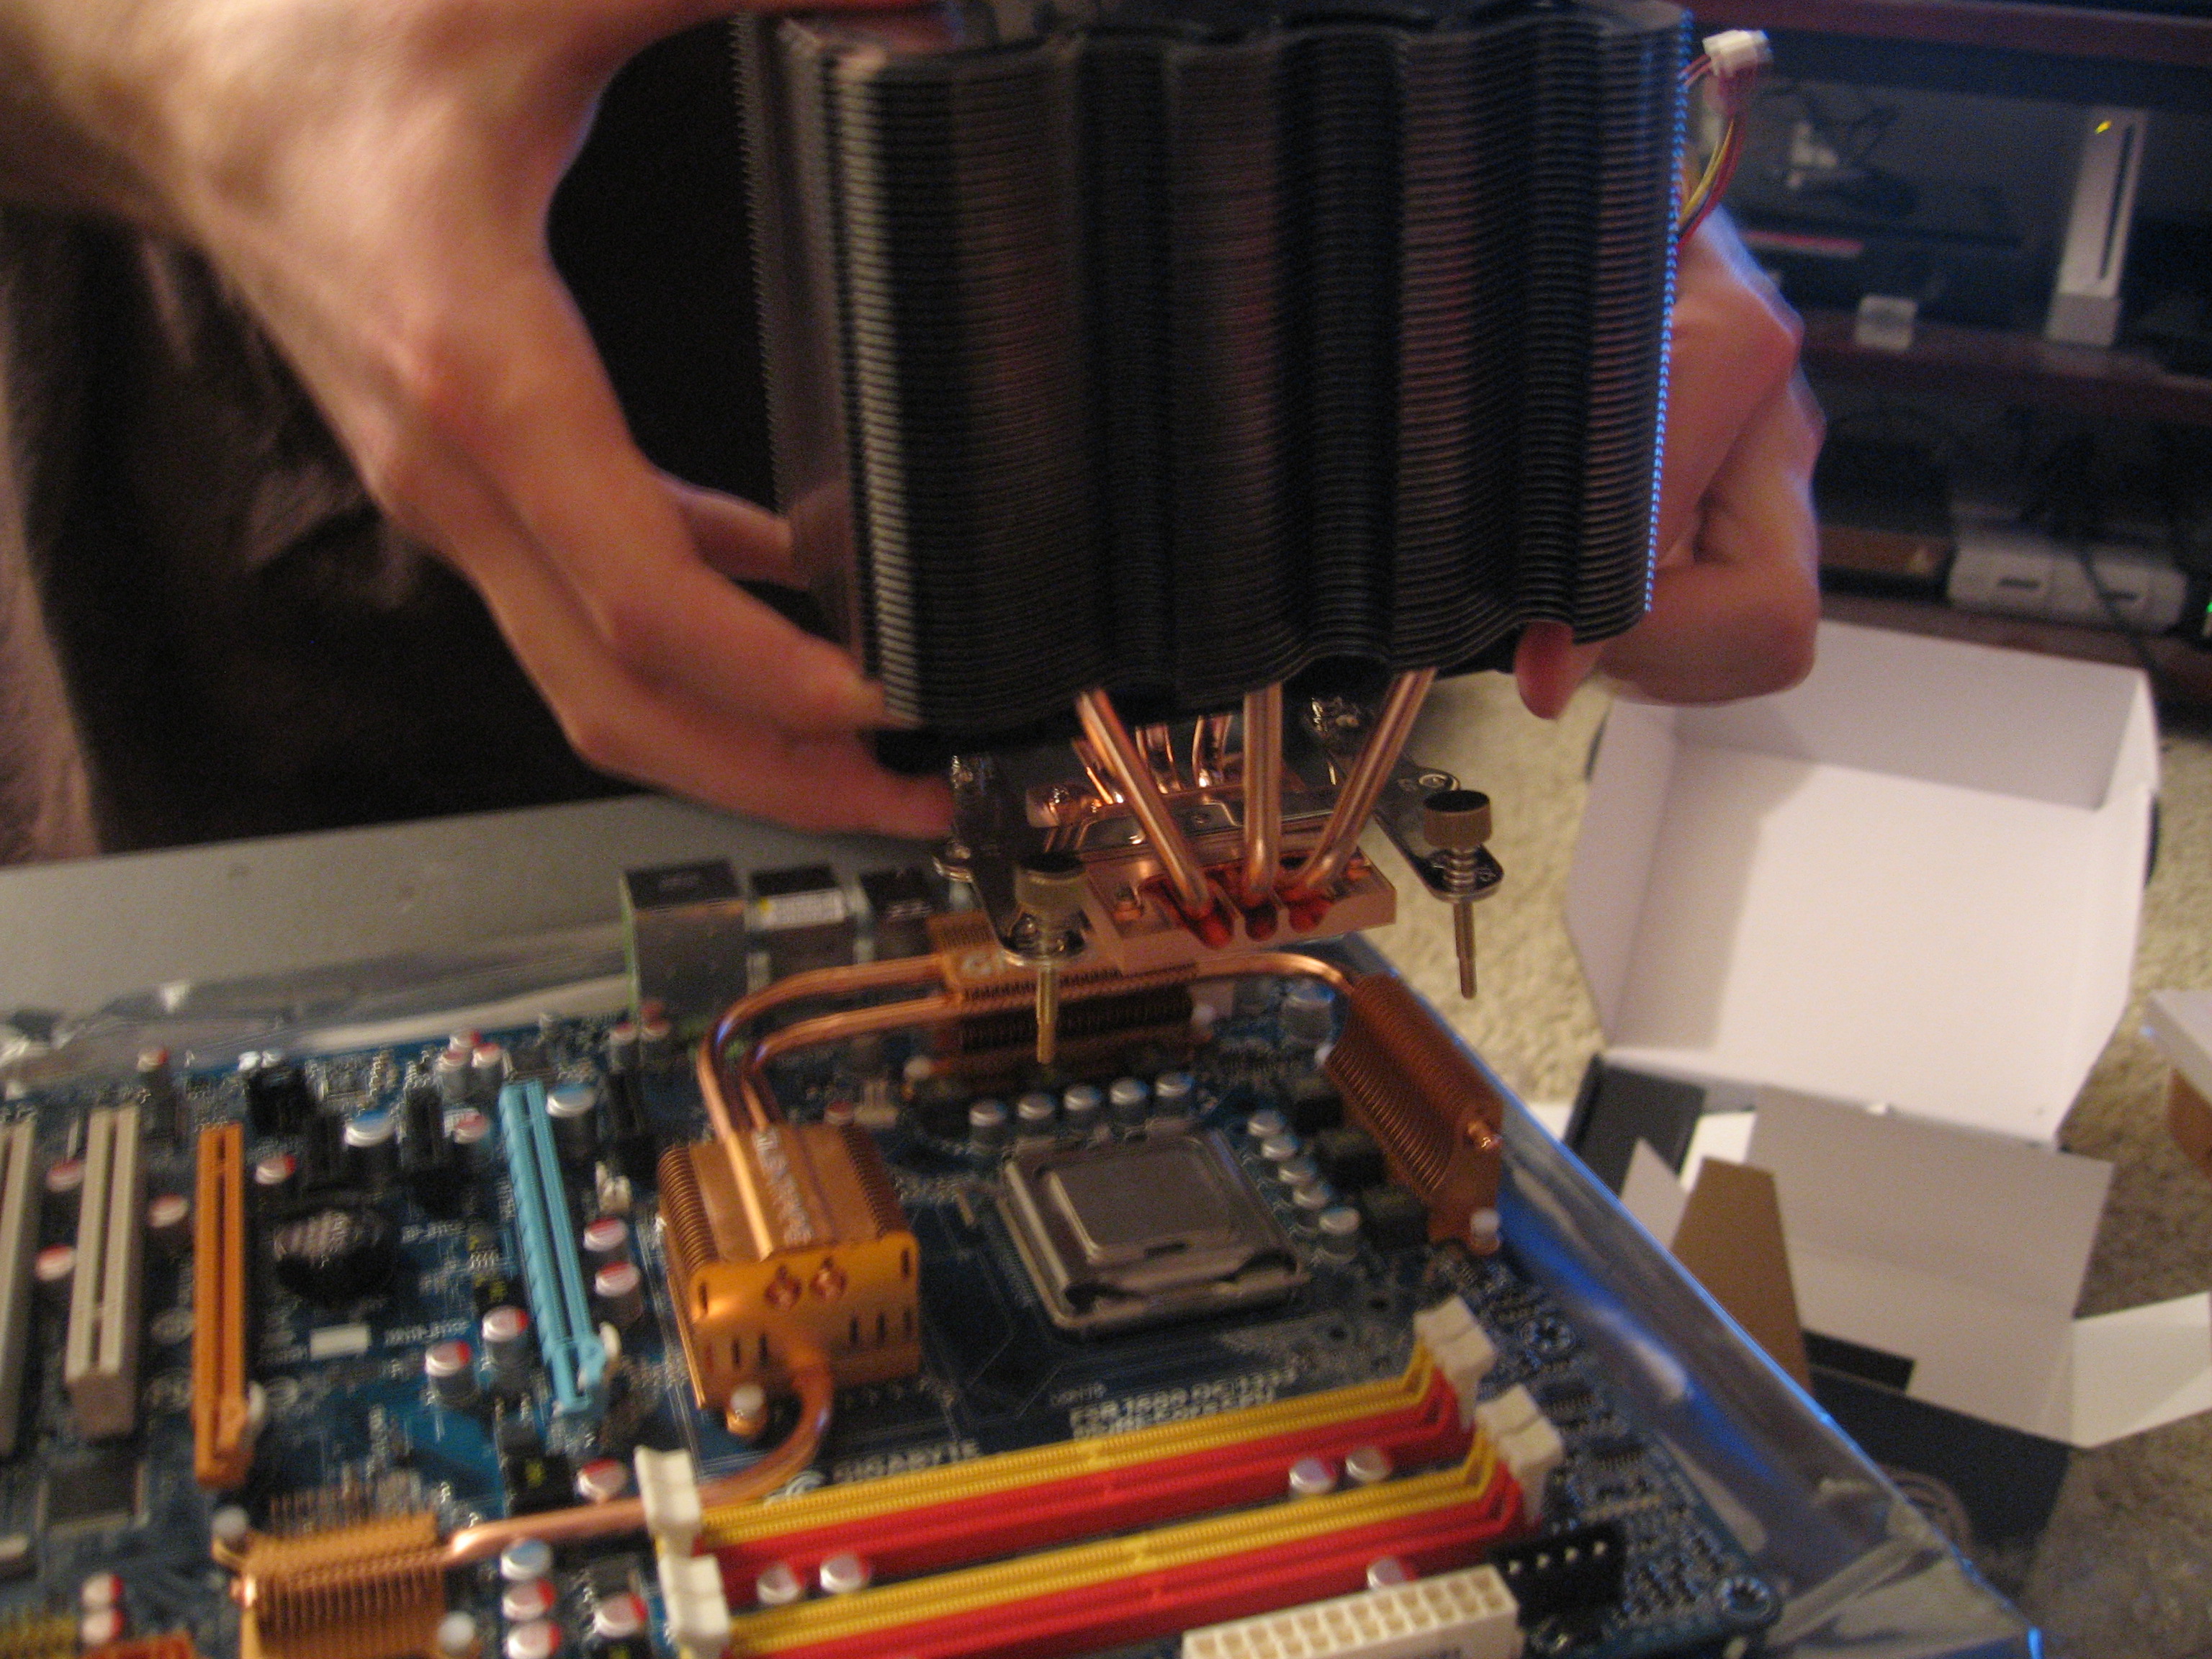
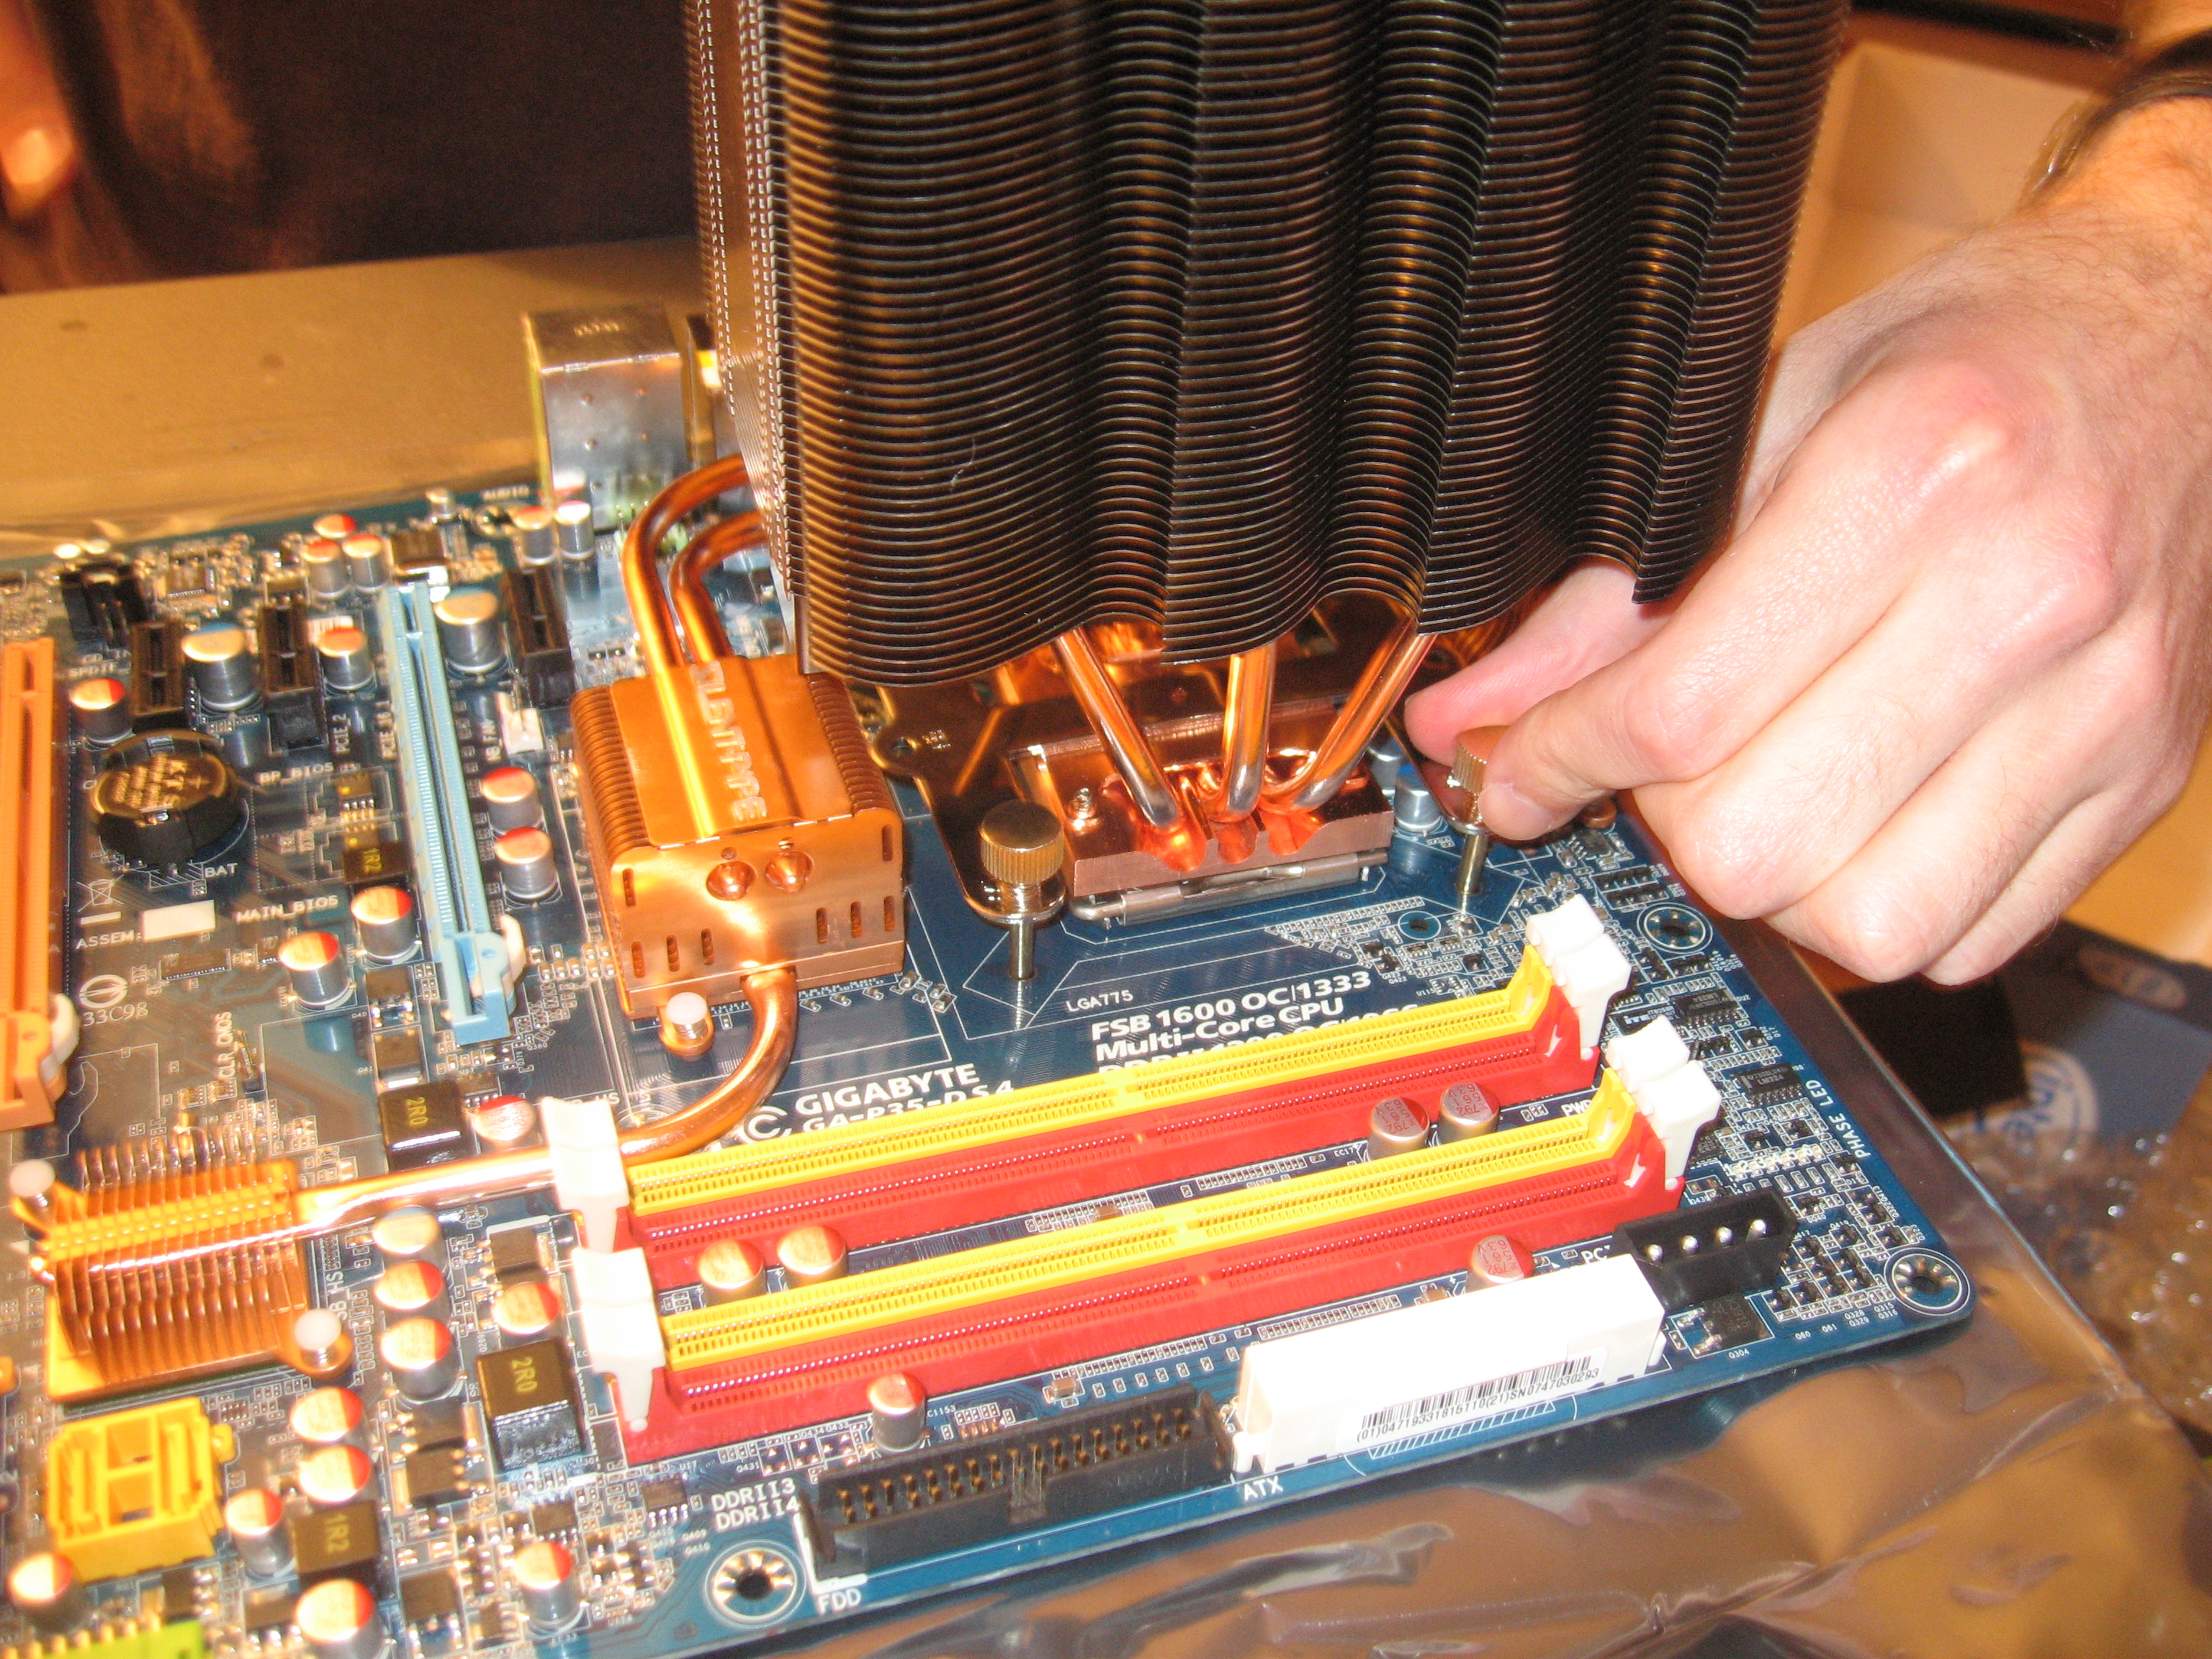
Putting the heatsink on was one of the trickier parts. I had to have help getting it lined up and screwed in while holding it above the paste. 3 college degrees and 15 minutes later the sink was in place and screwed in. After that, I placed the motherboard into the case and screwed it in. It was hard to hold and place it, so I actually used the heatsink. I figured “if this is going to make it come off, then it would never hold over time once installed and under constant stress.”
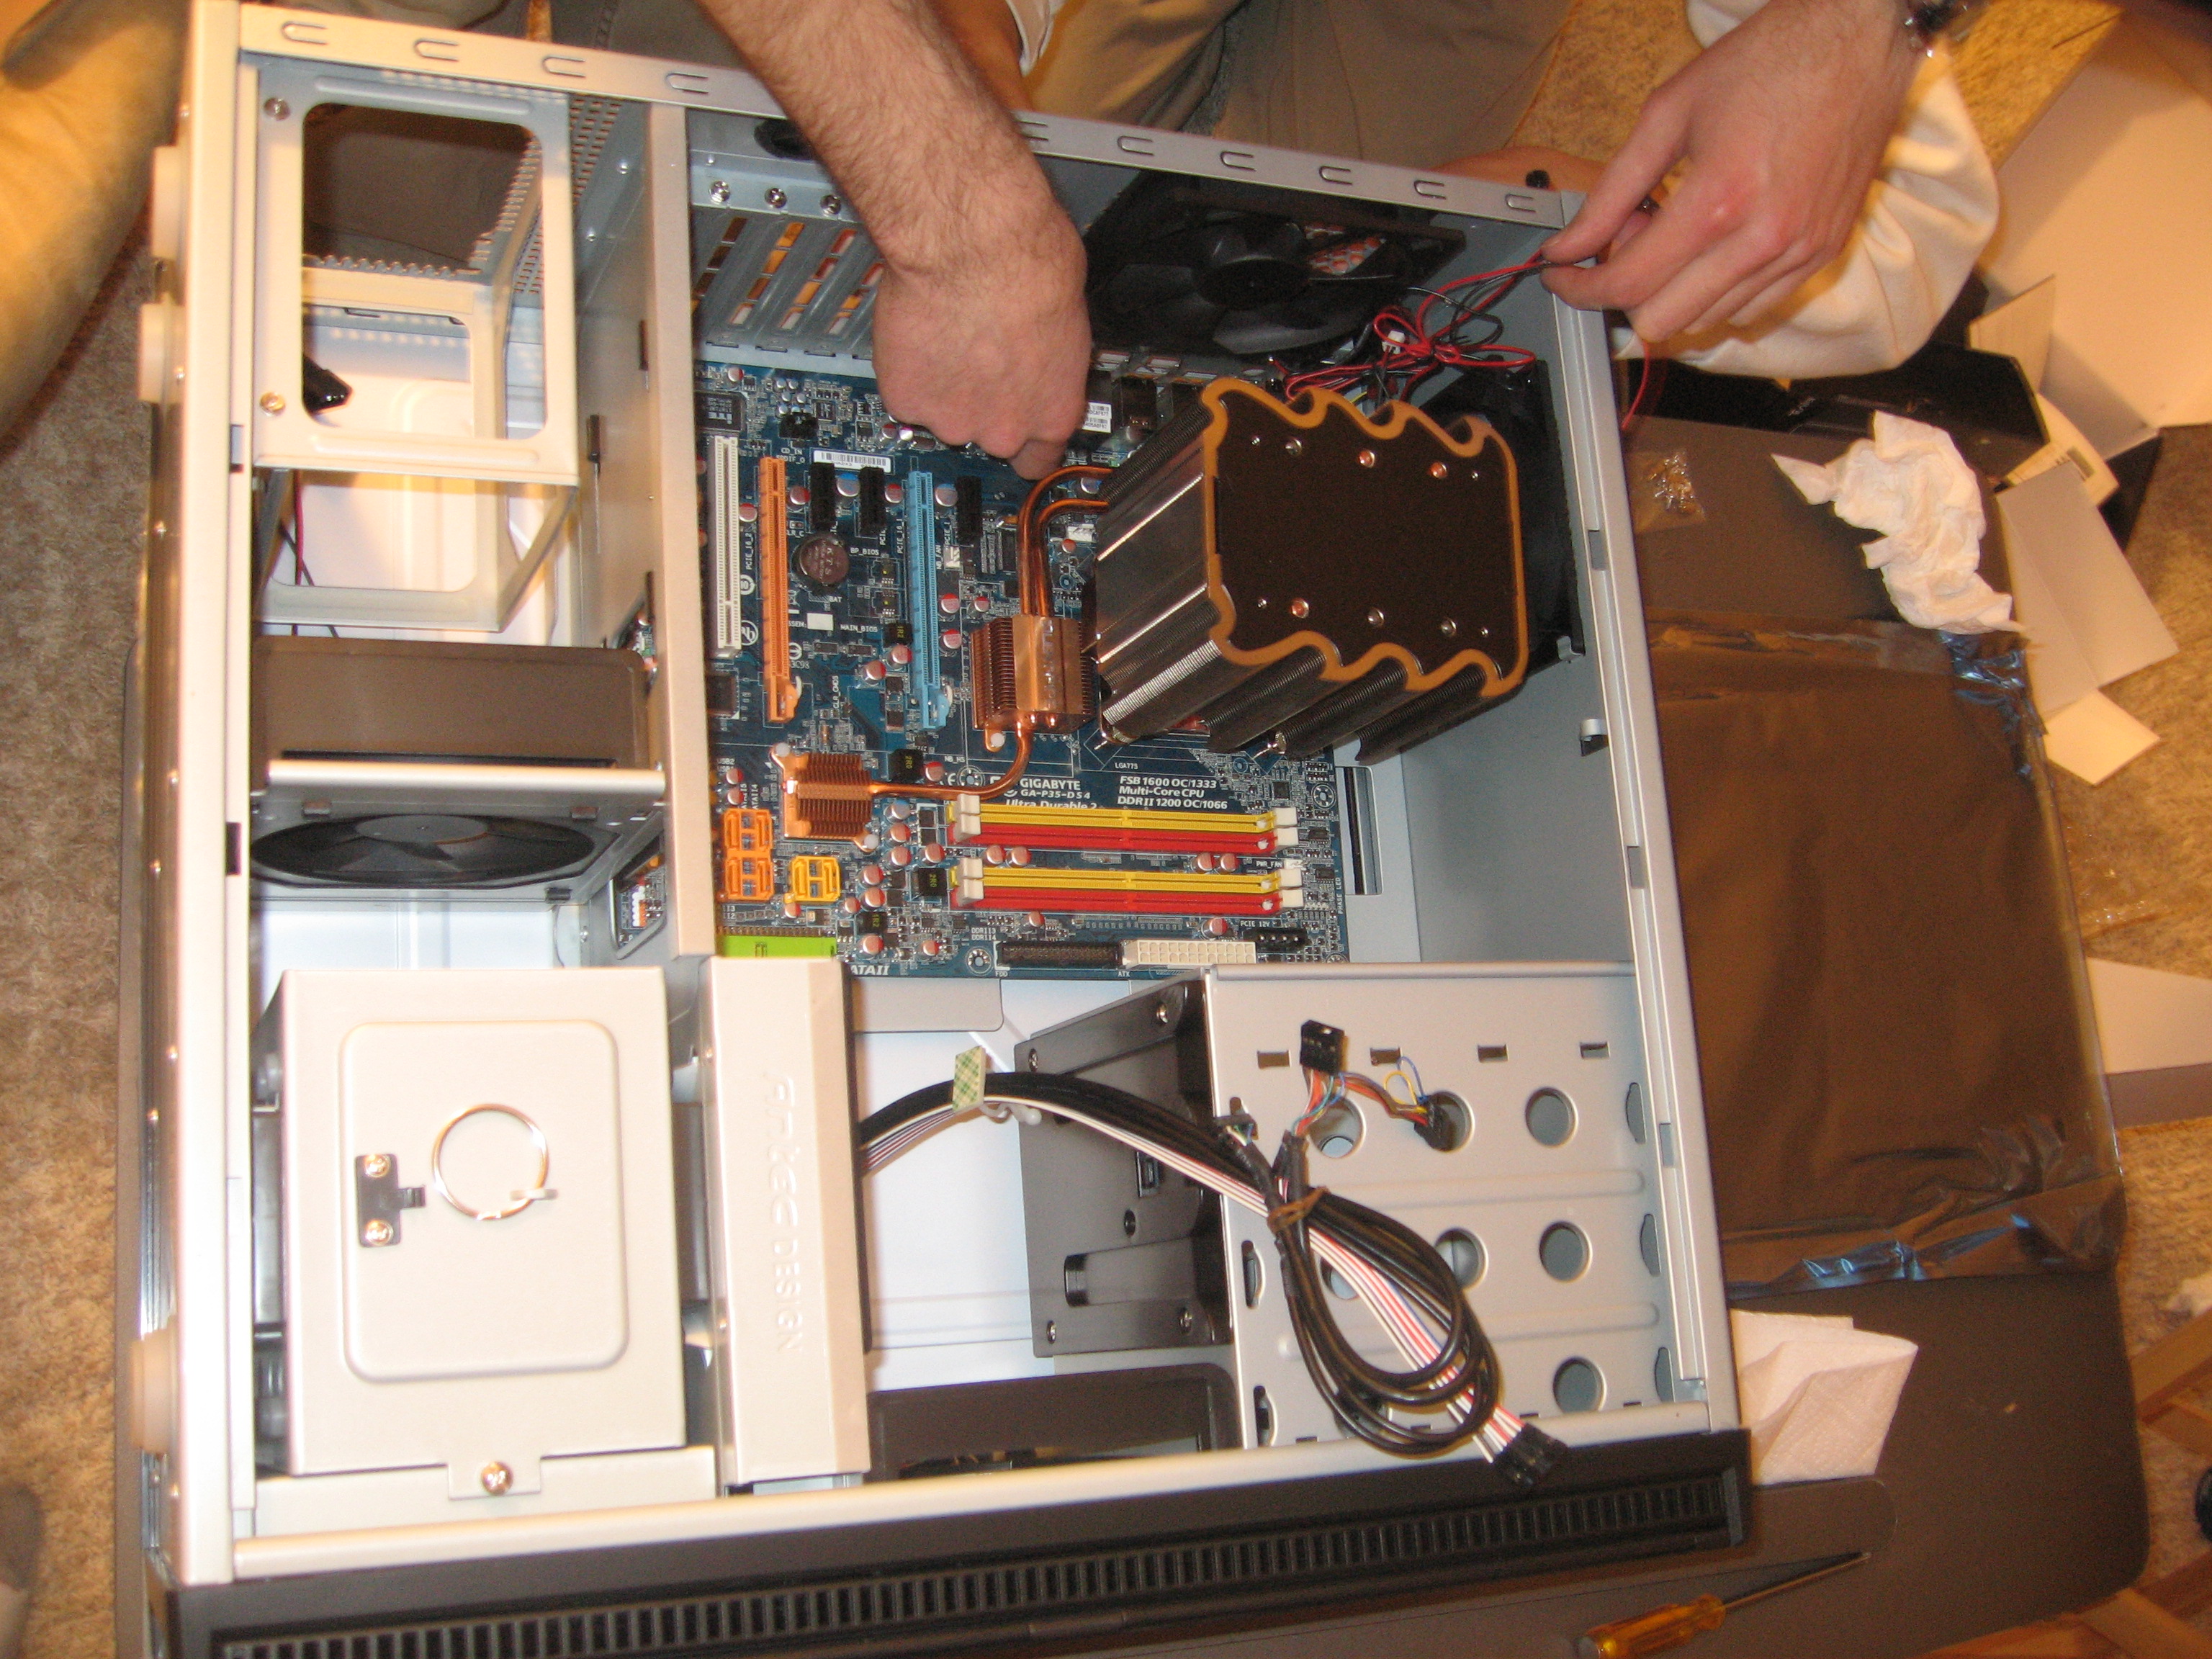
….
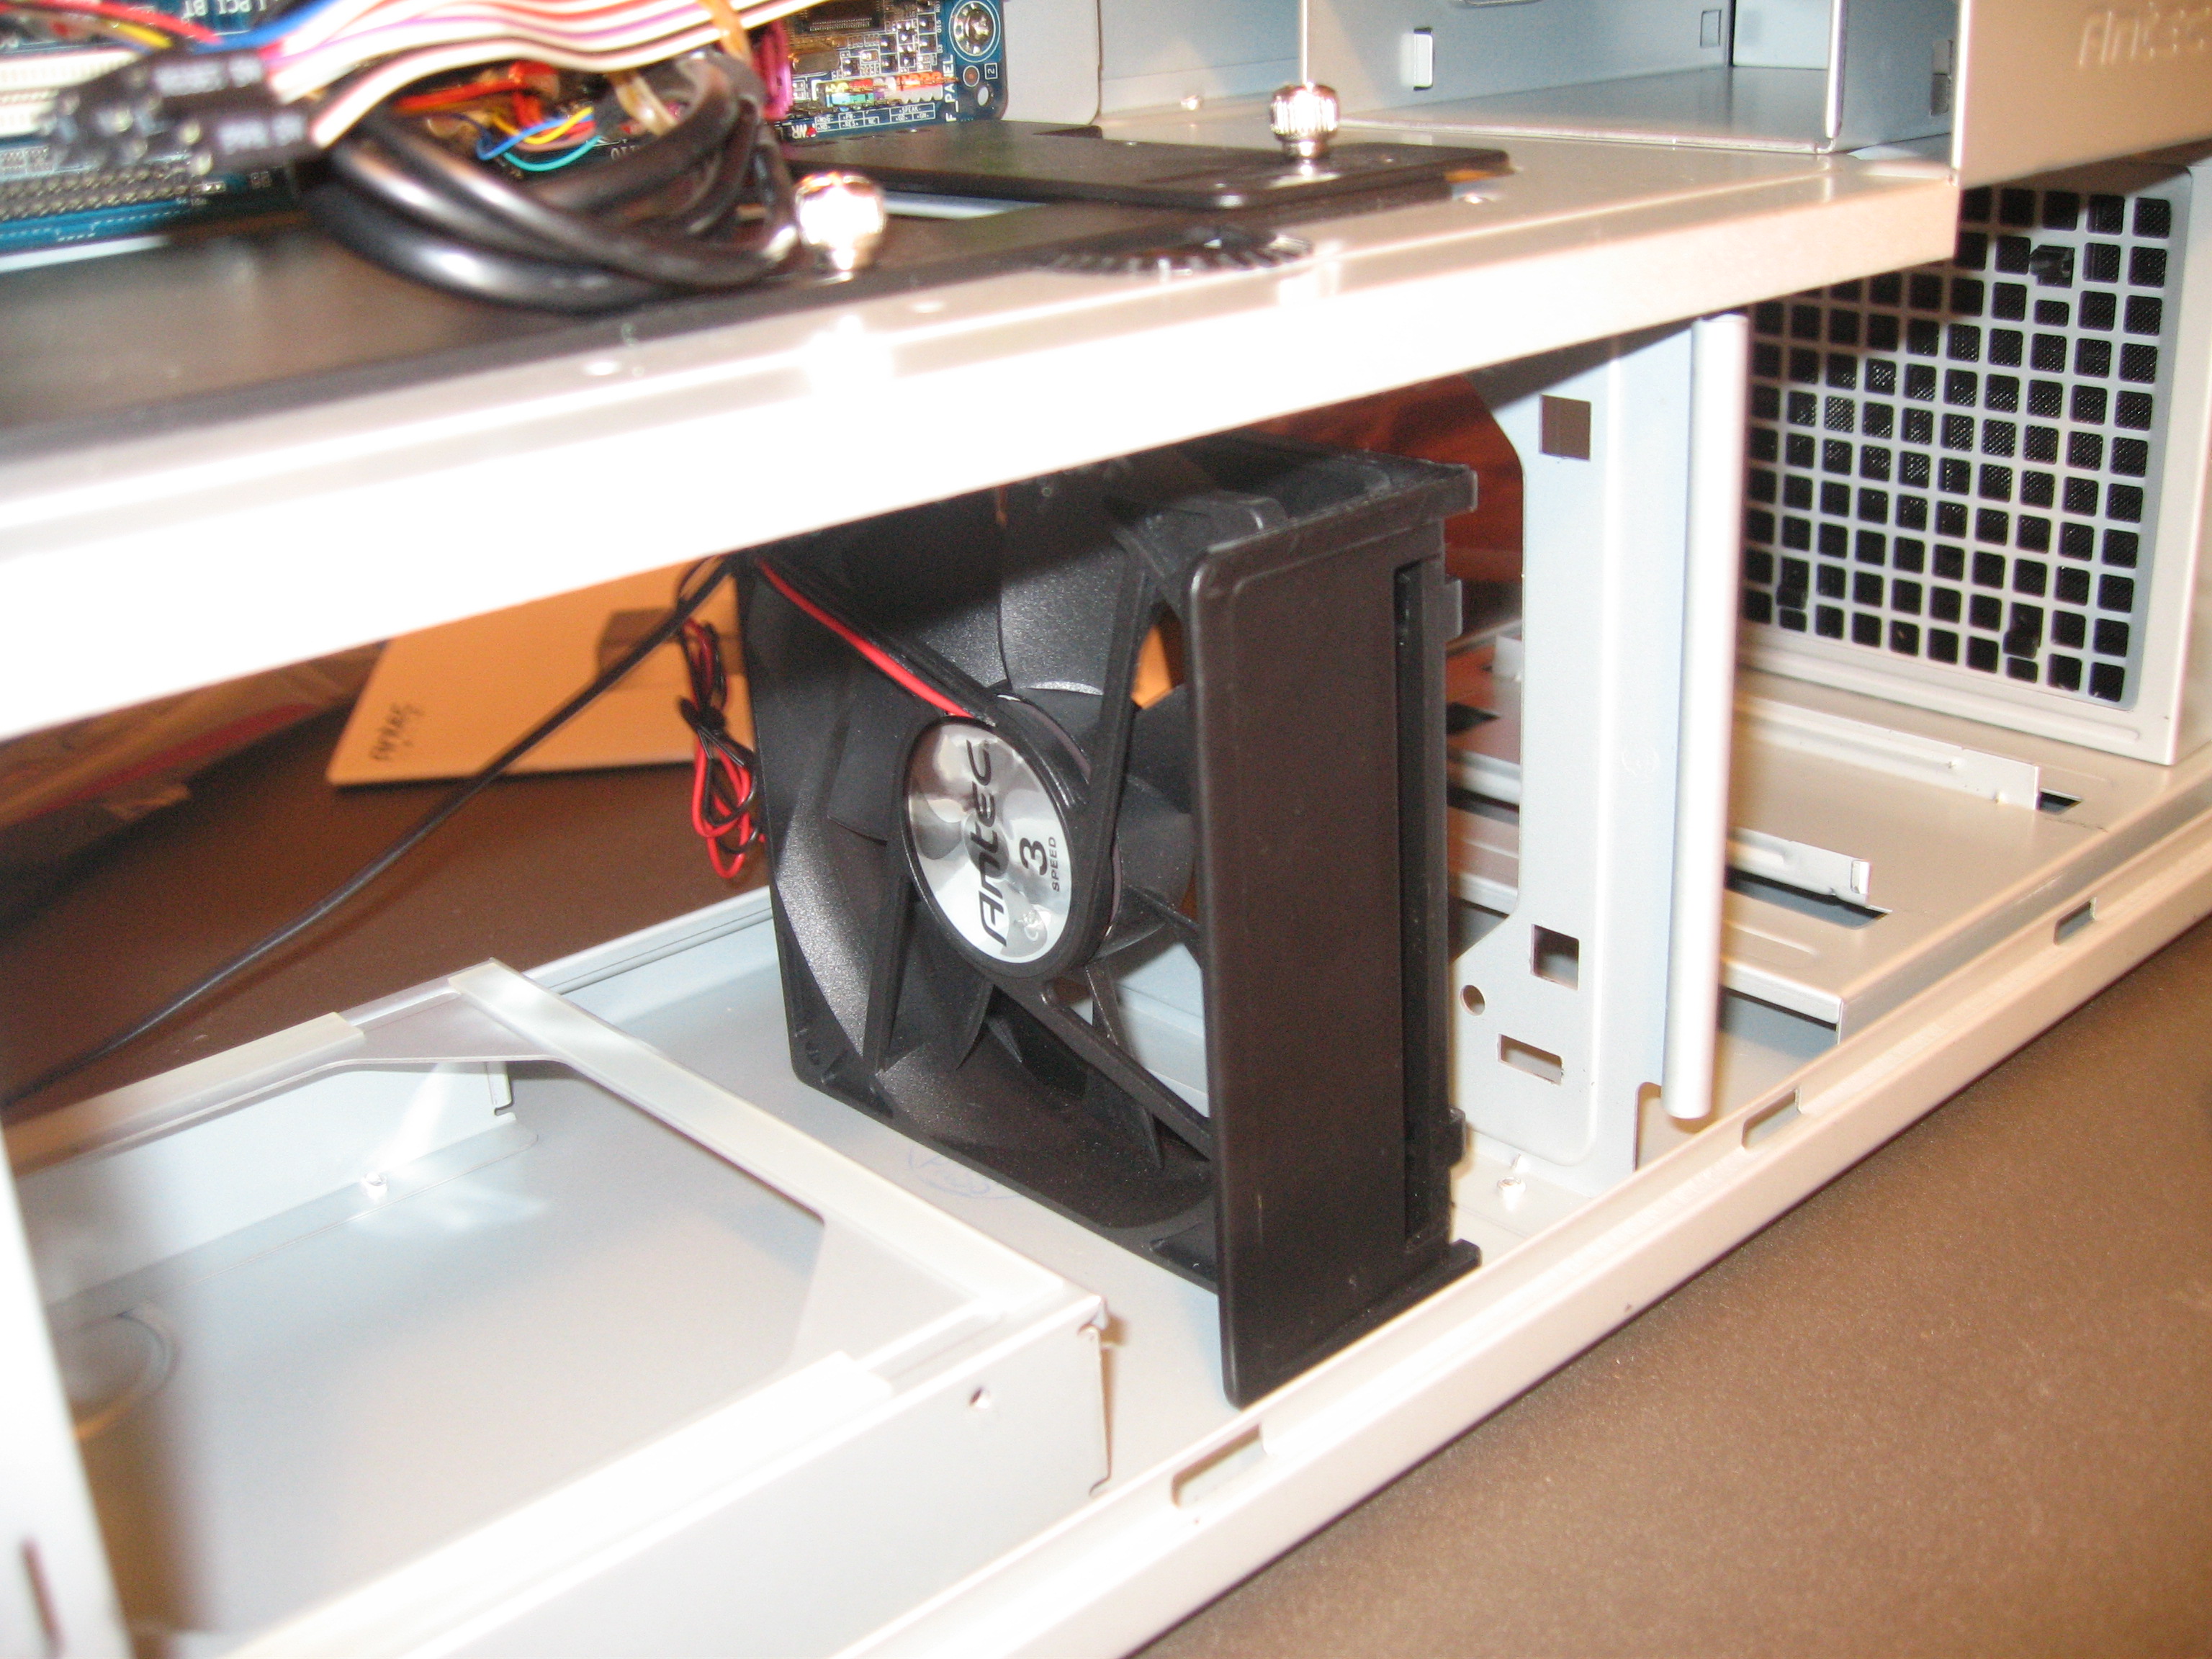
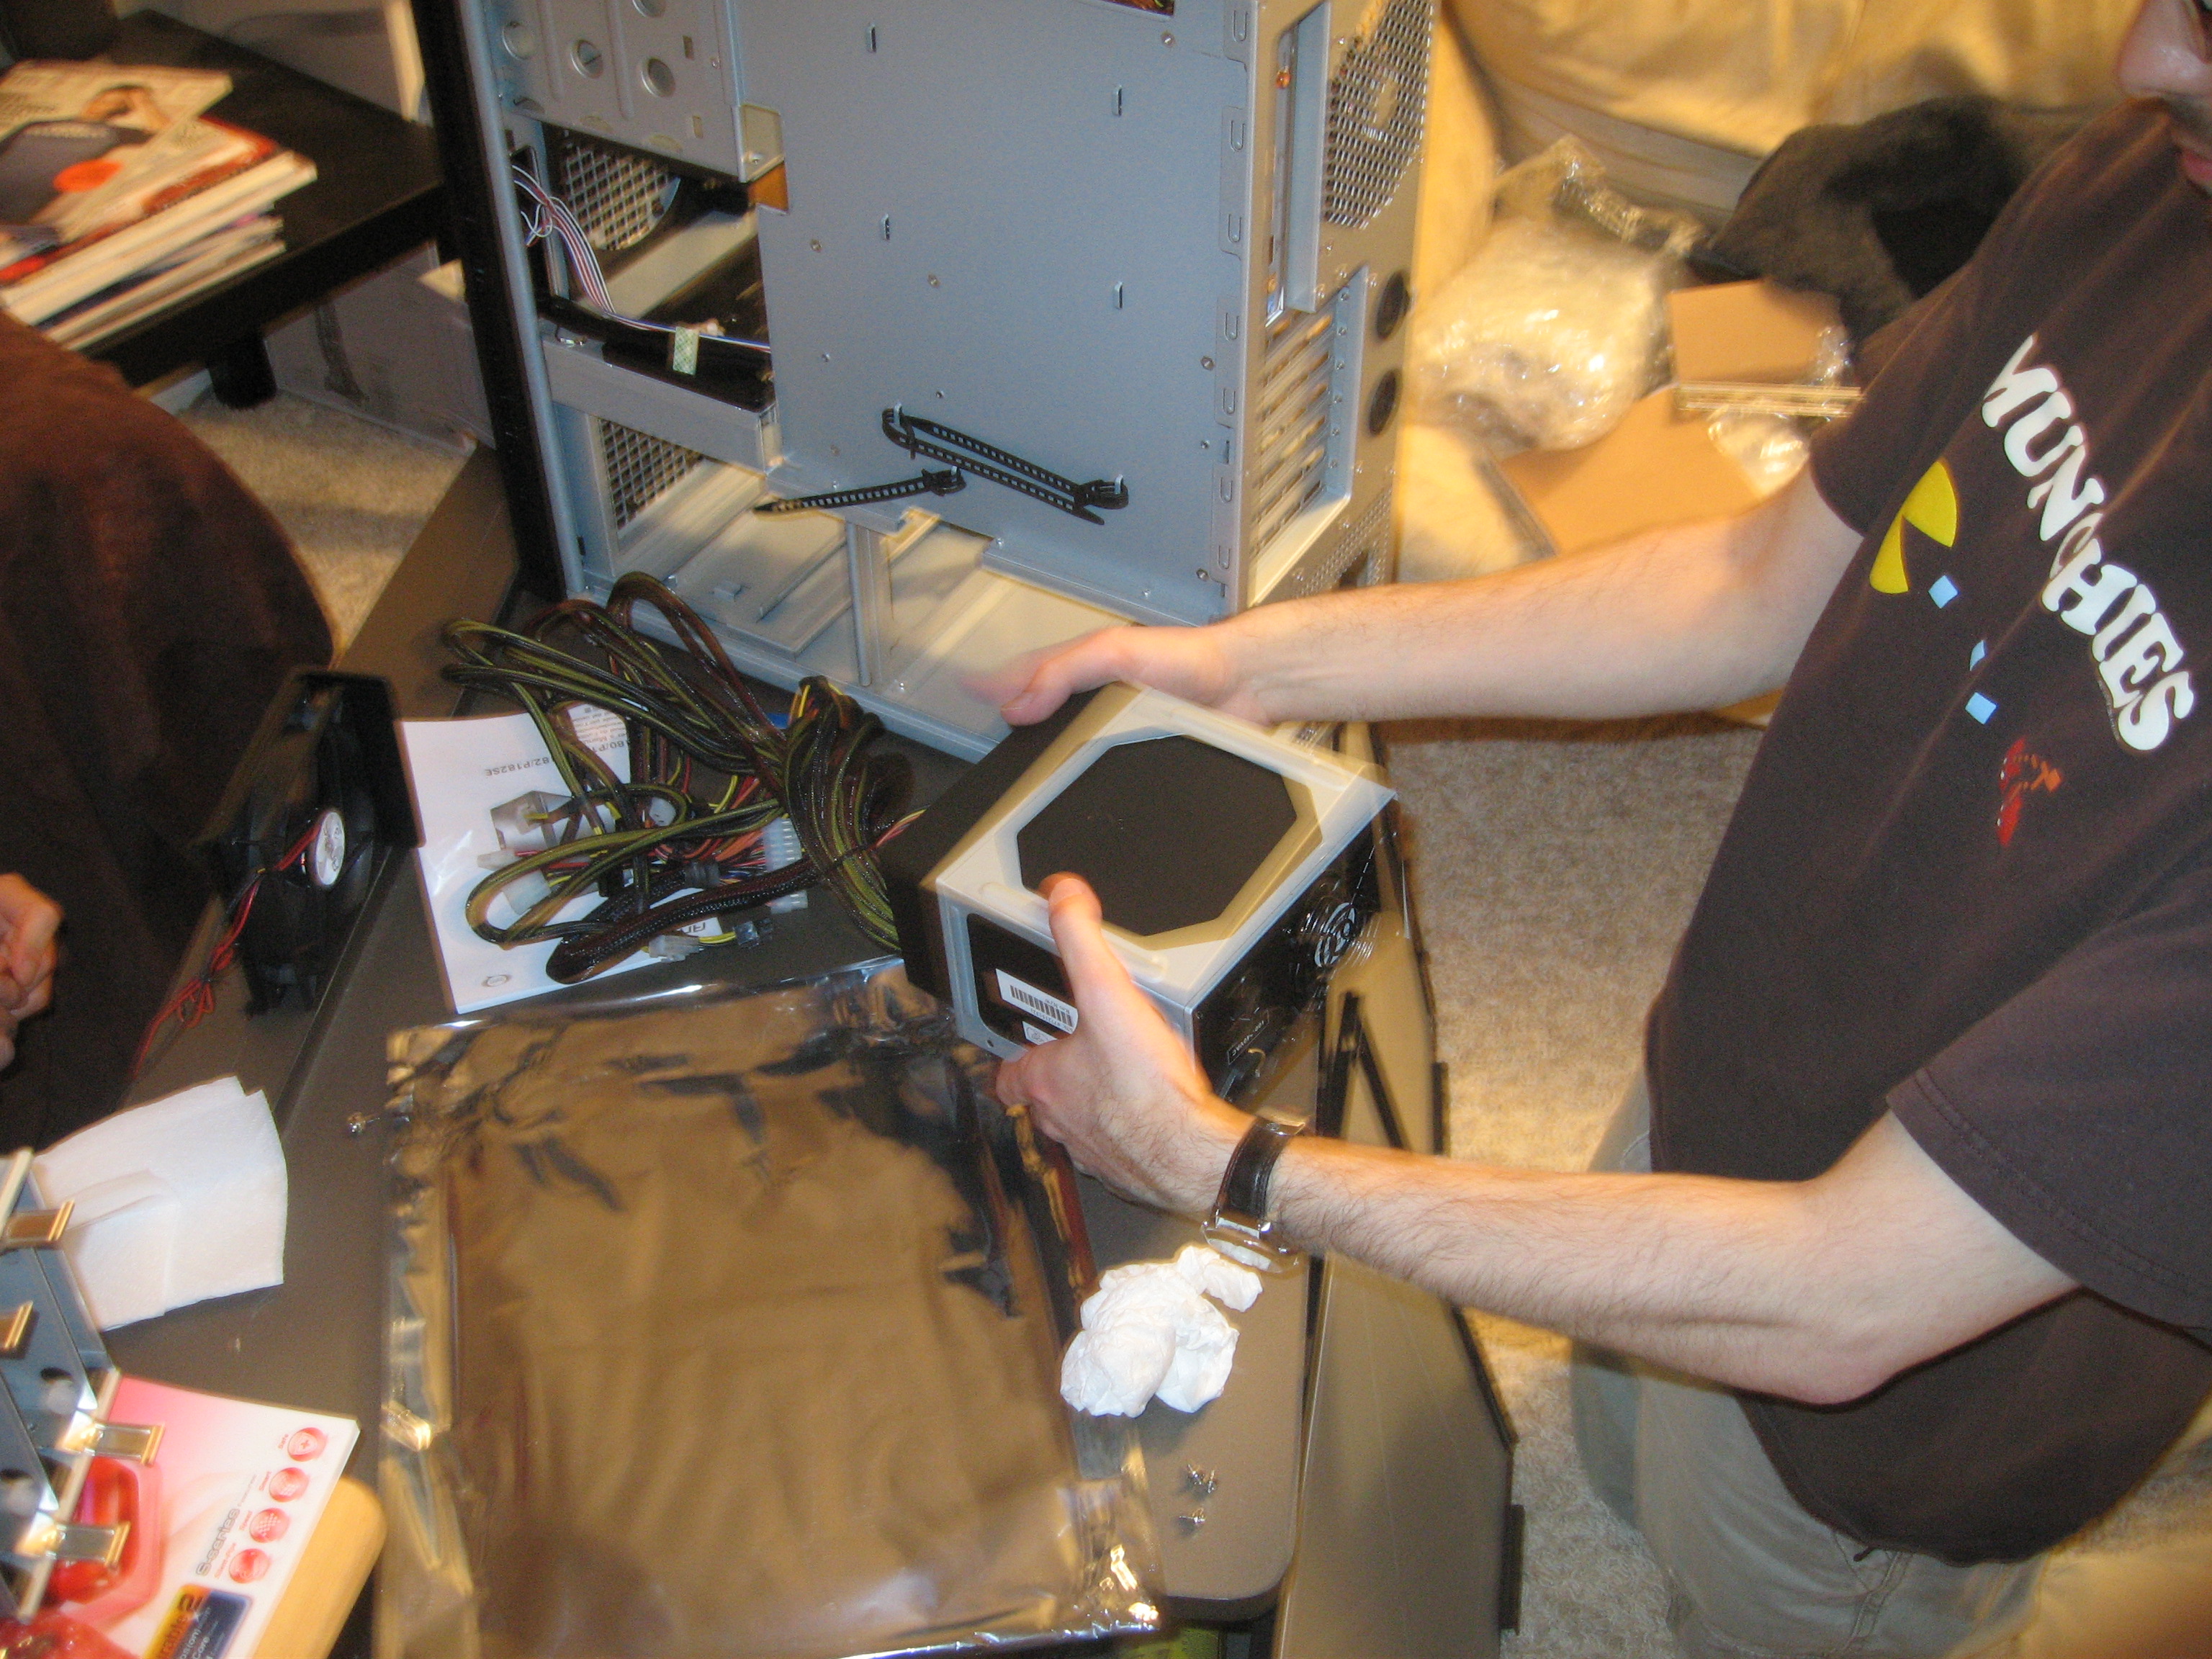
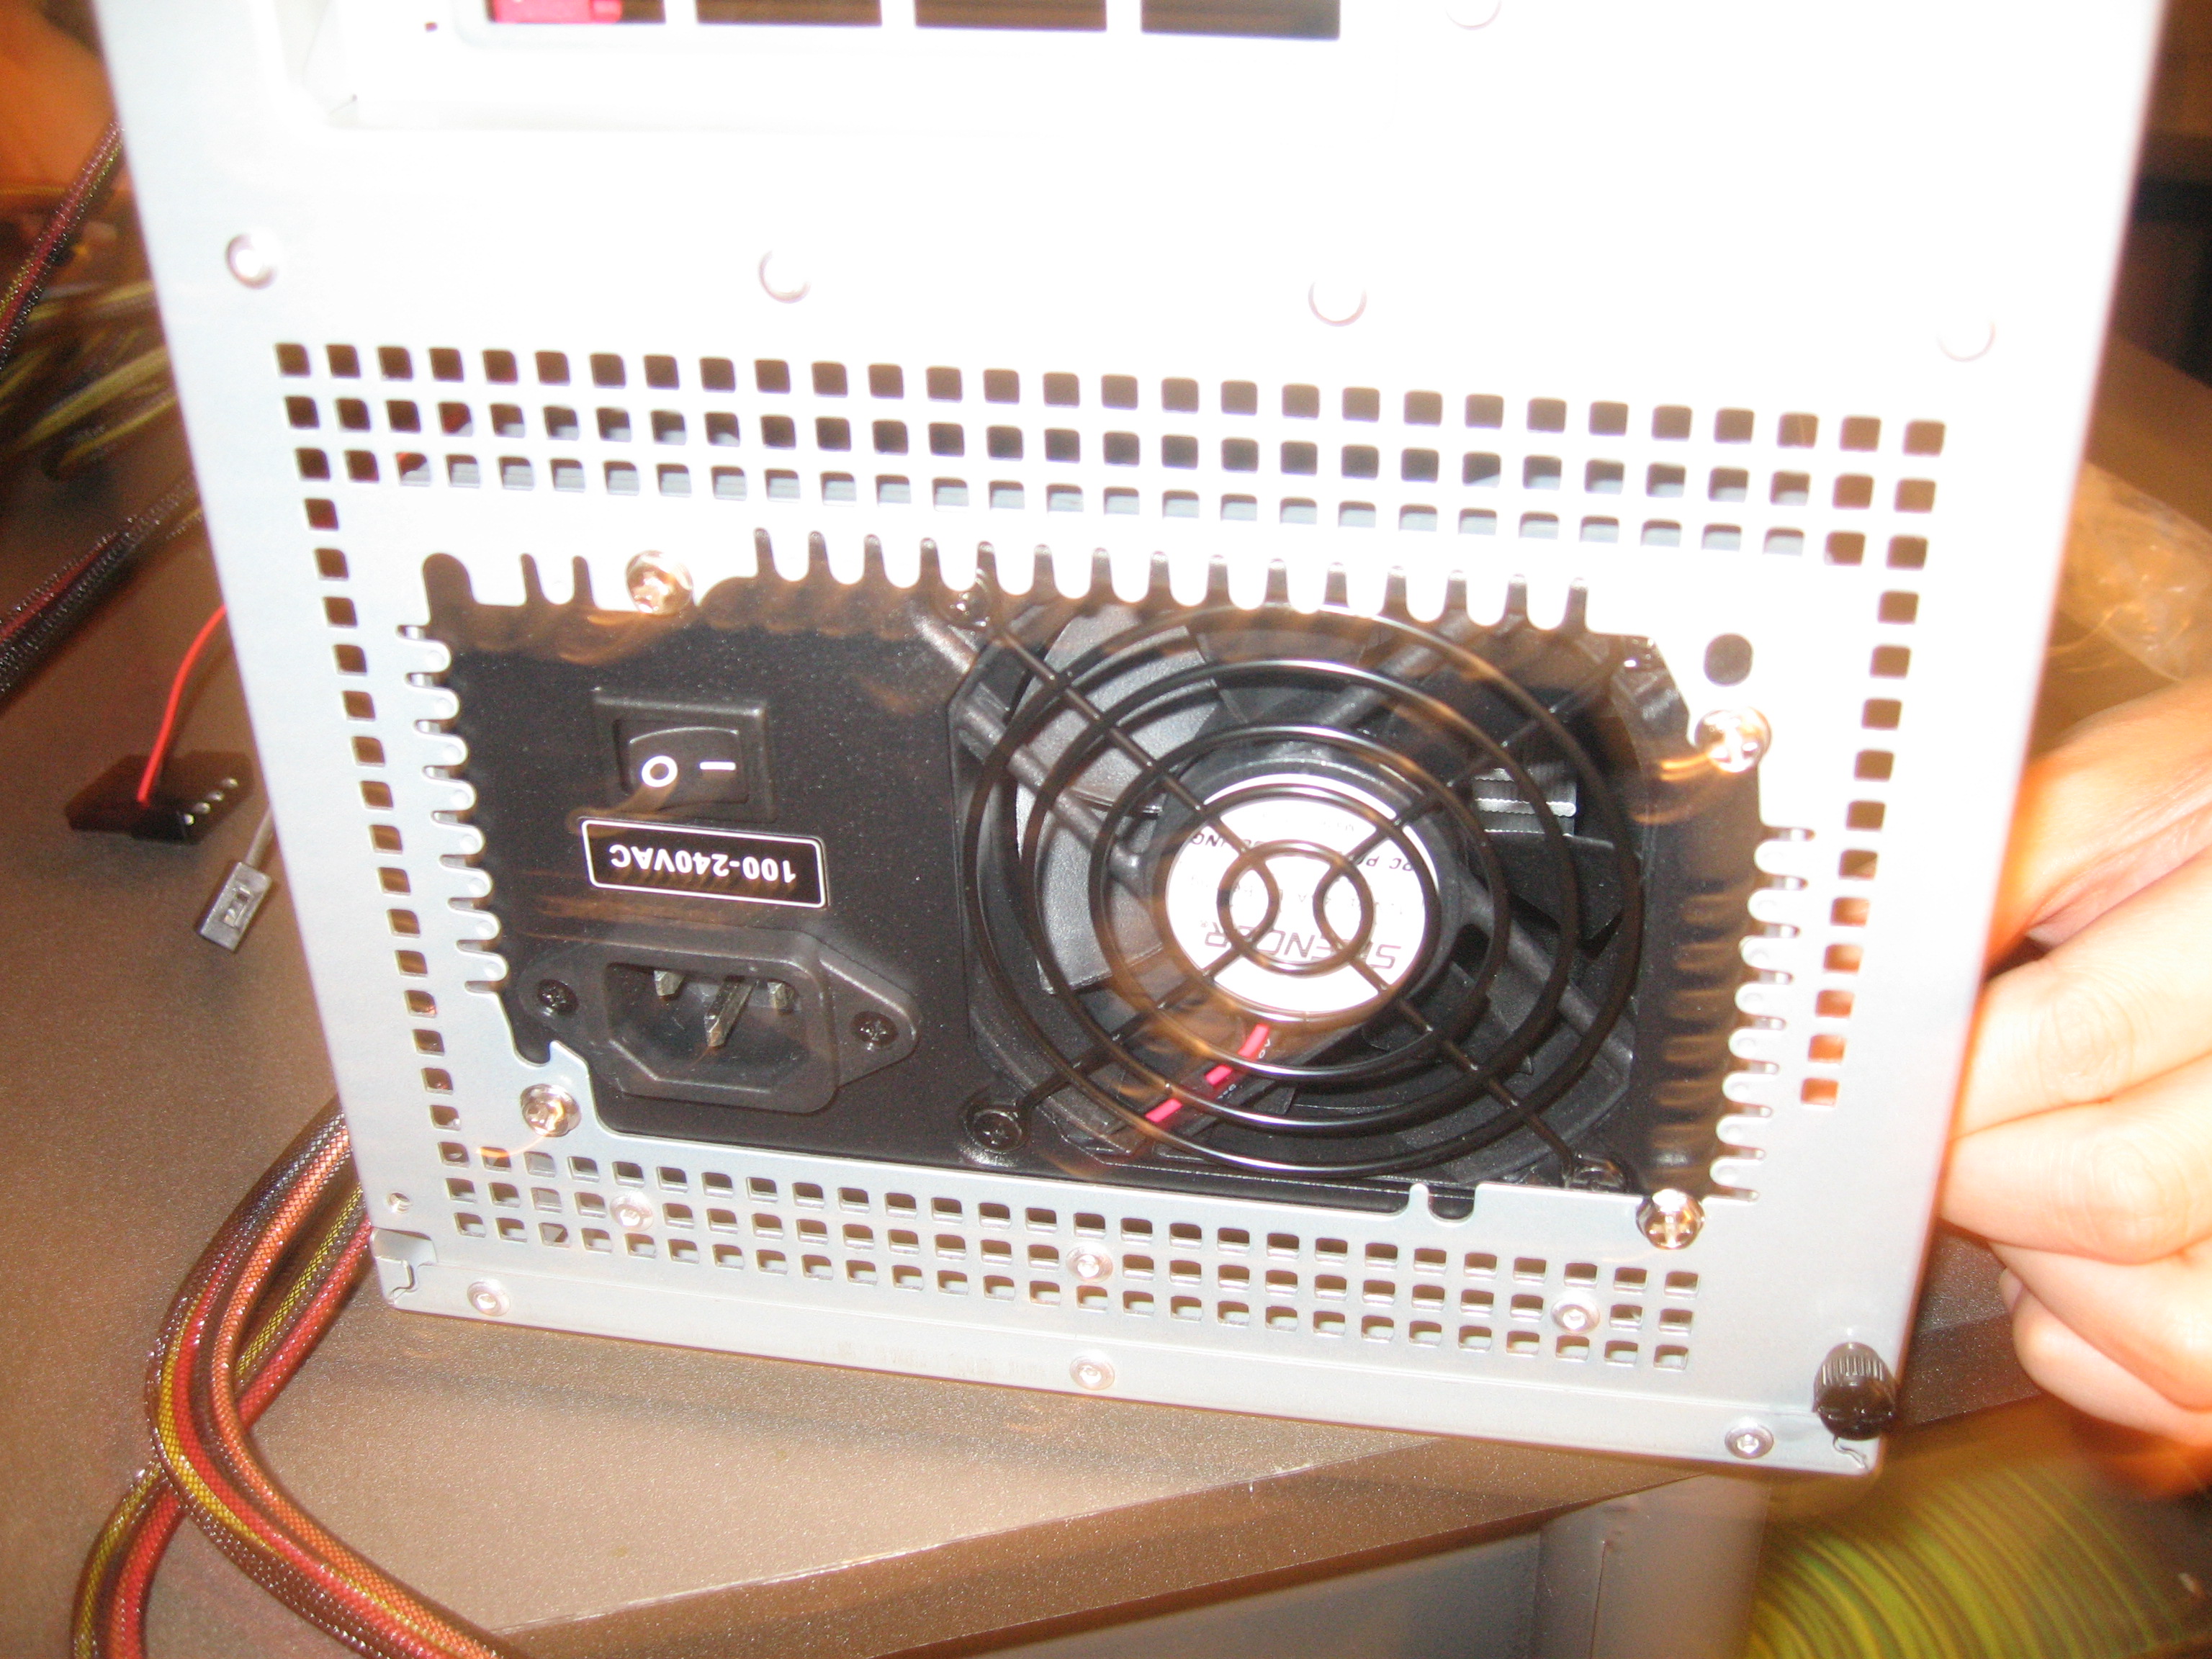
I hate this fan. It is great in idea: a fan that constantly blows on to the power supply, helping with the air flow. Of course, it doesn’t need to be within an inch to do this. If the fan was just a couple inches further away, the case would be a lot less tight. This results in placing the power supply upside down.
Crazy? maybe. Genius? perhaps. Works? sorta.
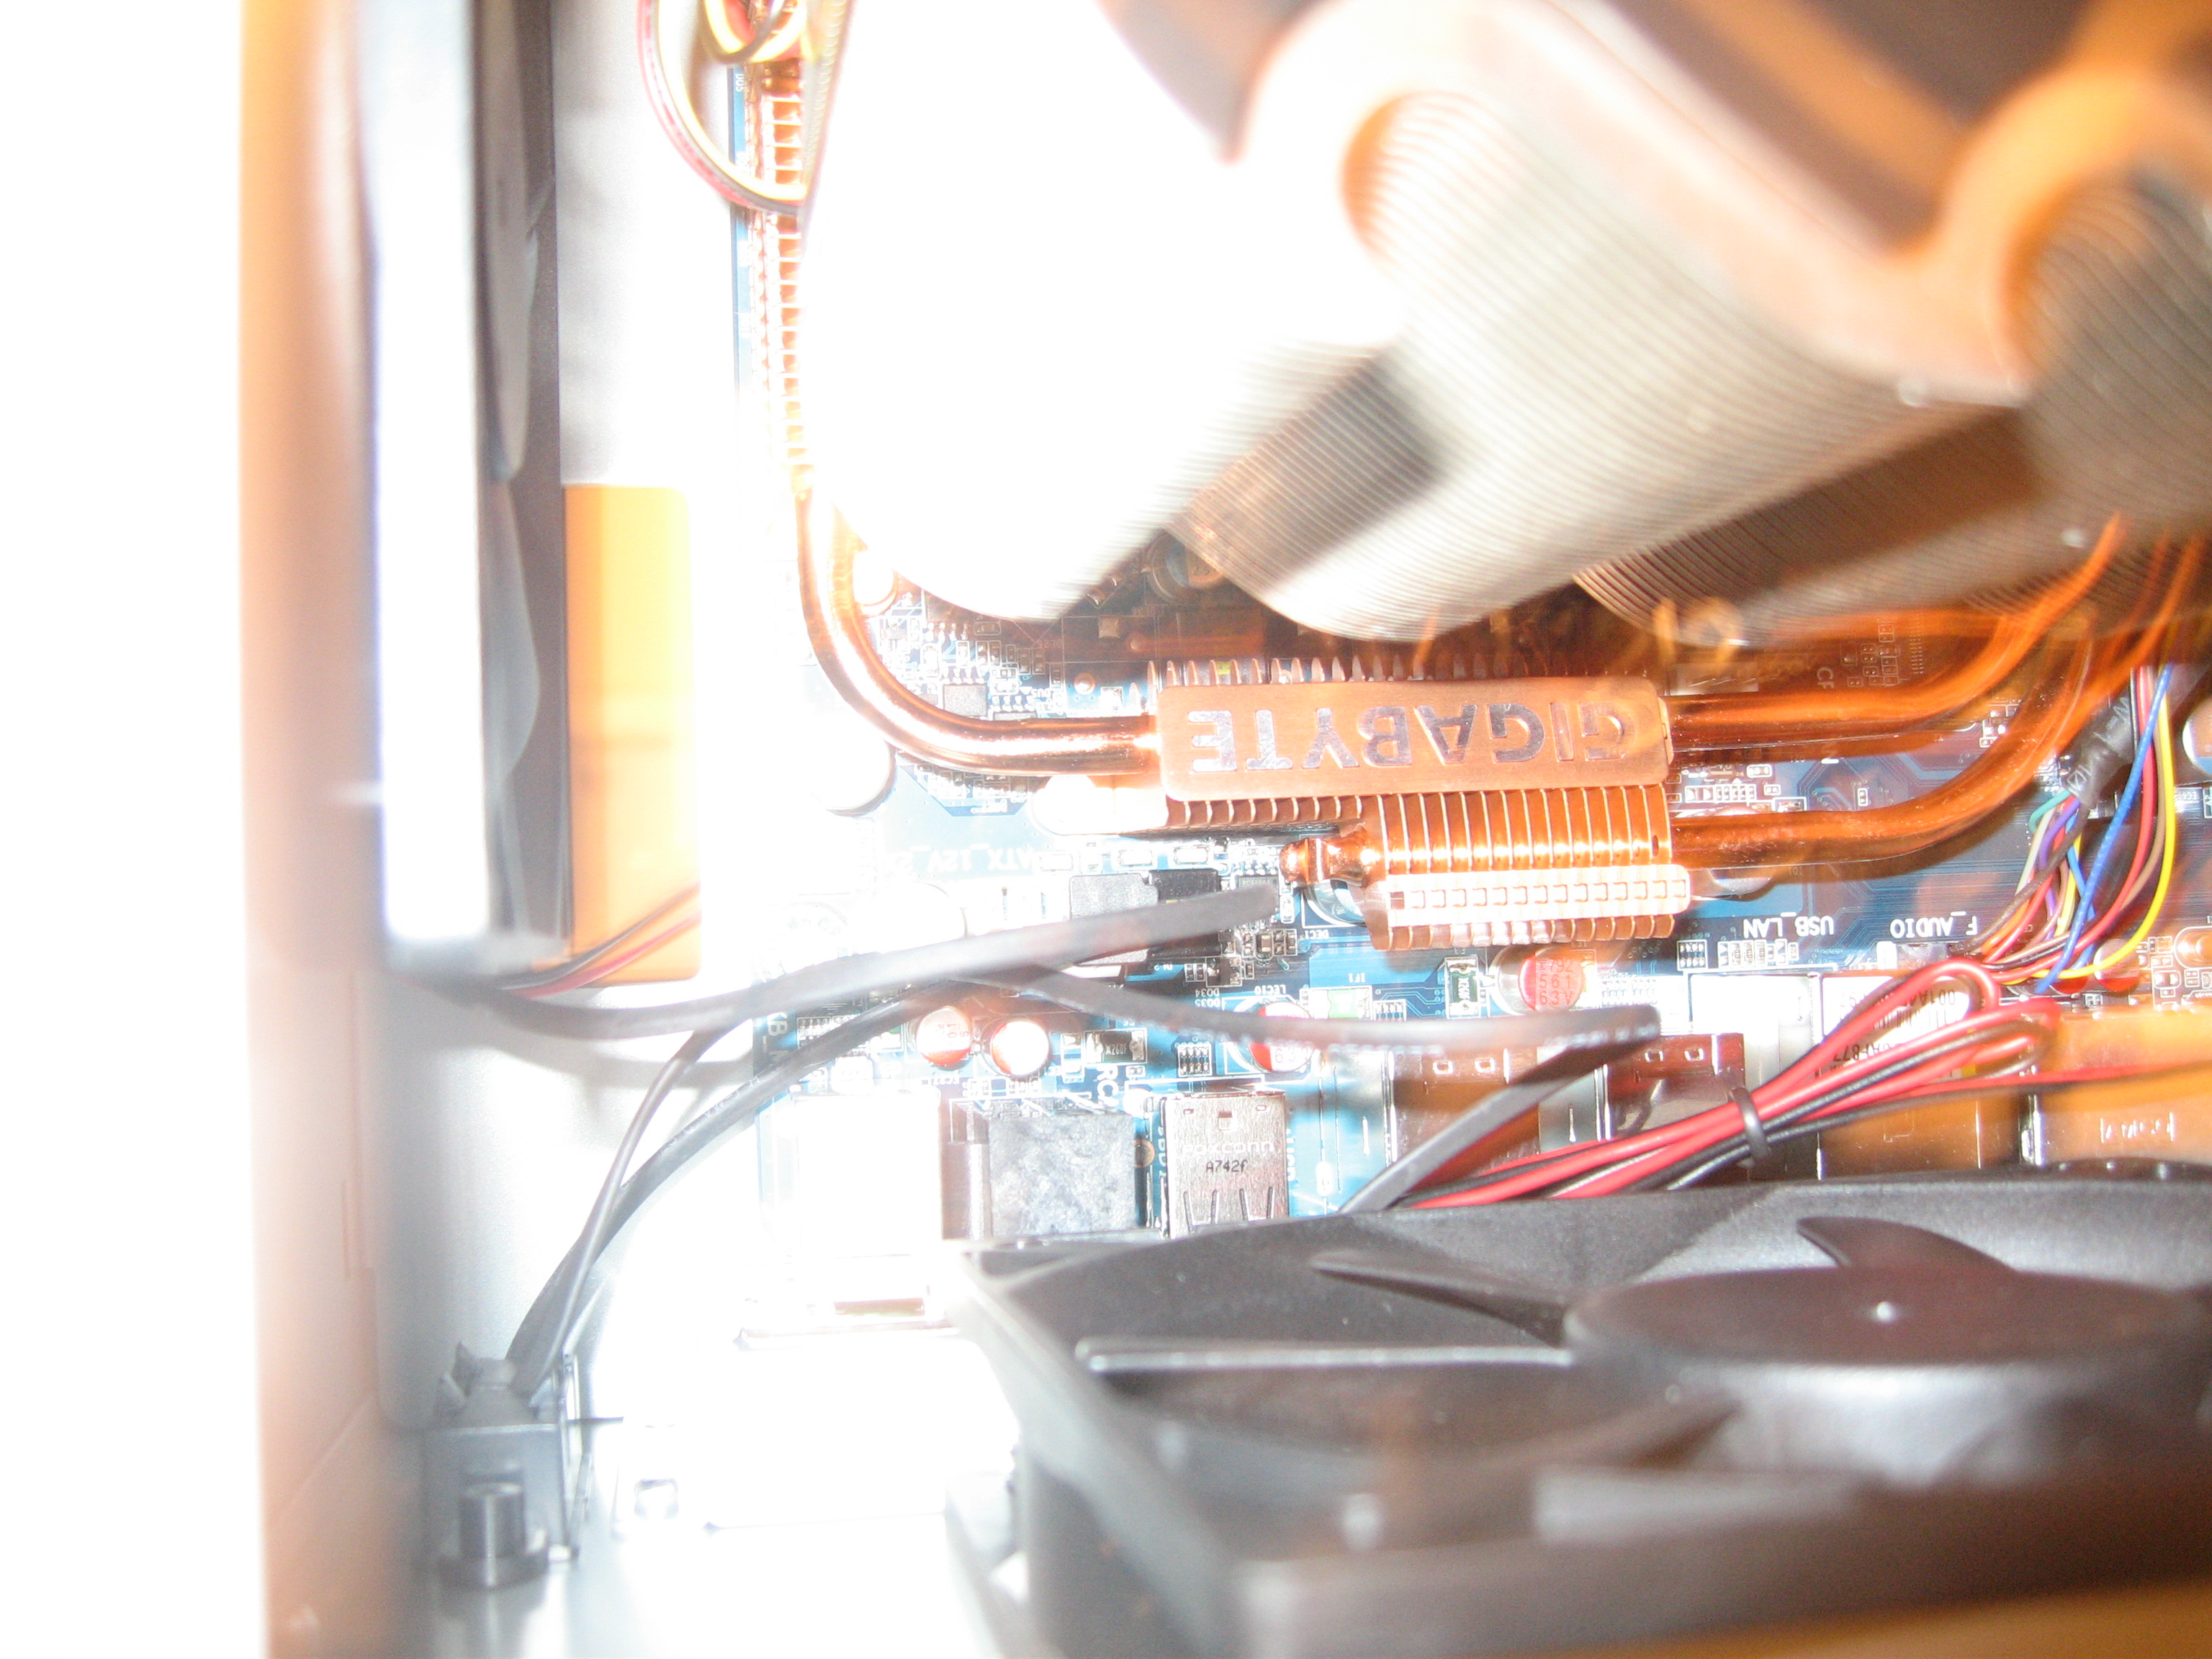
There is a black tab here (center of picture, behind/near the cable) that needs to be removed. It is located to the left of the processor, between the processor/heatsink and the back fan. This allows the 6 pin power cable to be plugged into the mobo instead of just the 4 pin. You should really remove it before this step. Before putting your motherboard into the case. I, however, did not. 2 College Degrees and 10 minutes later (Mo was researching GPS units), and the black tab was removed.
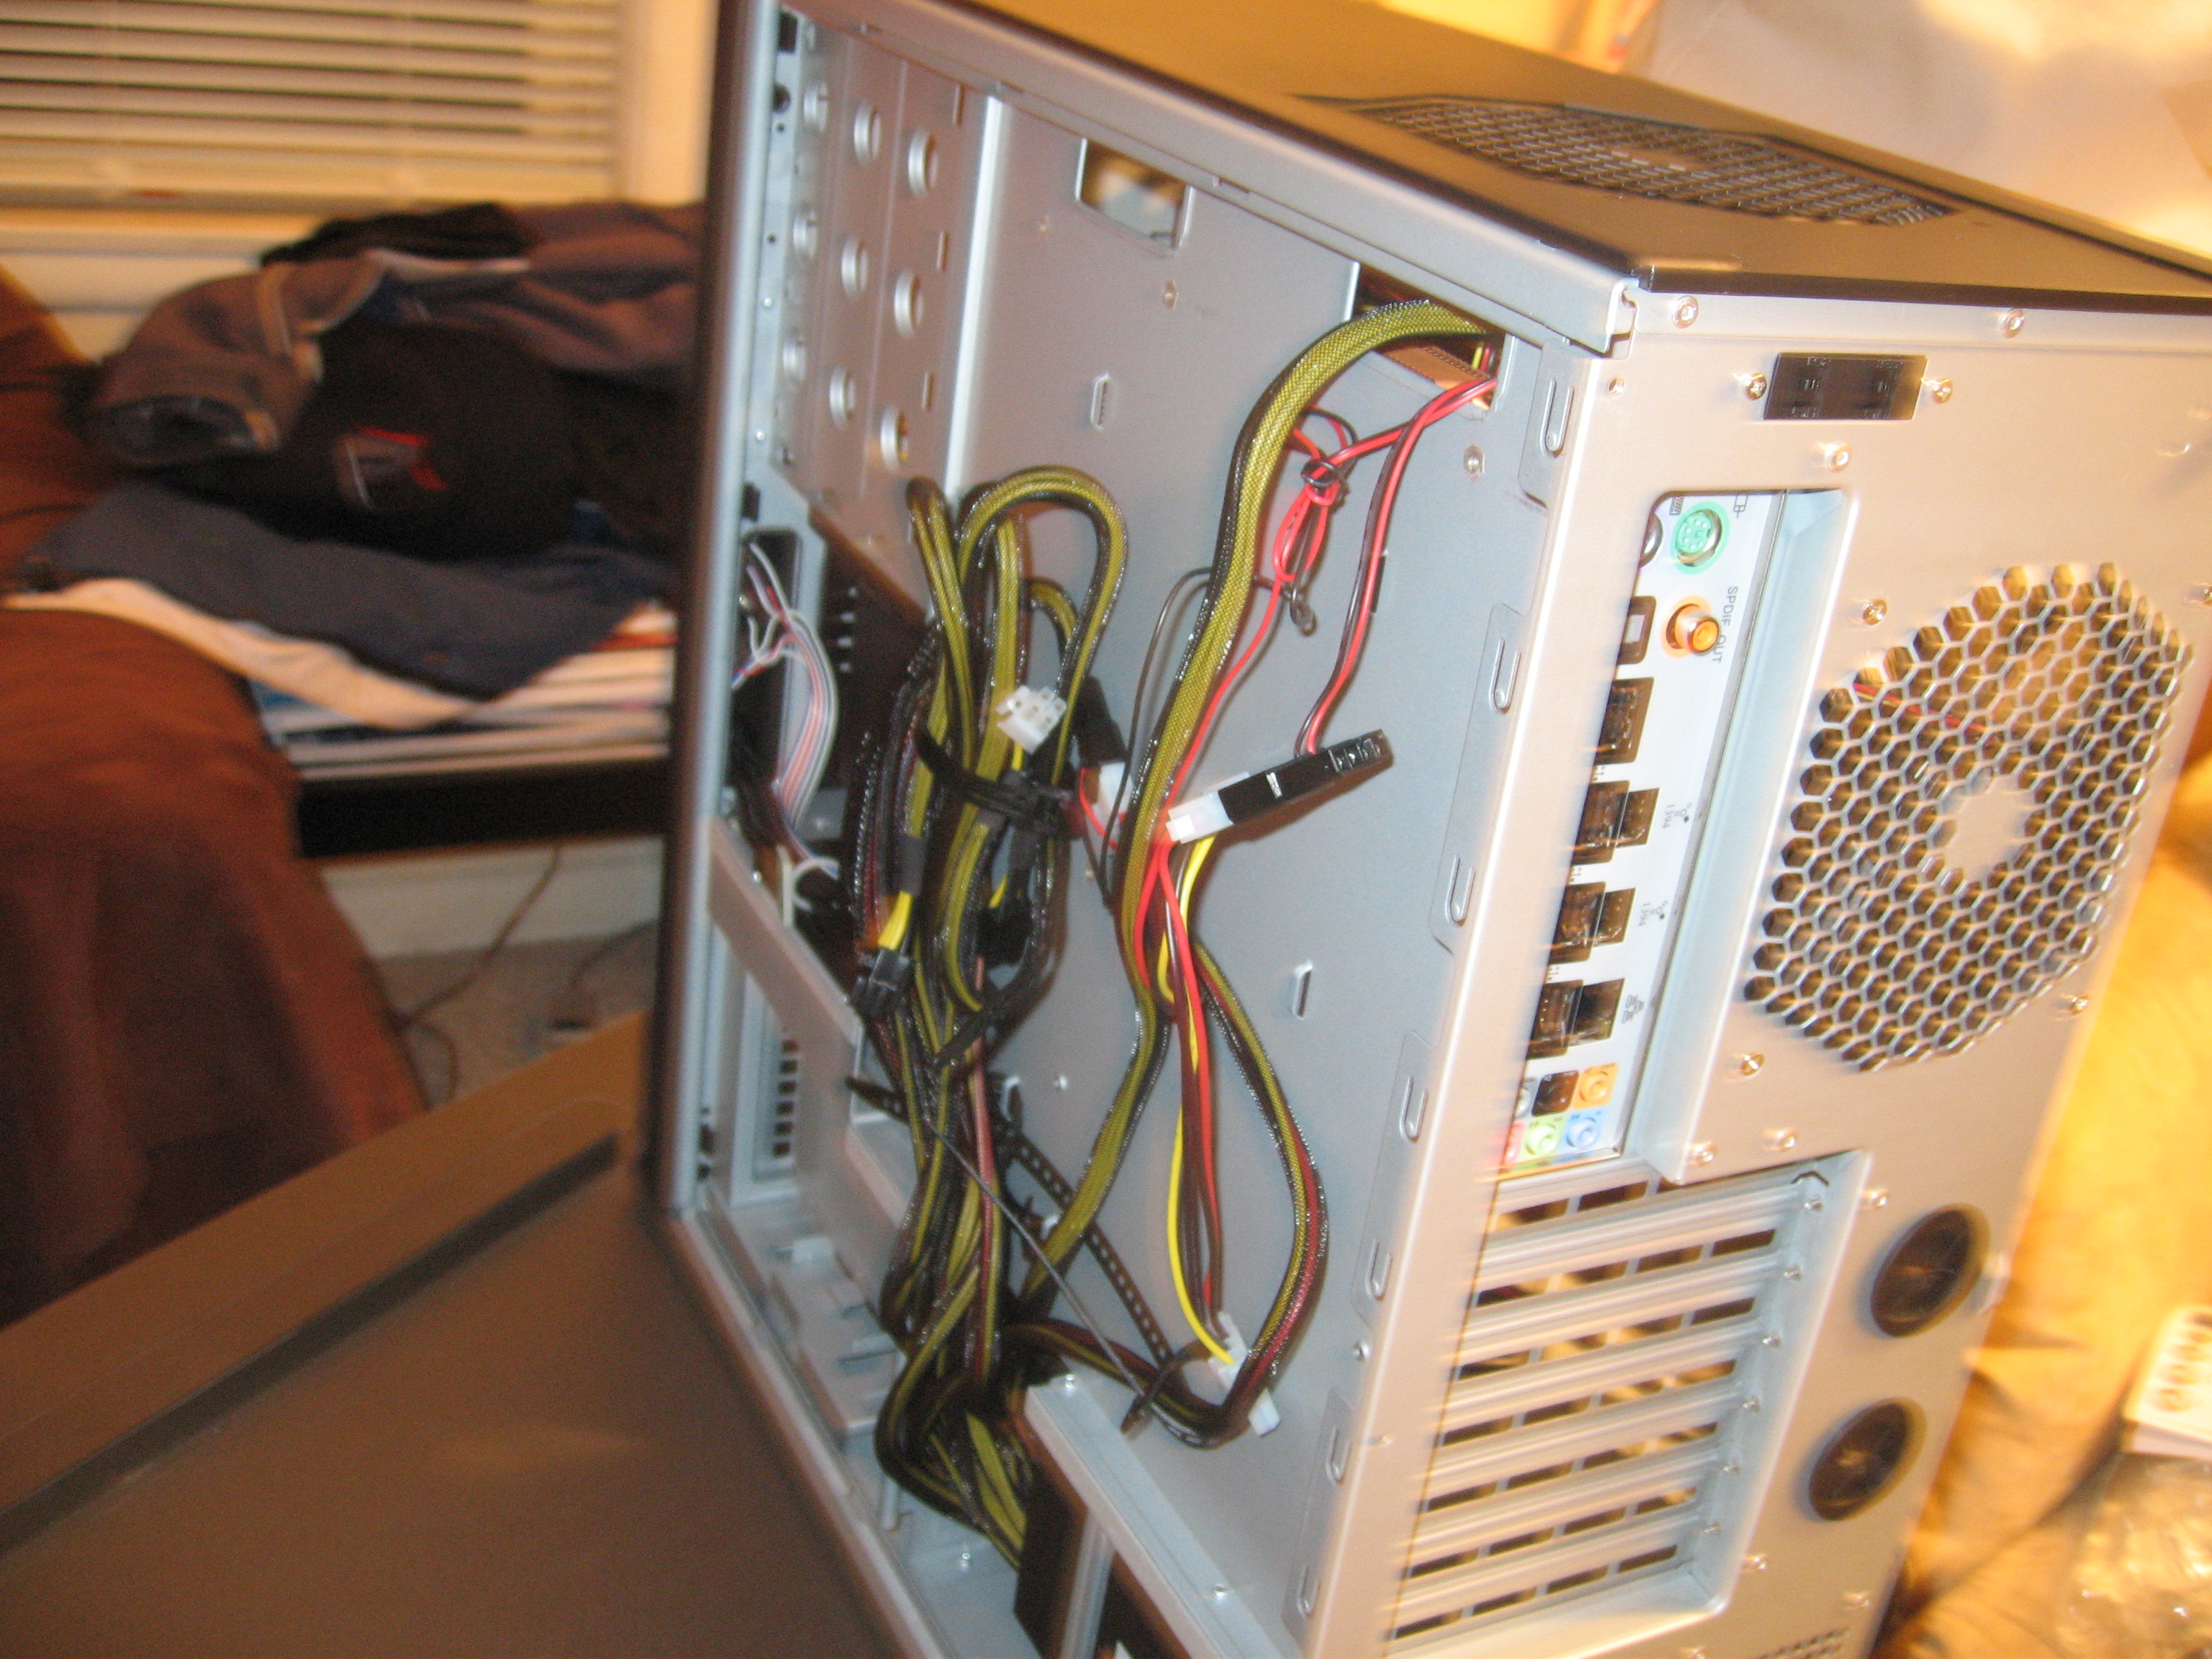
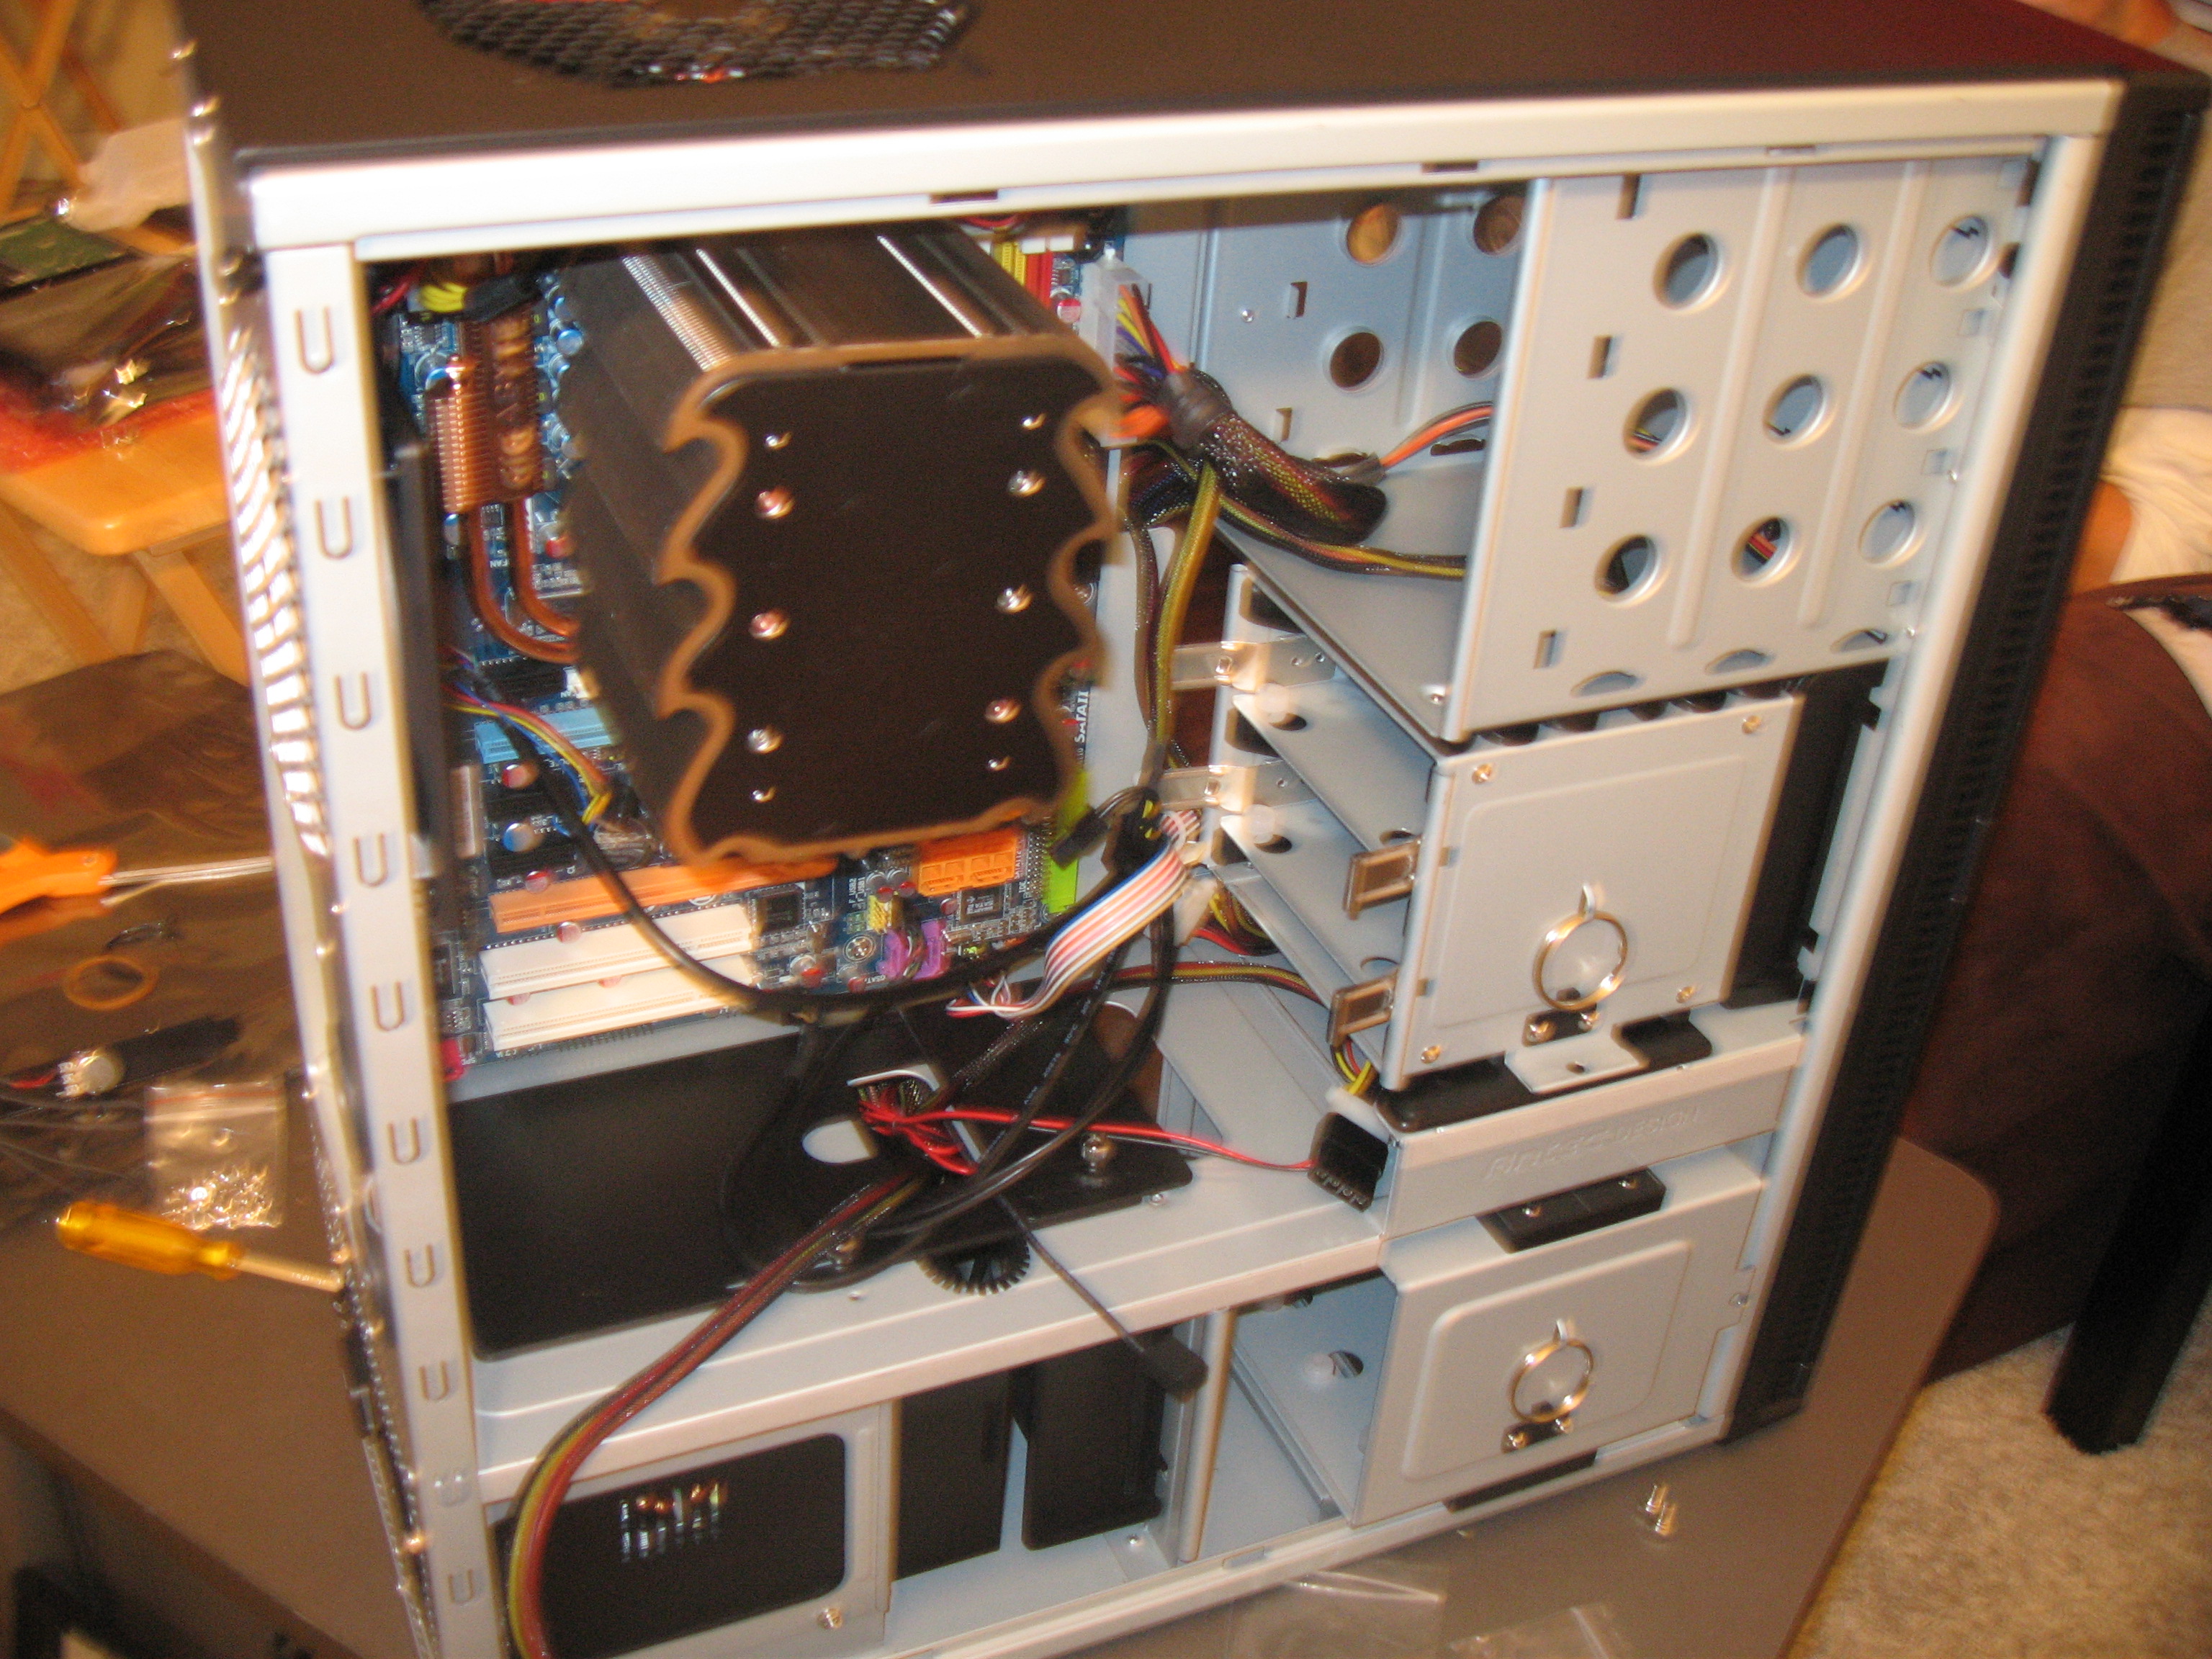
At this point, I had to lead power cables. A majority of the cables were brought around the back, to be hidden in behind the back panel. All the PCIE power cables were hidden and not brought through, except for one out the large mobo power cable (upper right). I brought the 6 pin power connector through the top left hole from the back, and a regular power connector to power the two back fans. Another sata power connector around the back through the top right hole to power the dvd drive. This leaves an sata power connector and a regular power connector to come up the normal way through the bottom of the case and around to power the sata drives in the bottom, and the bottom fans and external sata connector.
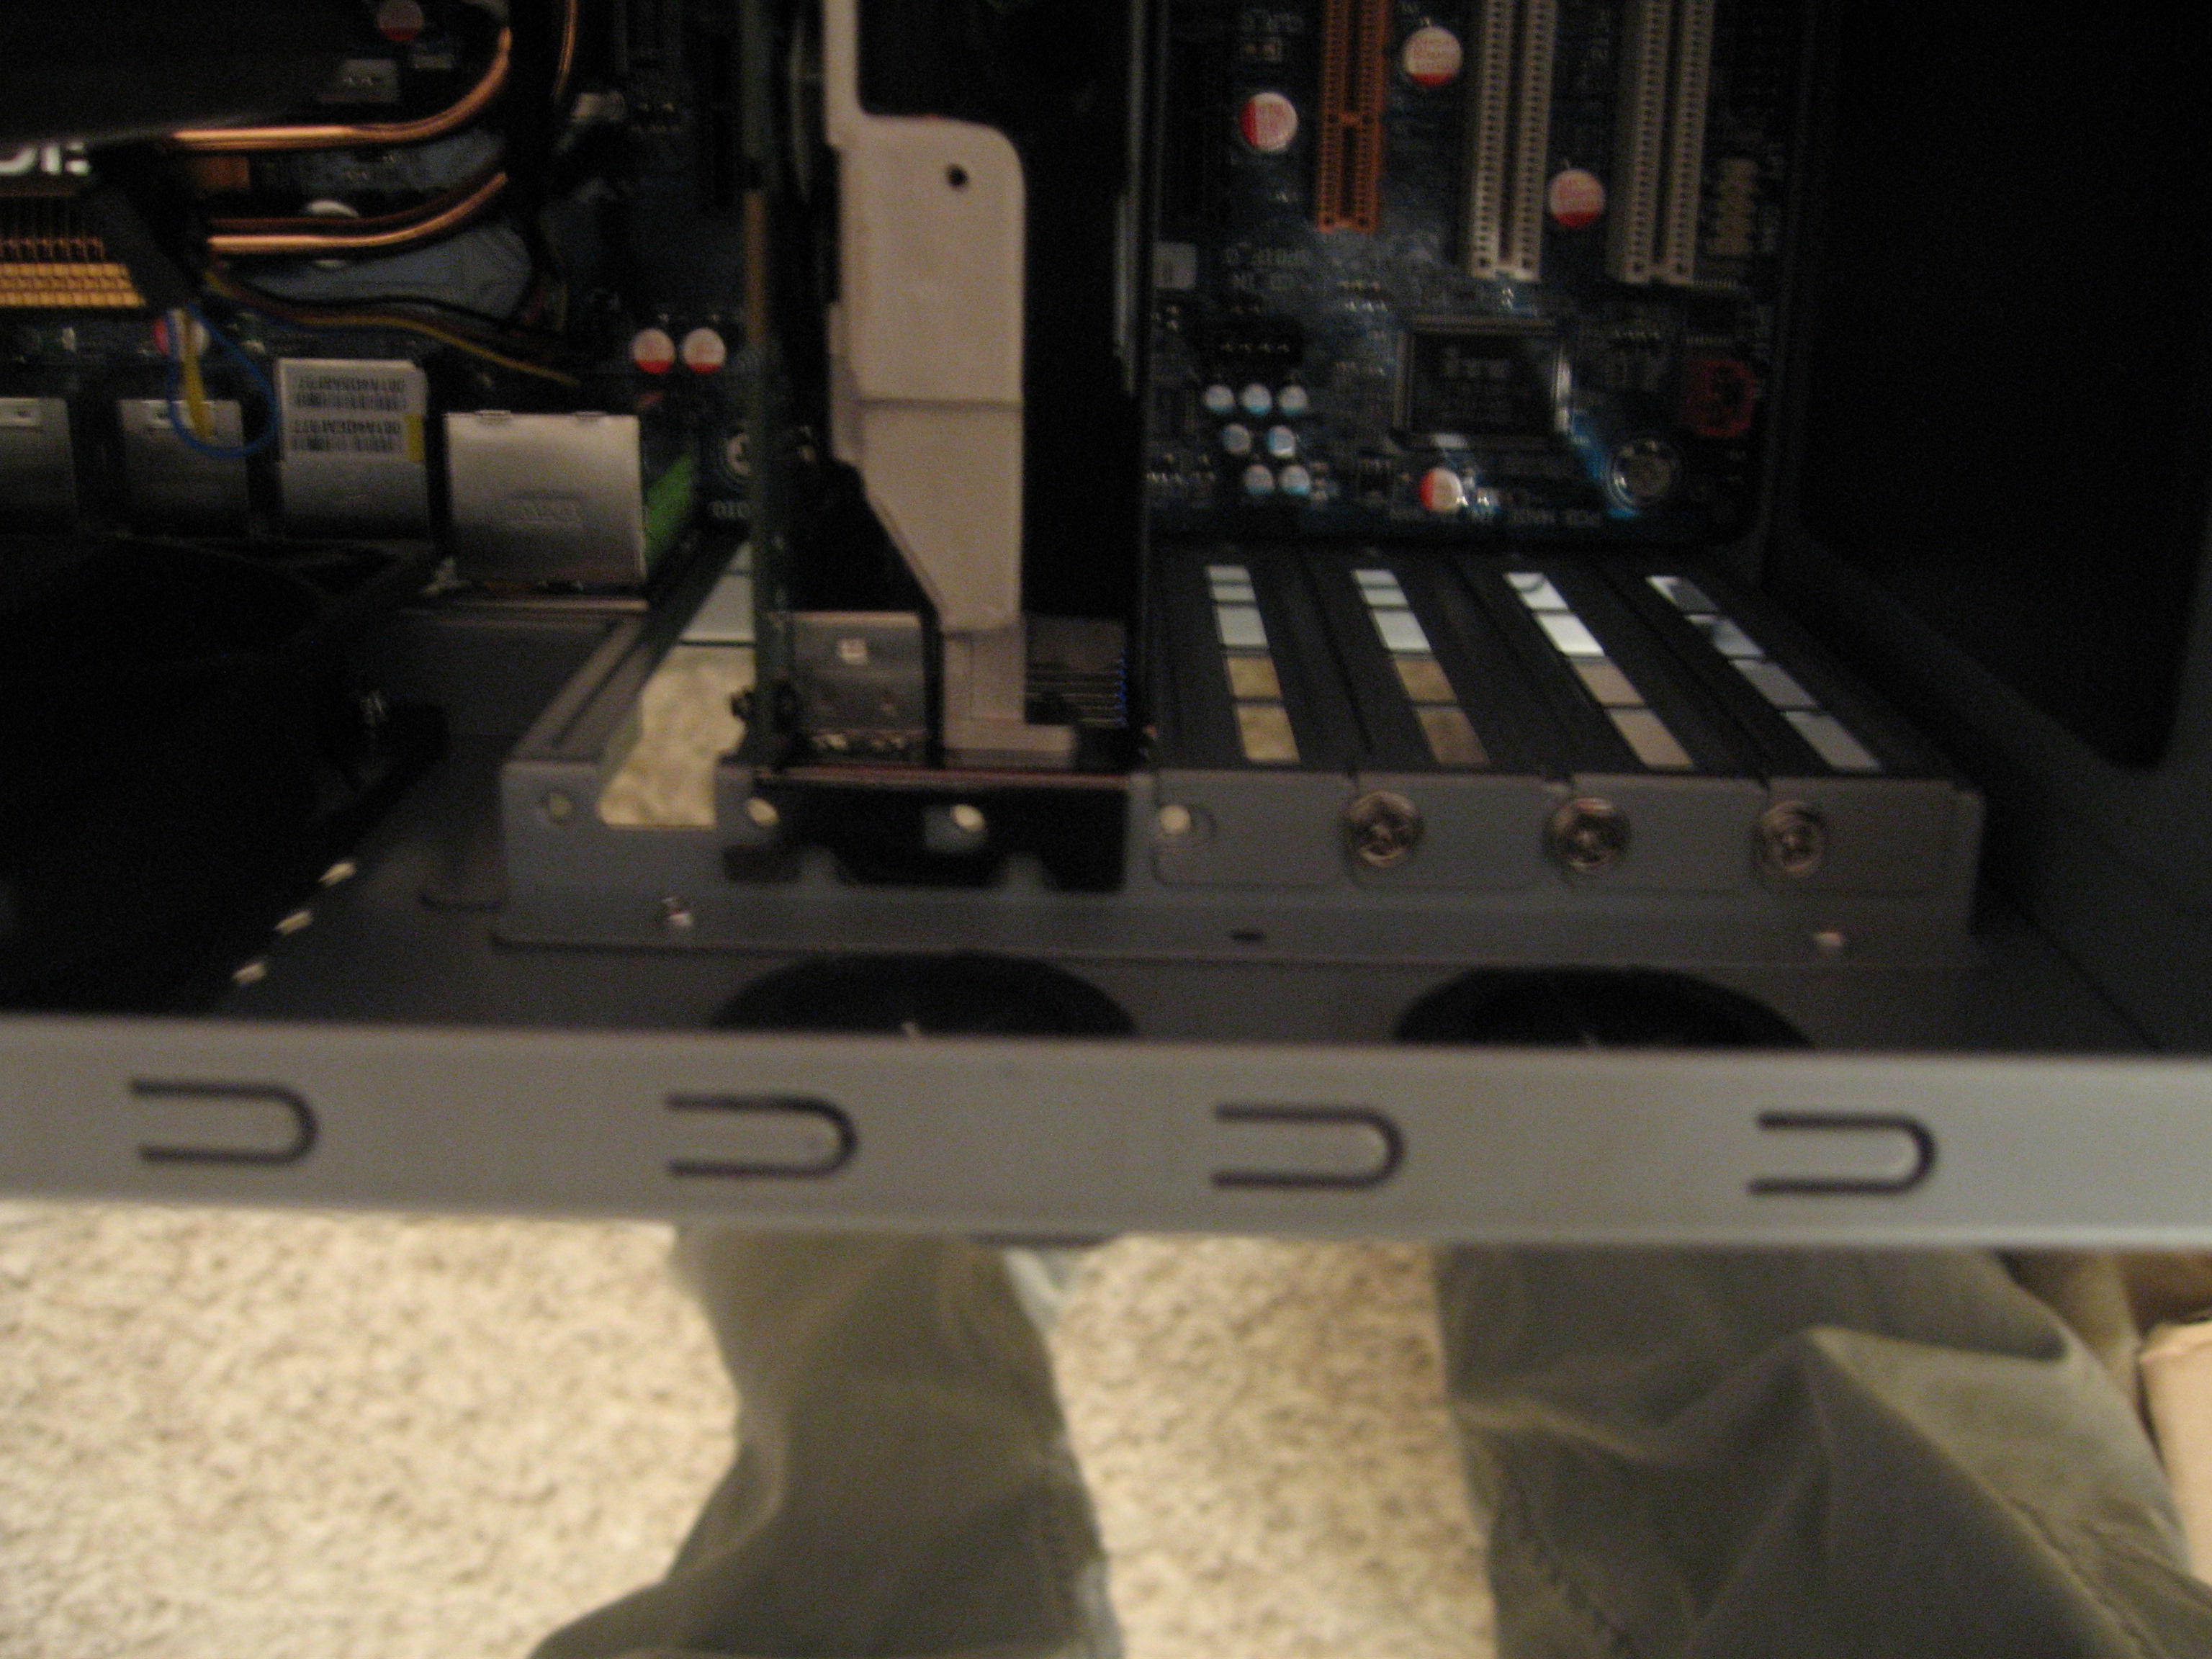
I had to remove 3 screws and 3 slots in order to install the graphics card. This thing is huge. Graphics cards just keep getting bigger. Soon, cases will need to be redesigned in order to fit the cards. Motherboards will have to strengthen the pcie slot to hold the card in place. Other cards can’t be placed near it because it needs airflow around it. One graphics card, and maybe one other card goes into your motherboard. That’s it. This card seems to block all 3 other pcie slots on this motherboard if in the top slot, and the bottom two pci slots if placed in the middle slot. Guess that’ll just require experimentation if I ever get a pcie and pci card…
Plug in the mobo connectors for the front control panels (power button, hdd activity light, etc), the front panel usb and sound, and the sata cables into the motherboard.
Double check that the 4 fans have power, the mobo is plugged in (2 places), the graphics card has power, and the dvd drive and harddrive have power and sata connections. After cleaning up the cables a little, I closed up the case. Plug in a monitor, mouse, keyboard, and power.
It powers on.
Stay tuned for my install of Vista. (XP64 driver support is crap, and I have 4 gigs of ram. XP stops at 2-3.)
Same BatTime, same BatChannel.

That’s a nice computer. I should get one like that.
Yeah, I need one like that too.
BTW, even *I* knew that processors don’t have pins anymore. And the last time I built my own was…. never.
So, I’m looking for the best workstation style flops/$ for parallel computing. Any suggestions? 8 cores good, 16 better. I was thinking of going with a Mac Pro for $2800. 8×2.8 GHz Harpertown cores & 2 GB ECC RAM. Student discount takes off another 10-20%.
PS: In the future please resize your images to not be the original XBOX HUEG or I’m going to have to take your computer. Oddly enough I was having problems loading your page, but seriously, my desktop isn’t *that* old.
Q: Why would I need so many cores?
A: To load your images.
I left the screens full size because I wanted people to be able to download/view them close up and see details like pins.
I am aware that it can make this page….take awhile to load. But that is the sacrifice.
Plus, it is like hidden marketing. “your computer to shitty to load this web page? hahaha. you suck. get a computer like mine….which I convienently provide instructions on how to build and where to buy parts….at newegg.com !!”
_Normal_ webmasters don’t abuse their visitors. :p They also use small ‘thumbnail’ images to link to the full sized images.
At least you should register an affiliation with NewEgg and get 5% of all sales you refer to them. Or something like that.
Hello Mr Seth,
Have you thought about getting a ps3 for your project? The PS3 has about 200 gflop from the cpu PlayStation 3’s Cell CPU achieves 204 GFLOPS single precision float, maybe 15 for double precision, while a 8 core is around 50 gflop.
Hey hey! Overall the PS3 would require too much rewriting for my resources, but I think it might work very well for a subset of my needs. Thanks, I’ll keep it in mind.
Looking around I found this page:
http://lifehacker.com/software/hack-attack/build-a-hackintosh-mac-for-under-800-321913.php
I could do without some things (smaller case, HD, & vid card) and improve on others (upgrade memory & quad core), and have my self a reasonable cluster node. Definitely not workstation class hardware, but it would work as a hackintosh for cheap.
interesting conversation. doesn’t have much to do with my computer. deserves its own place, so here you go (detnap, you should have access to do this, too):
https://www.donttellmetheending.com/2008/02/21/who-crunches-numbers-better-pc-mac-ps3/